
2015 MHA Annual Meeting
Four foot dome oven using #1 arch bricks
with Marty Pearson
Back to Wildacres 2015 Photo Report

4" Hebel AAC (aerated autoclaved concrete) is laid on a sand bed, to insulate the hearth.
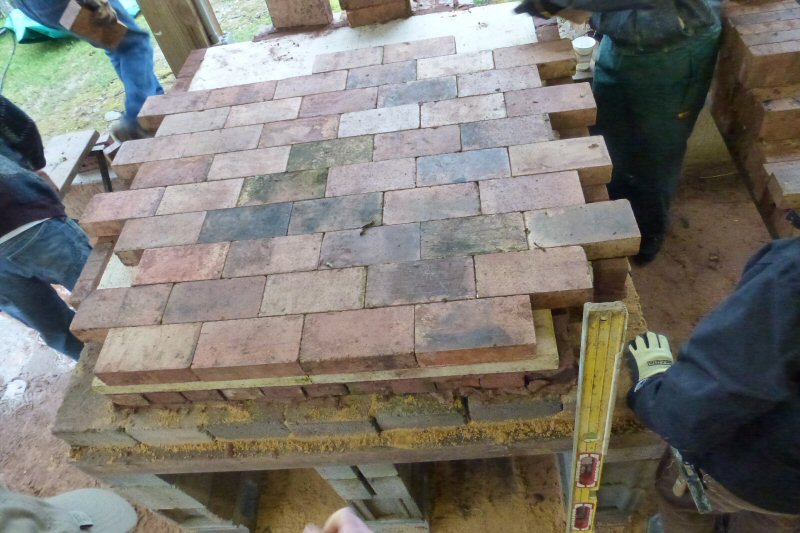
There was not enough 4" board for the whole hearth, so 1" Skamolex is used at the front.
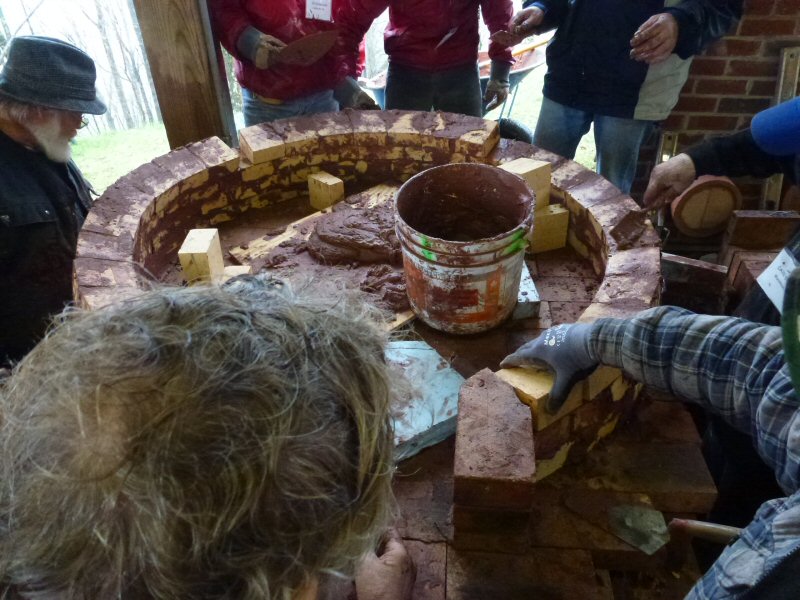
Hearth bricks.

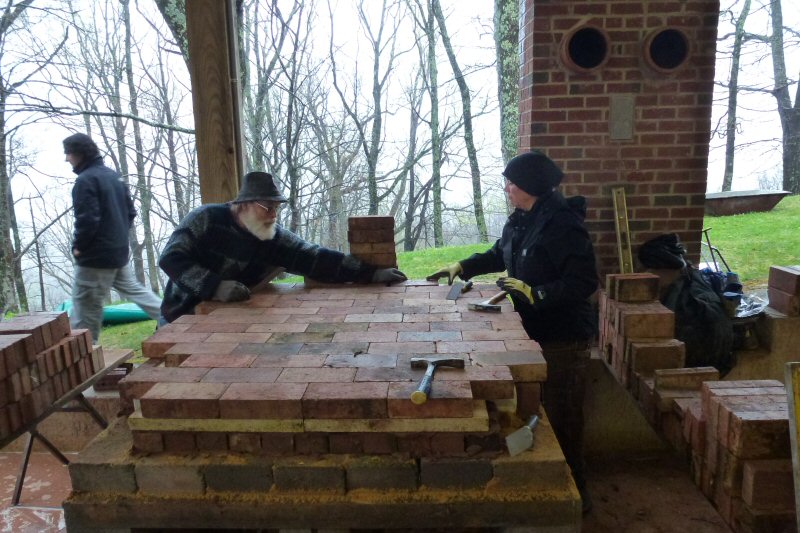
Finding the center.

Laying out the dome.

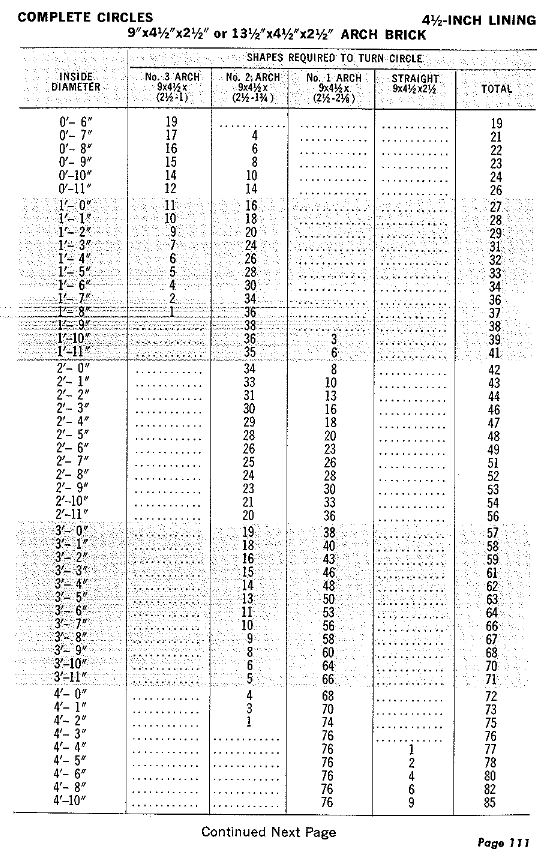
Note in the next photo that the actual orientation of the bricks will be on the bed face, rather than on the side.
The 48" circle marked on the hearth works either way, since the shape is a hemisphere.
Here is an arch brick circle layout table, from the famous A.P. Green Refractories "Pocket Guide", which is
available in the MHA Members' Lounge:
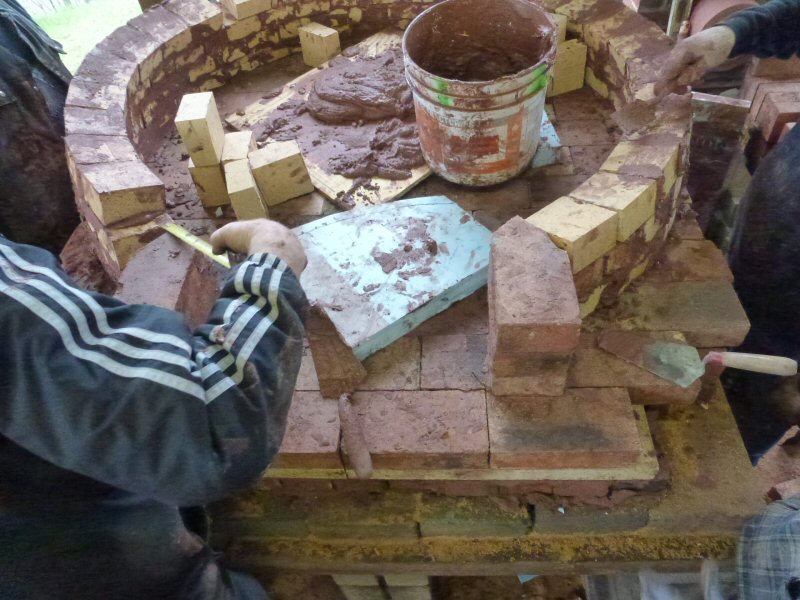
First course laid out, including the opening. The opening is the trickiest detail.
10:00 am: bricklaying starts.
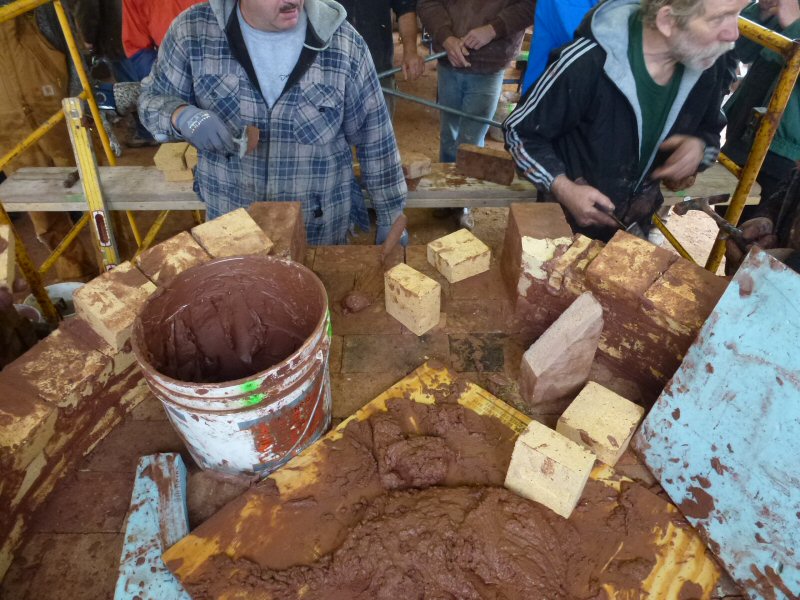
Because the bricks are tapered on the bed face, an even thin joint can be used, rather than a wedge shaped joint that requires
aligning the bricks to a template when they are bedded.
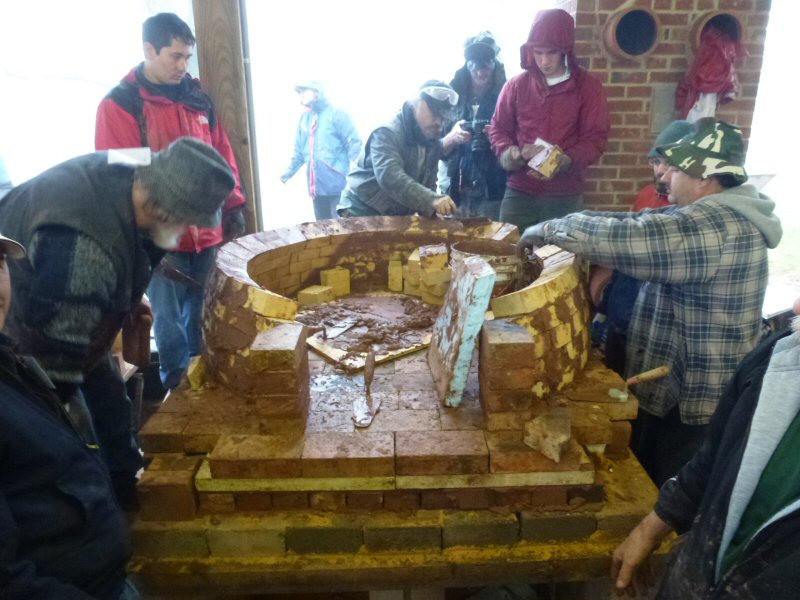
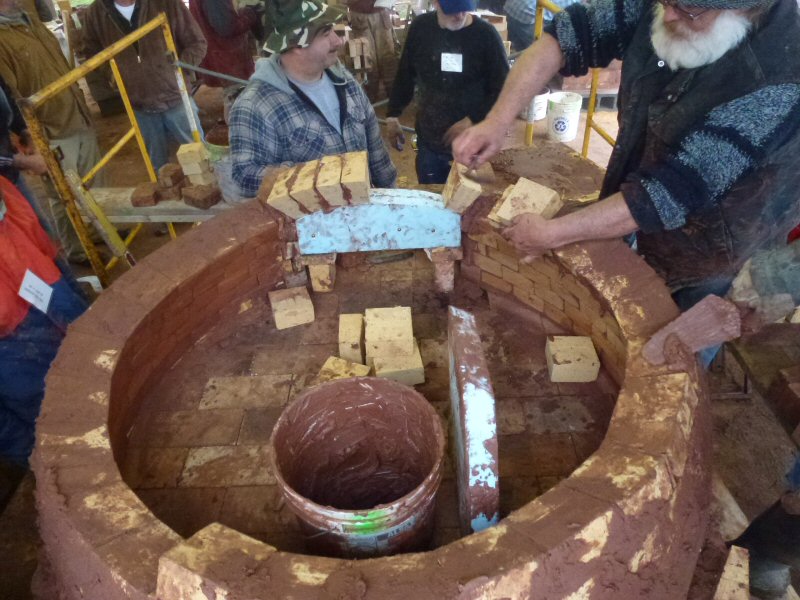
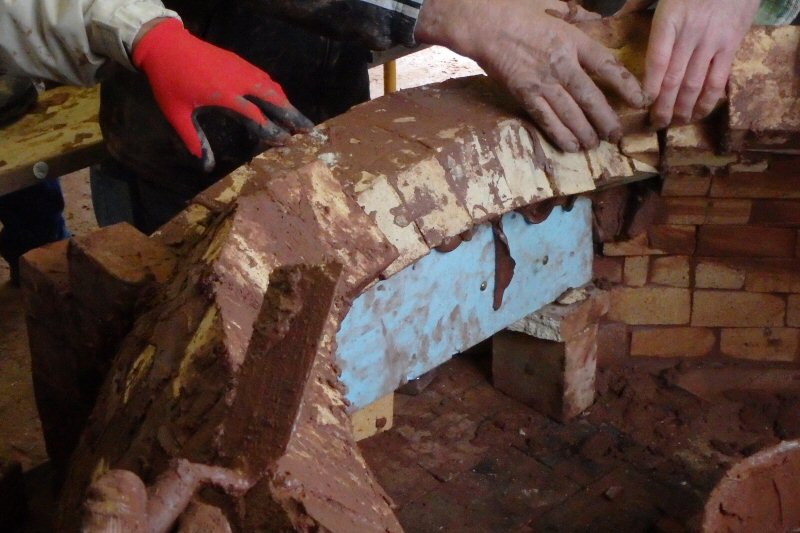
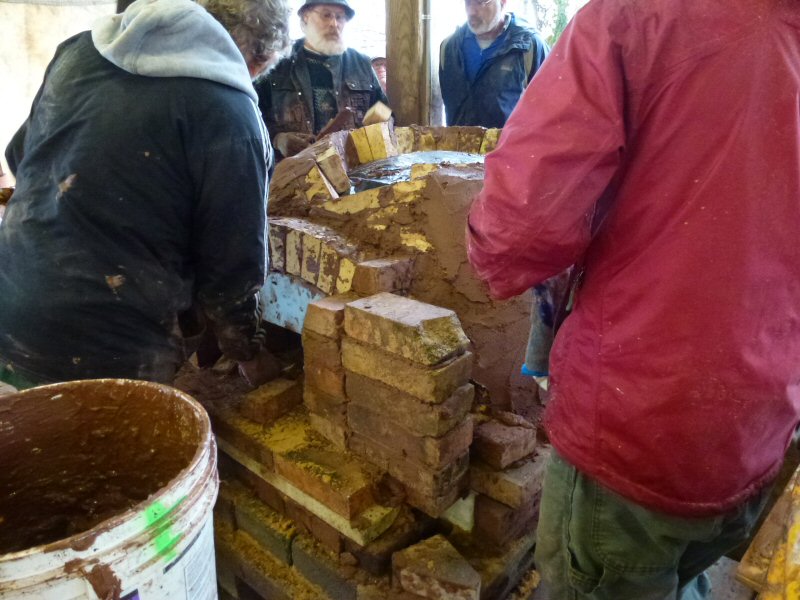
Building the throat arch. Note the relief cuts to follow the arc of the dome, even though the bricks are turned.
Throat arch.
Note that the skew bricks extend to the front, to hold the door arch.

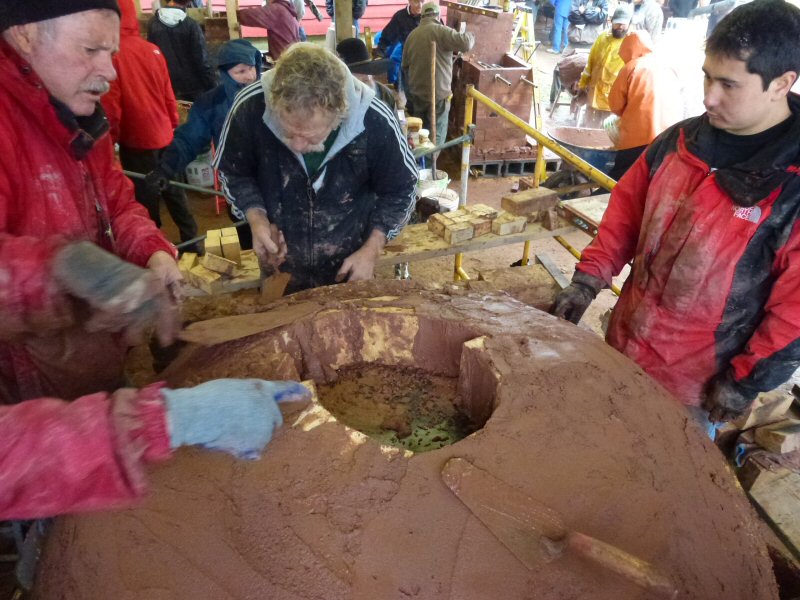
Note that when dry firebricks are used, they have enough suction to give the mortar a temporary set and avoid sliding.
This allows them to be laid at a fairly steep angle without support.
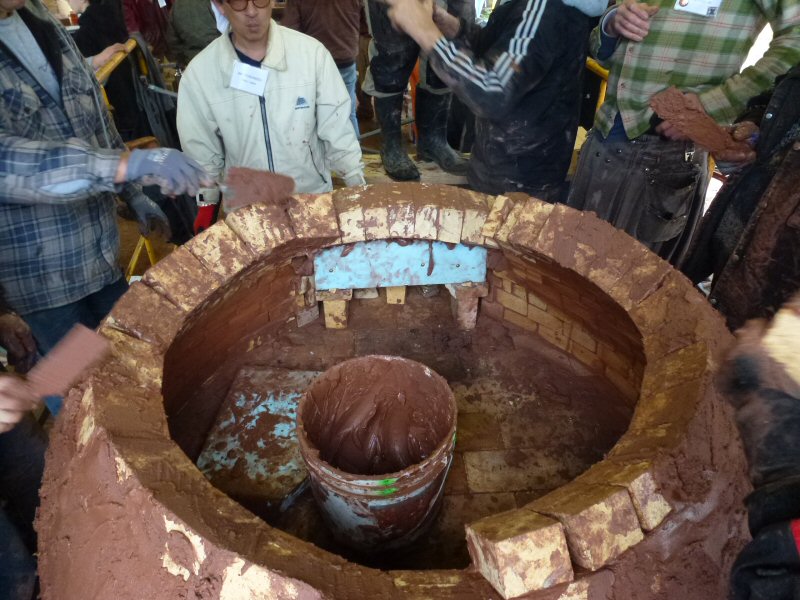

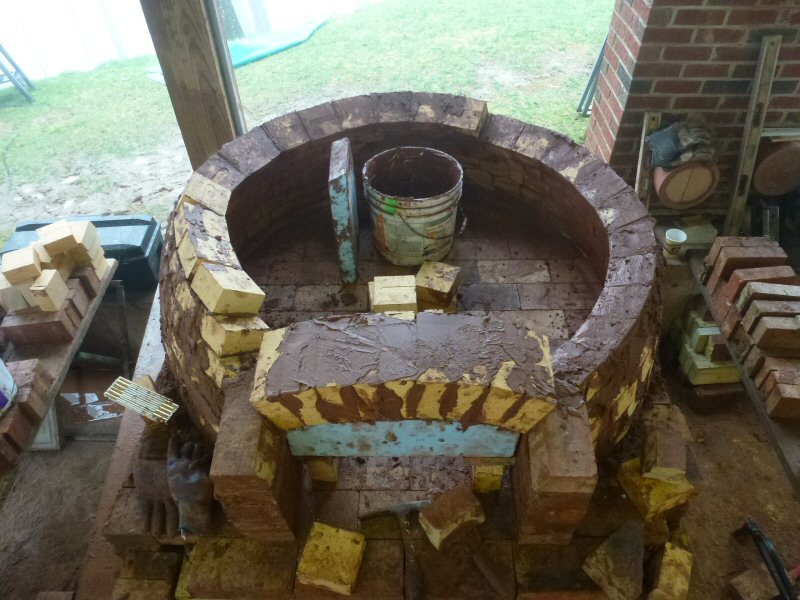
A disc from an old disc harrow has been placed as temporary formwork for the rest of the vault.
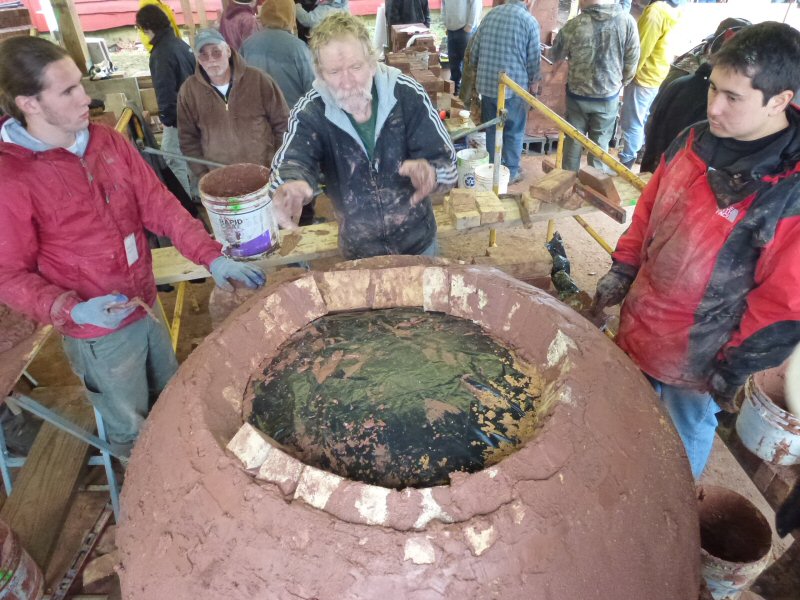
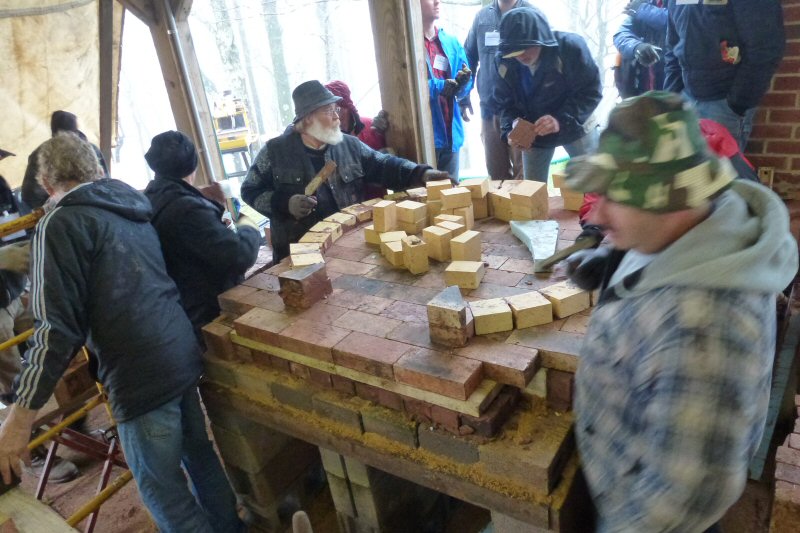
Closing off the top of the dome involves a lot of small bricks and a lot of cutting.
An easy way to do it is to pour in place a plug from castable refractory.
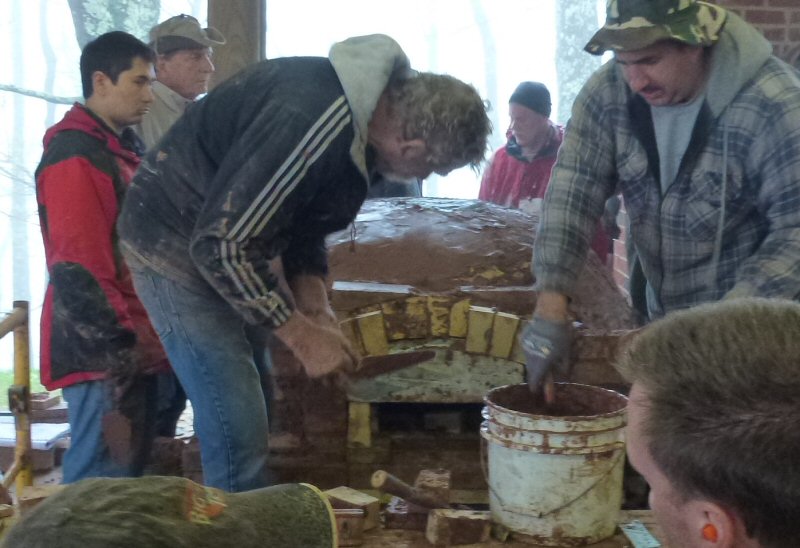
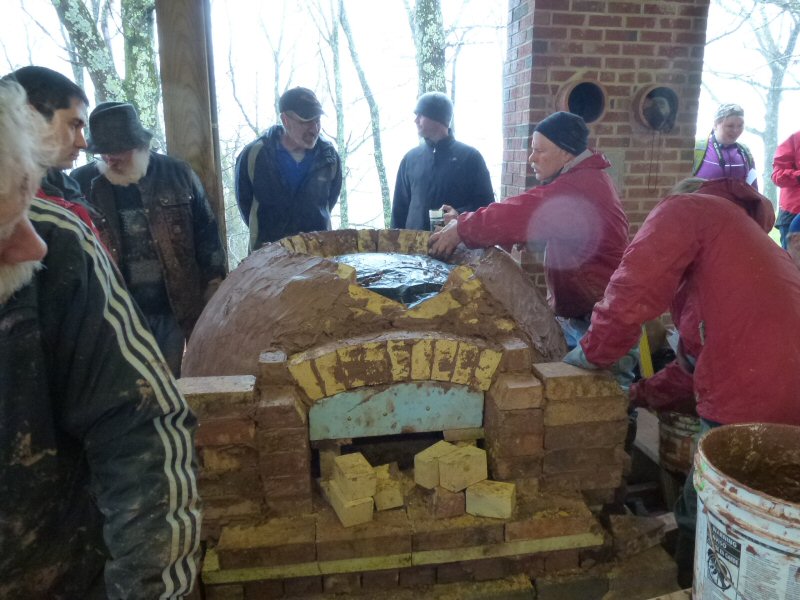
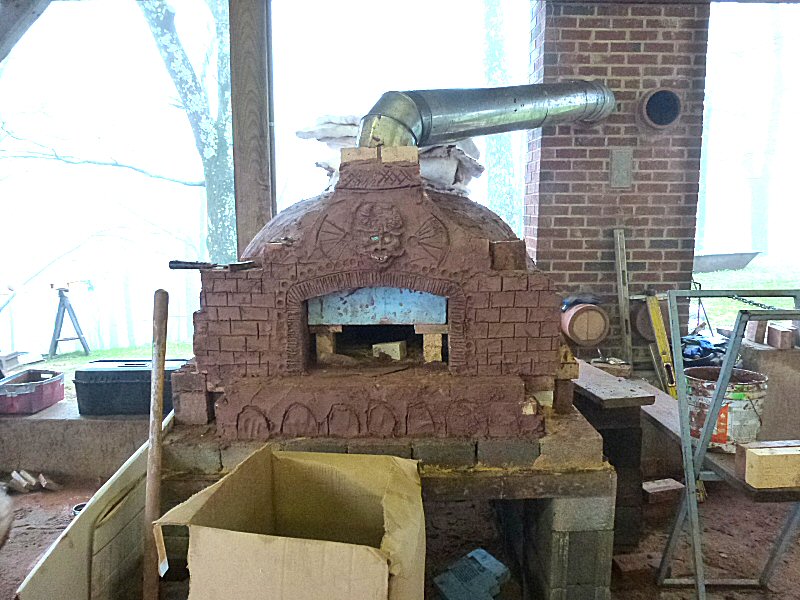
Setting the door arch.
Smoke chamber to make a transition from the throat to the 8" chimney pipe.
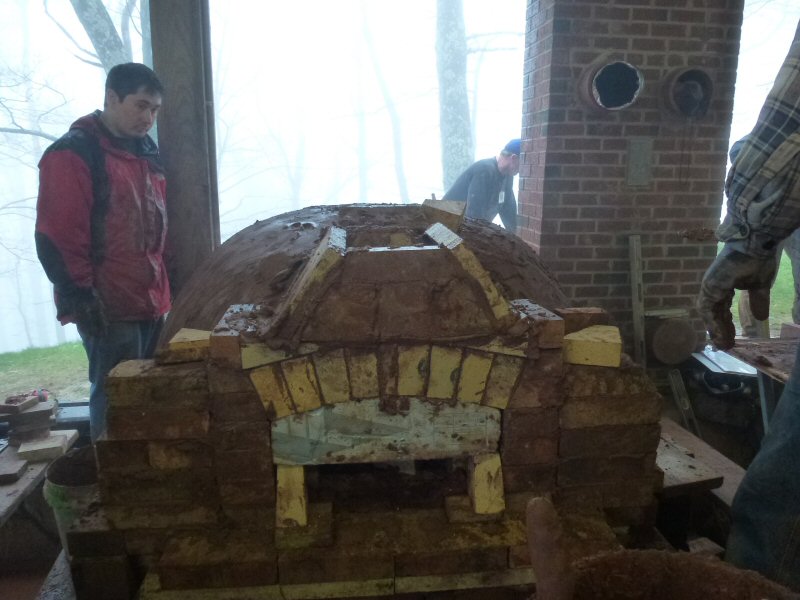
4:30 pm, six and a half hours after starting to lay bricks.
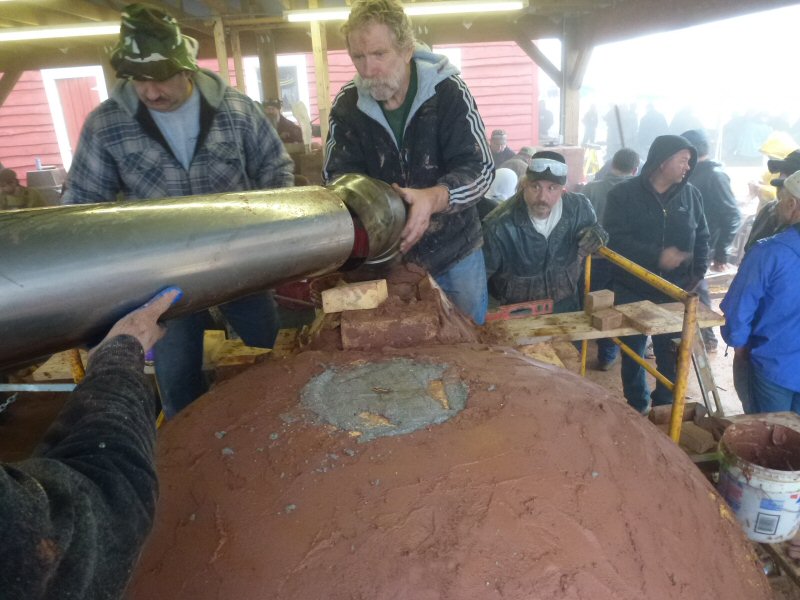
Connecting the chimney.
Note the castable refractory plug, with a few filler bricks.
A
fire is set the next morning (Thursday) to help dry out the dome, prior
to removal of the support for the forming disc used to close off the
dome.
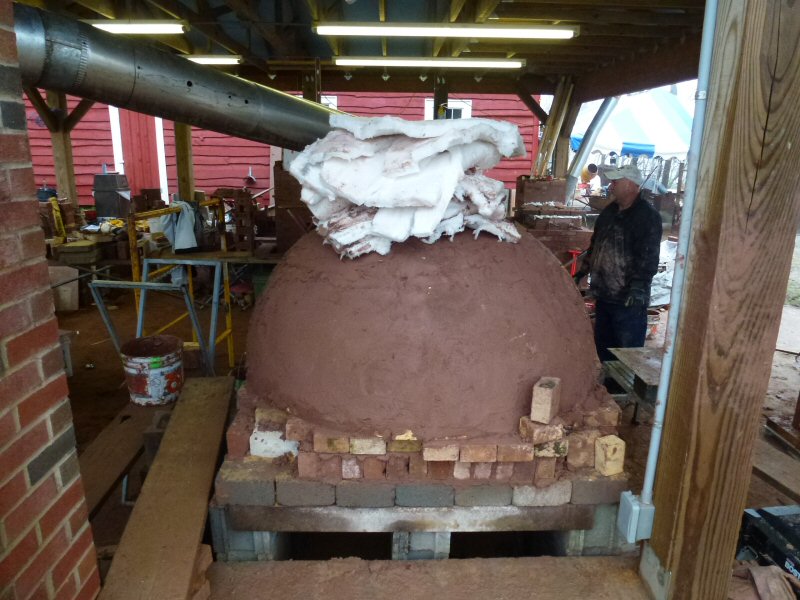
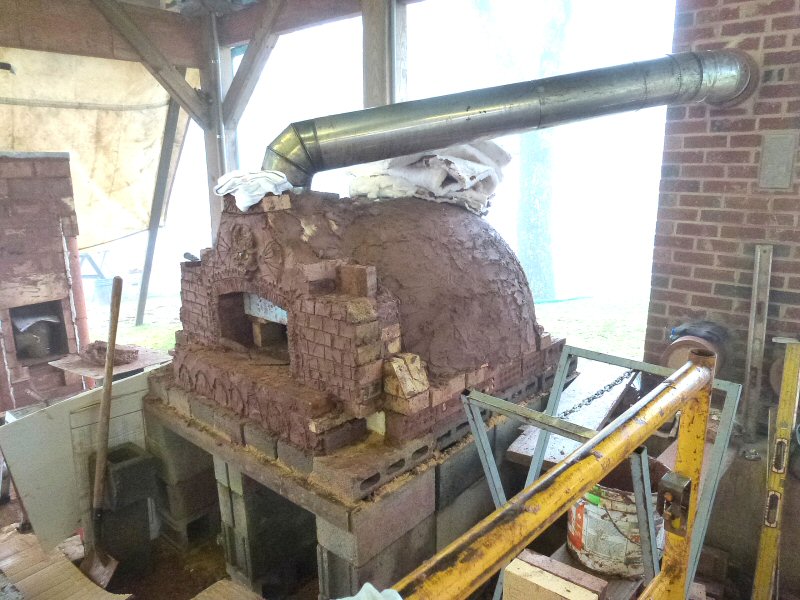
Tapered ceramic fiber strips that will be used to add a layer of insulation to the dome once it is reasonably dry.
At
1:30 pm, the firing is stopped so that the fire can go out in order for
the oven to be cleanout out. There is a lot of sand, etc.
in there as support for the harrow disc form.
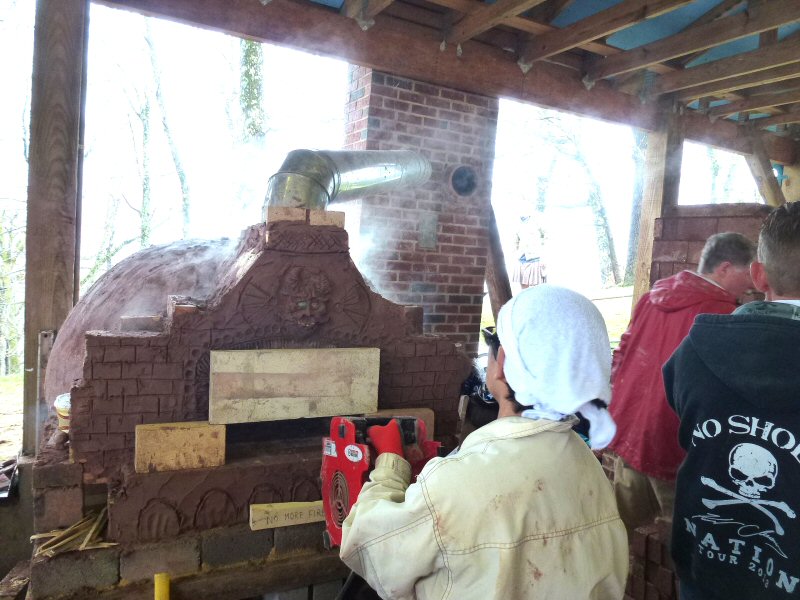
Steam
coming off the dome. A fan is used to help speed up the end of
the fire, which is acting sluggish since the wood is not the
driest. The the dome will finish curing overnight. The pizza part is on Friday afternoon (the next day).
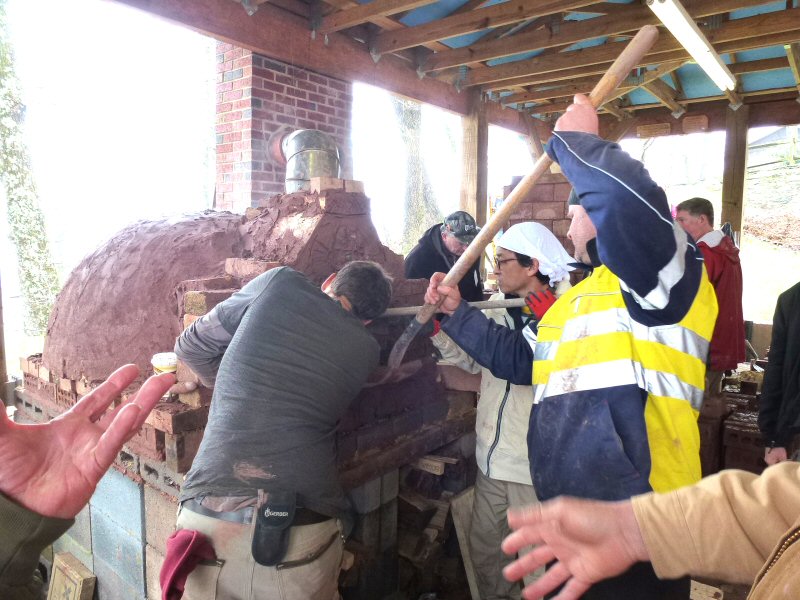
Thursday, 1:15pm. Removing sand and various support pieces used to hold up the disc.
Thursday 4:00pm.
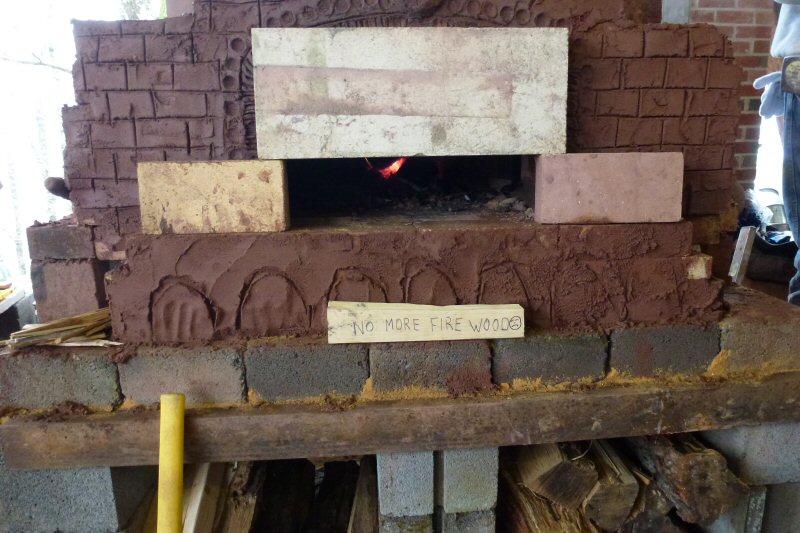
The fire is relit to finish the drying process. Note the dried out area around the top of the door.
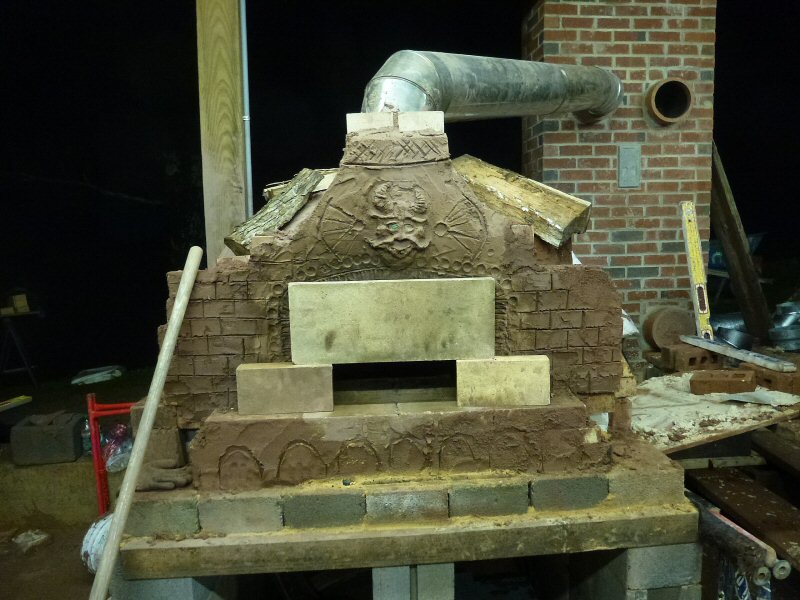
10:00pm

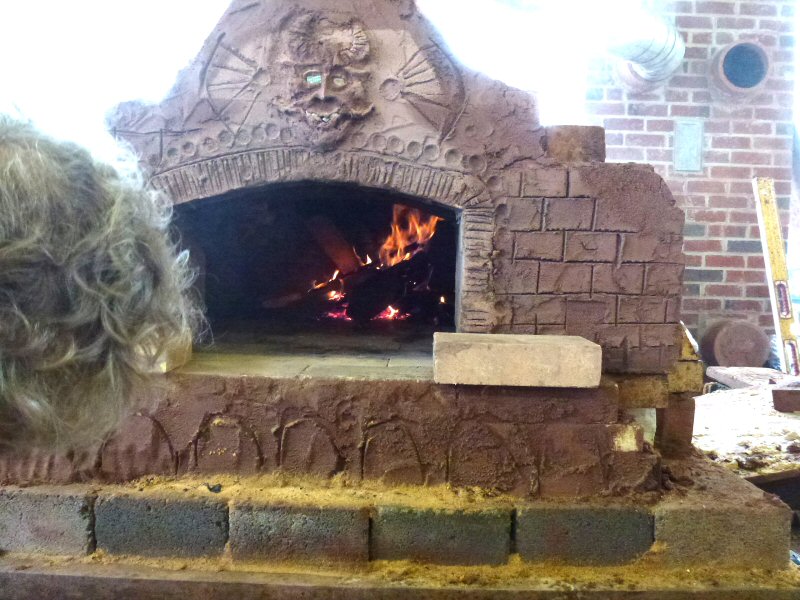
Friday 10:00 am. Curing is well underway.
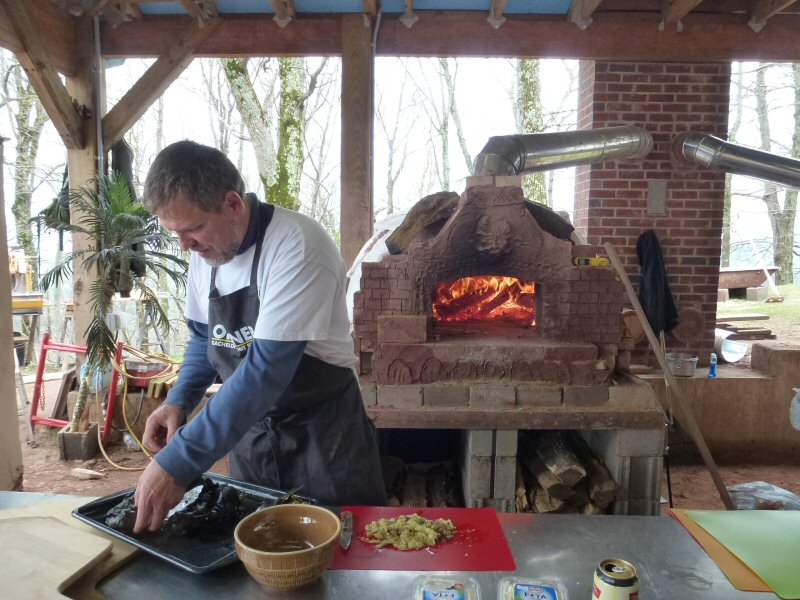
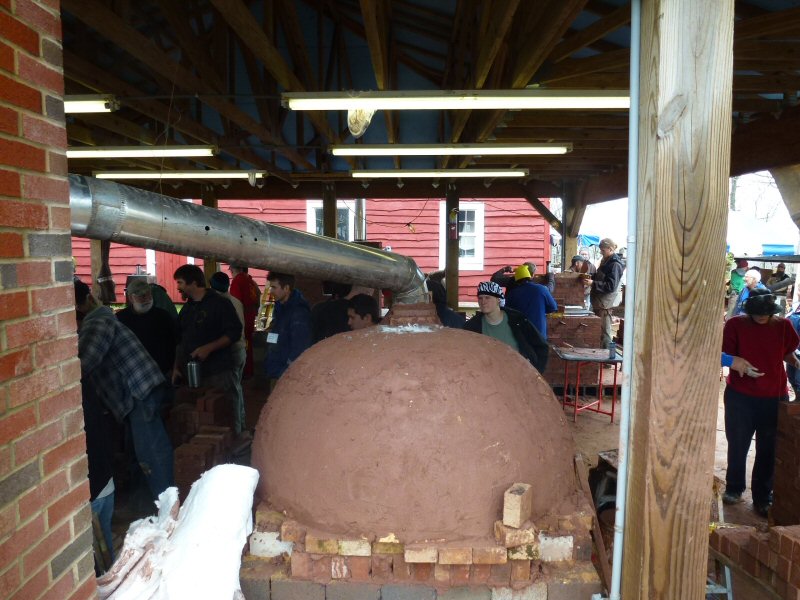
Friday 2:45pm. Setting up for the pizza party. Oven is on its last full load of wood, and will be up to temperature.
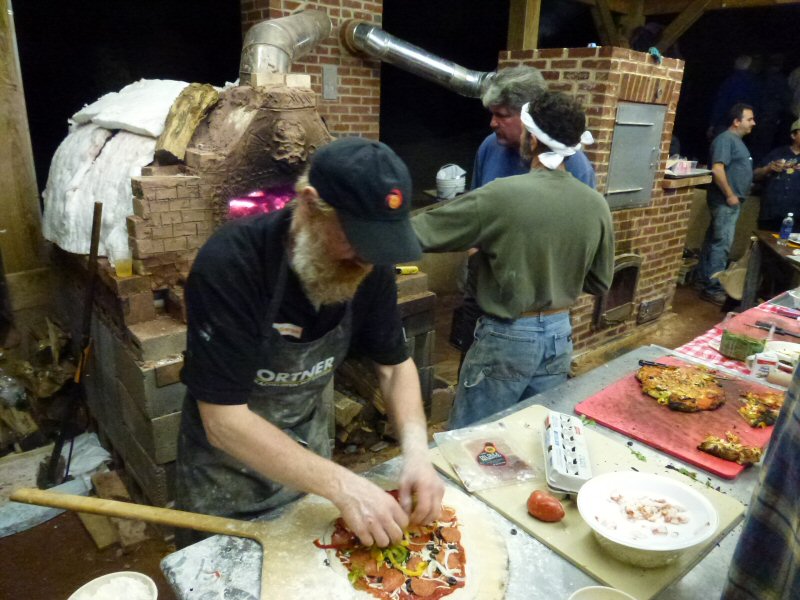
8:00 pm.
Still going strong. Visit the party.
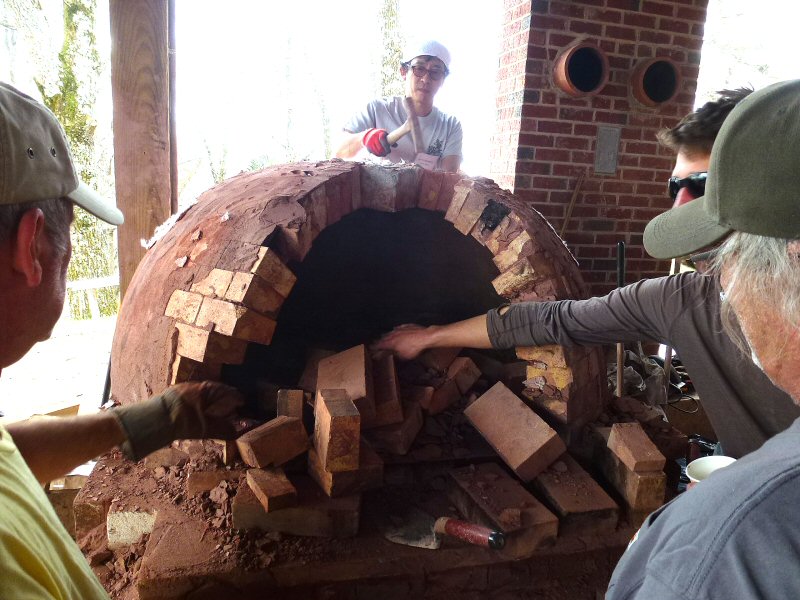
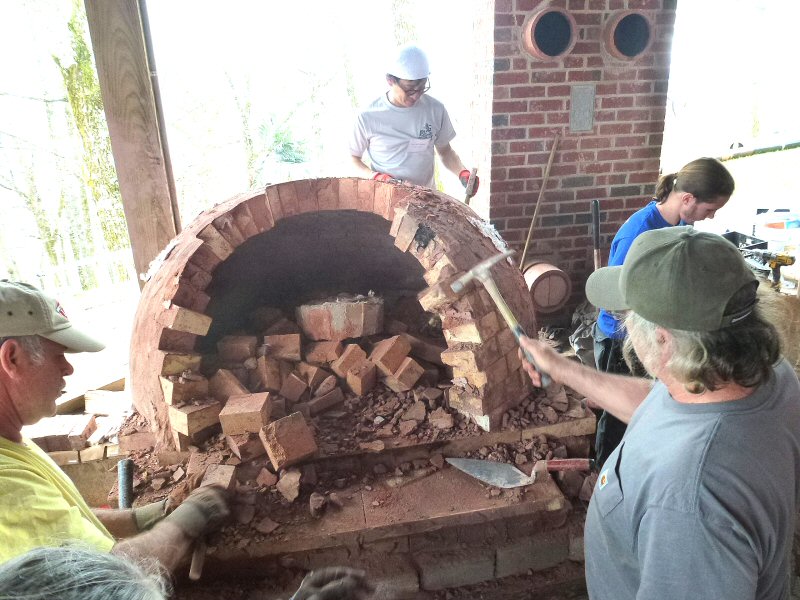
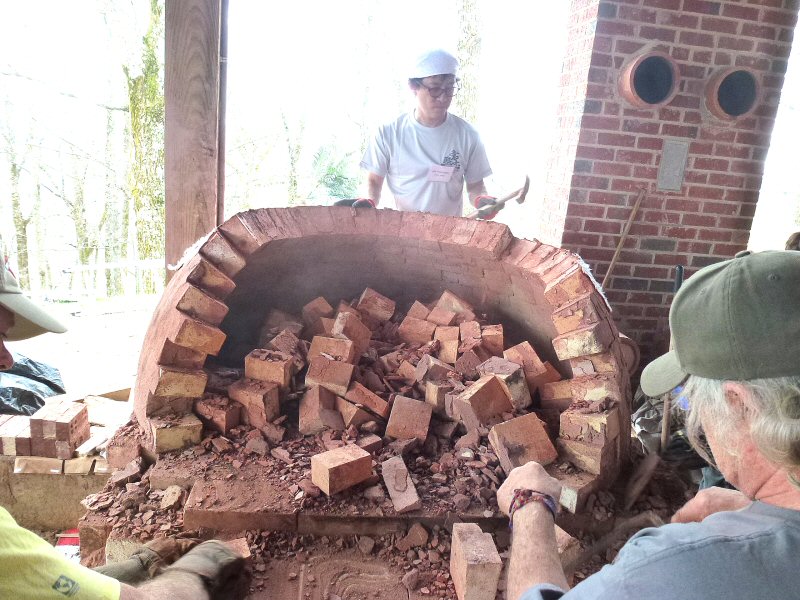
Saturday moning: demolition and cleanup time.
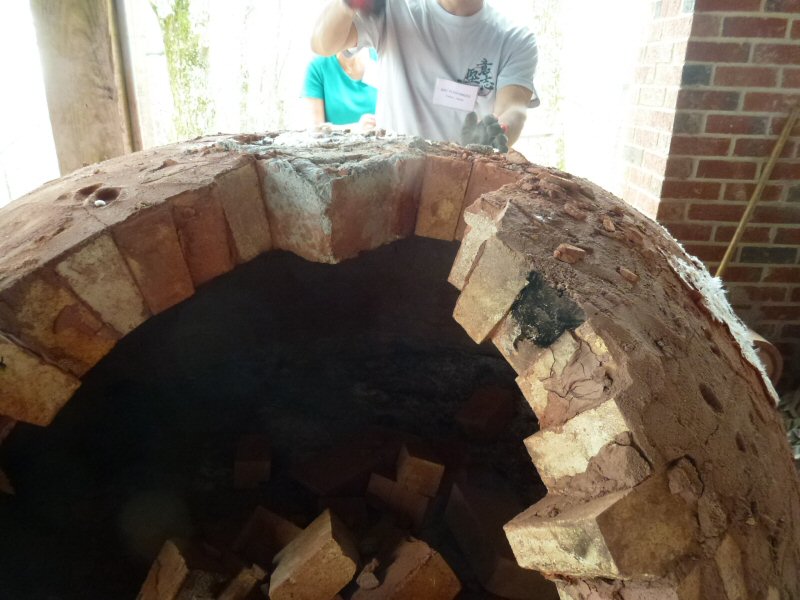
The castable refractory plug.
See also:2014 Photo Report
2013 Photo Report
2012 Photo Report
2011 Photo Report
2010 Photo Report
2009 Photo Report
2008 Photo Report
2007 Photo Report
2006 Photo Report
2004 Photo Report
2003 Photo Report
2002 Photo Report
2001 Photo Report
2000 Photo Report
1999 Photo Report
1998 Photo Report
1997 Photo Report
This page was last updated on July 7, 2015
This page was created on April 25, 2015
Back to: