
| Gallery | The Mall | Member Directory | MHA News | Library | Links |

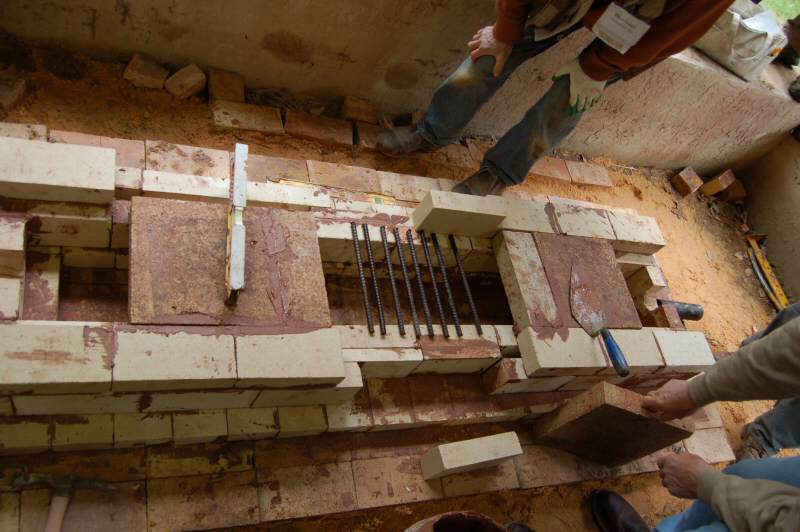
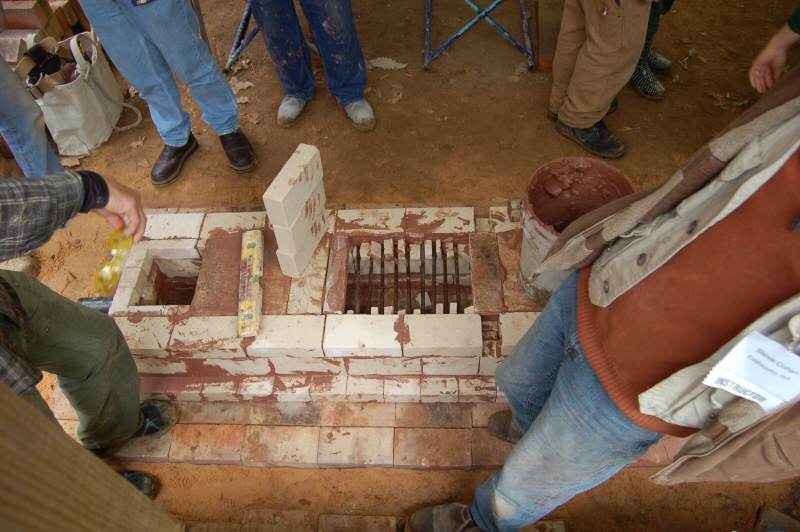
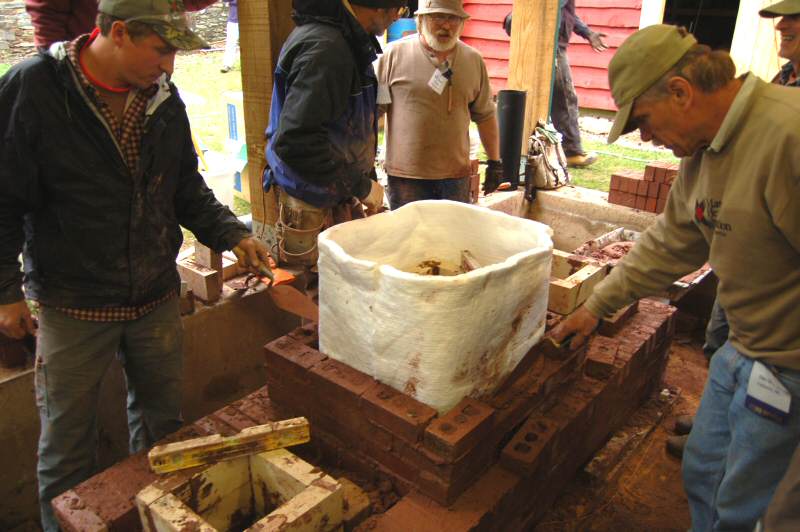
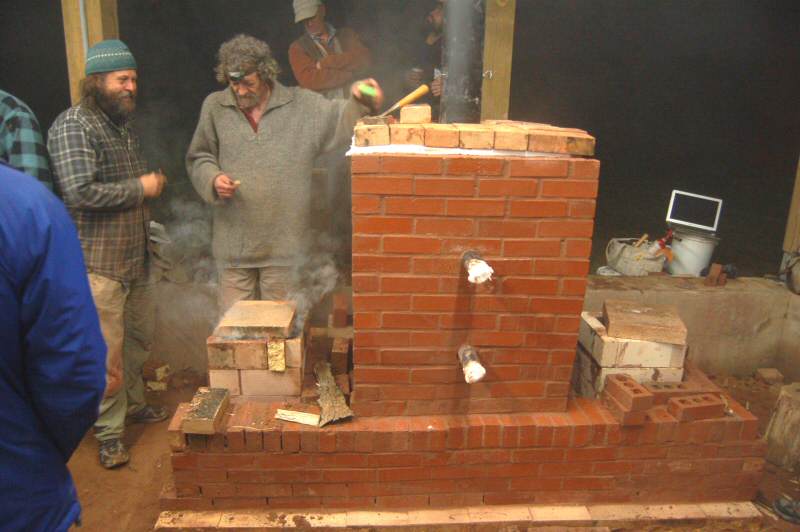
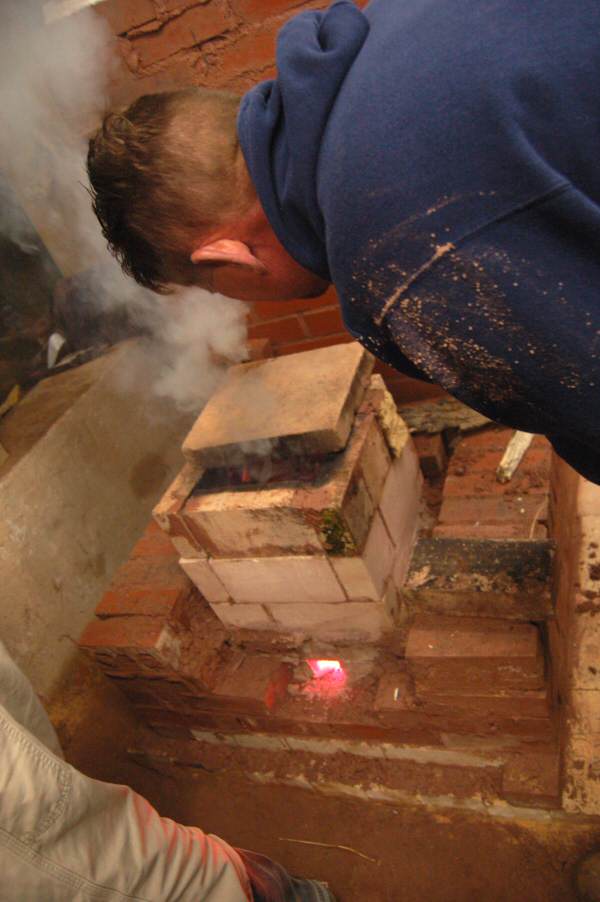
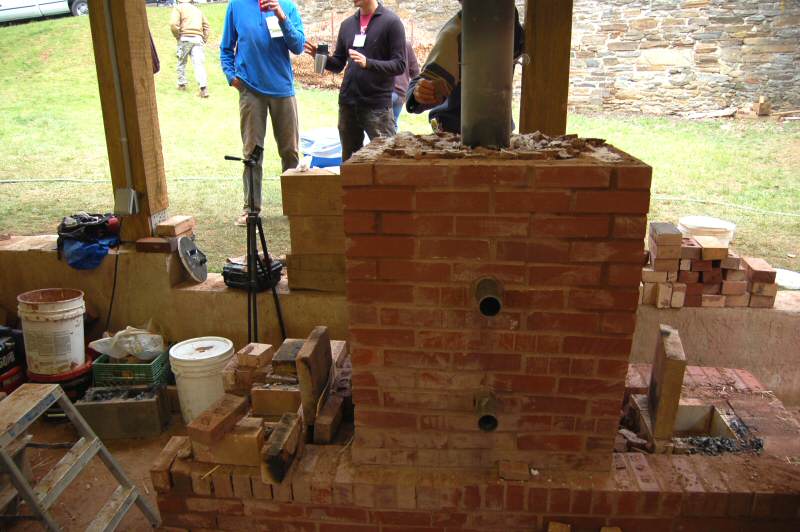
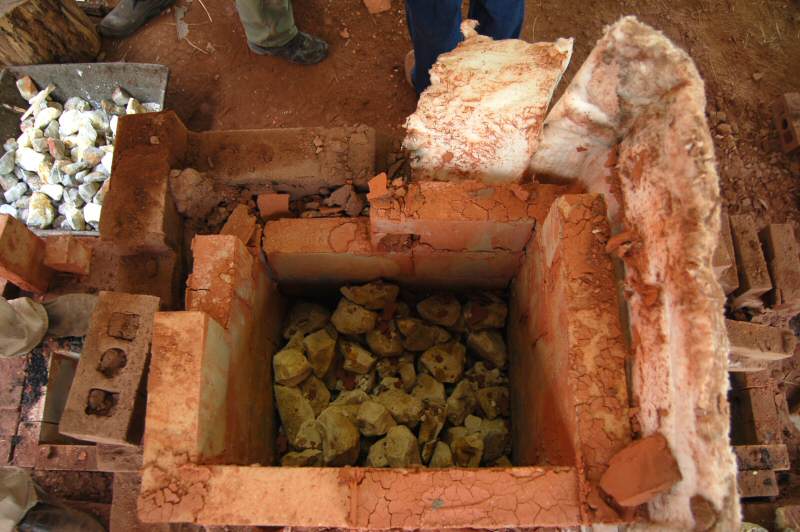
Two inspection tubes are incorporated to monitor the progress of the burn and take temperature readings.
The readings at the ports were a little high, because of the extra air , and the end of the burn was slightly
underestimated, leaving some unconverted limestone.
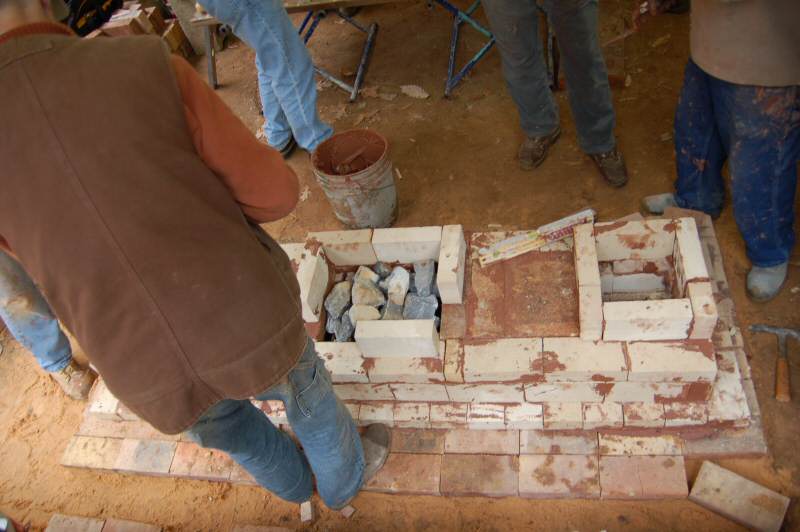
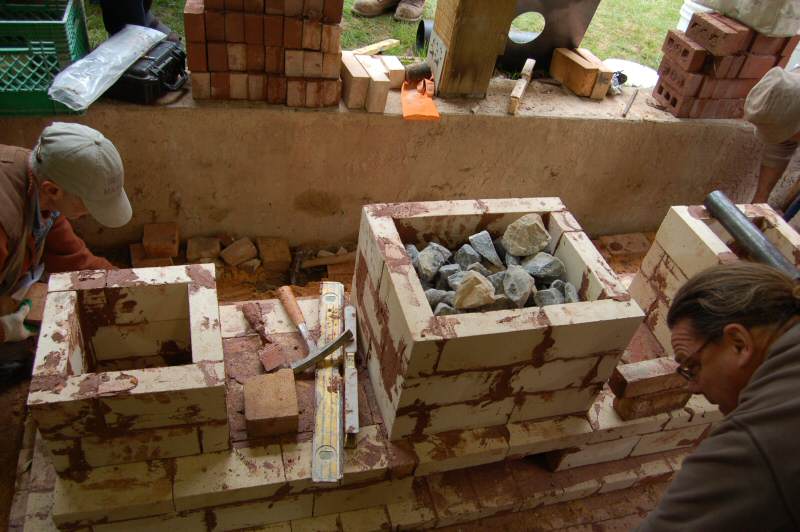
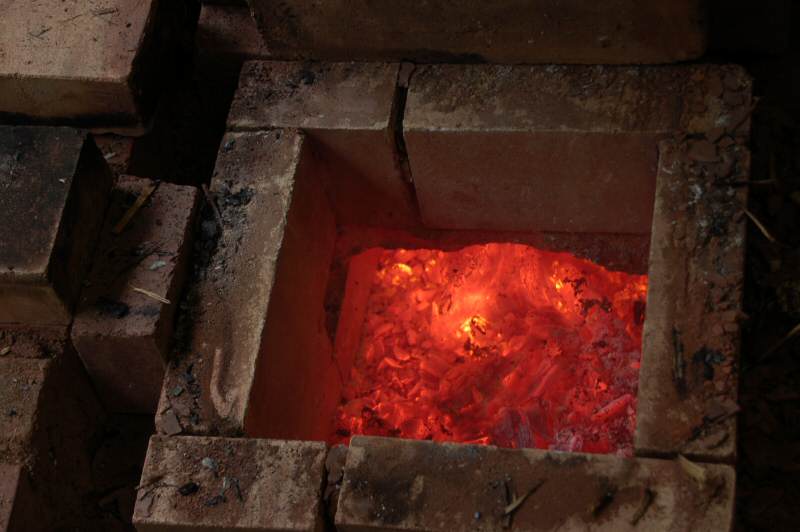
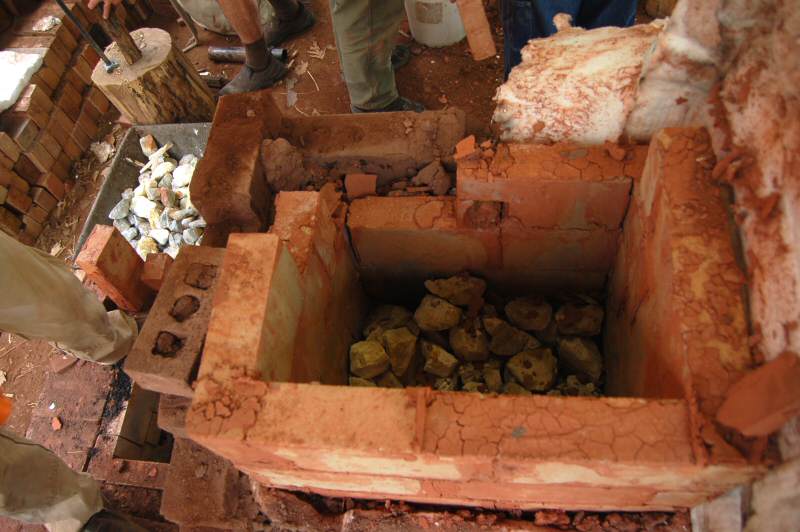
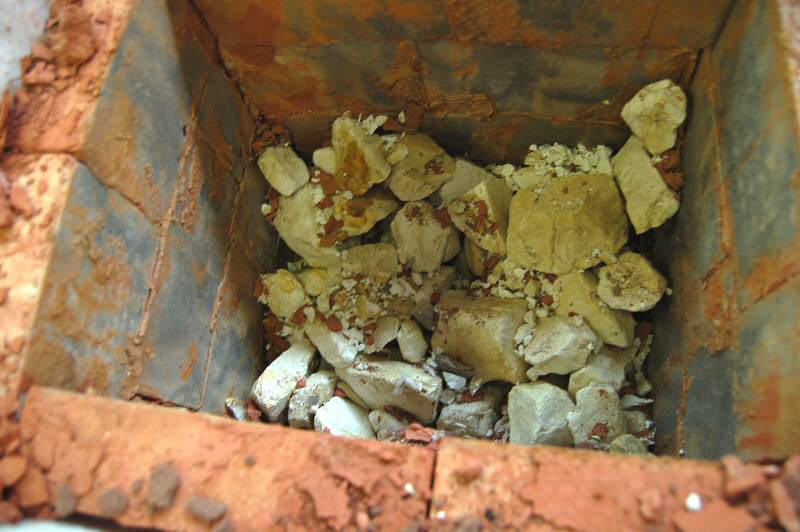
The final temperature is approximately 1800F, and the pieces are glowing white hot. The stone is translucent,
and any unburned stone near the centre of the piece can be seen.
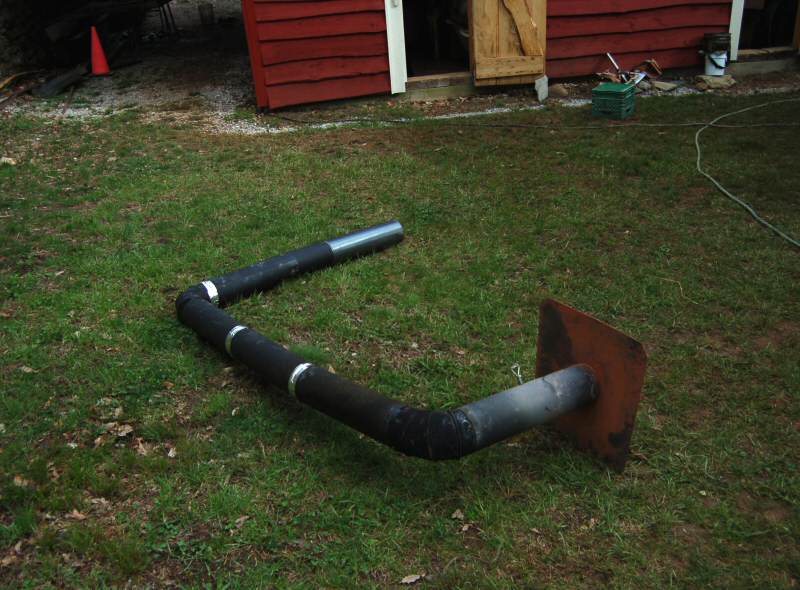
The stove pipe is 6". It ran at approximately 600F.
It took a while for the rocket fireboxes to downdraft properlyy.
End of the burn. The extra charcoal was used in the Tandoor
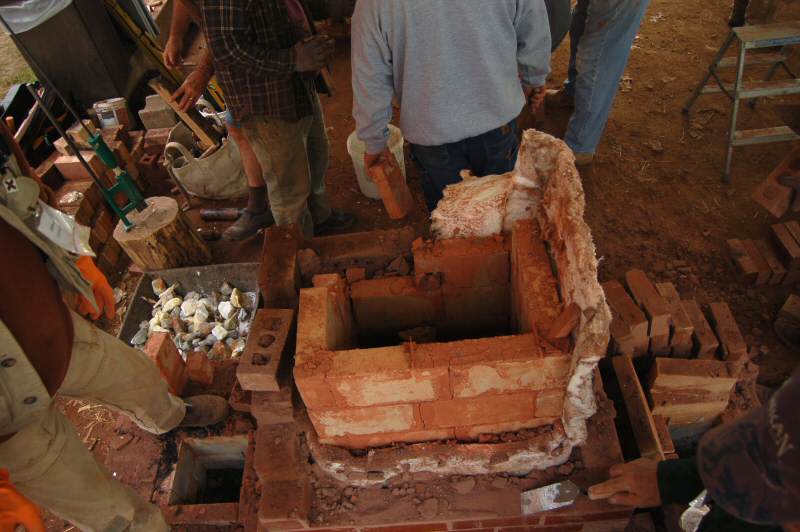
Steve sorted the burned stone as he took it out, separating out the unburned ones.
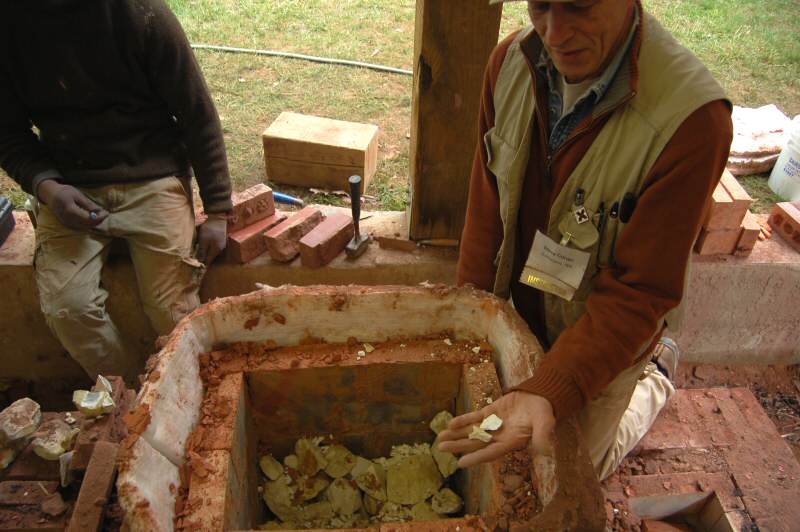
Don't try this with wet hands. The quicklime will burn you.
Chunks of quicklime (calcium oxide)

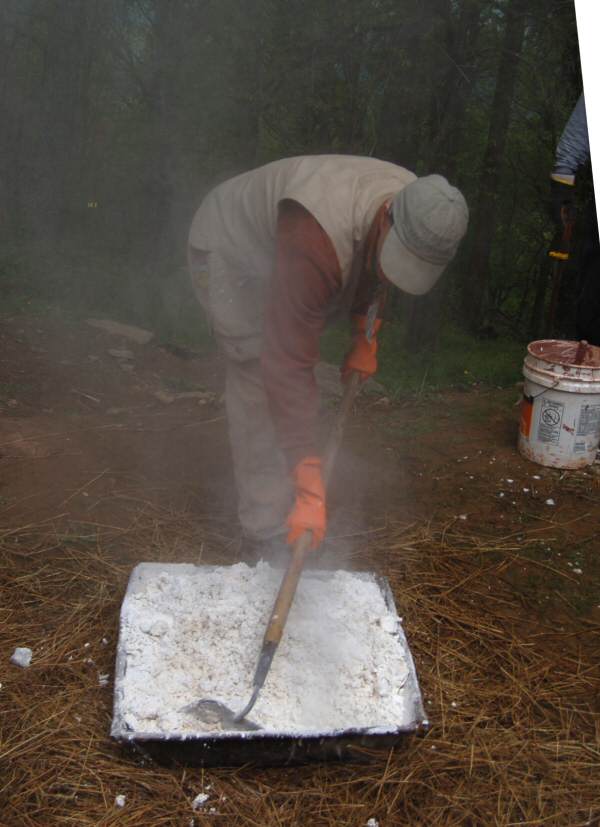
David "Worm" Thomen pours water on the partially burned stone.
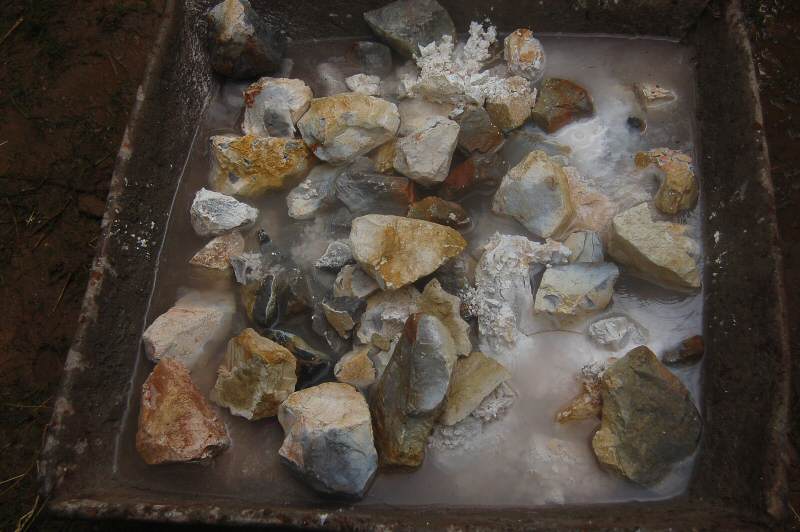
Some of it slakes.
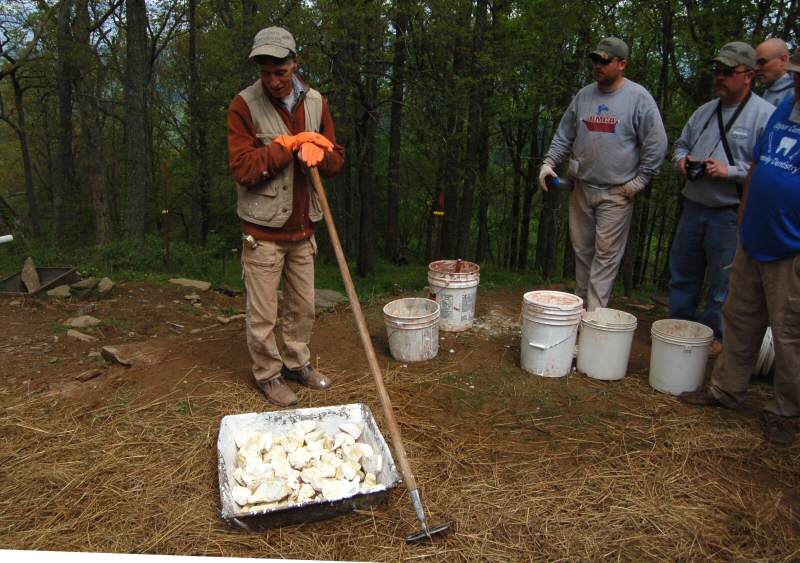
A pan of dry quicklime chunks
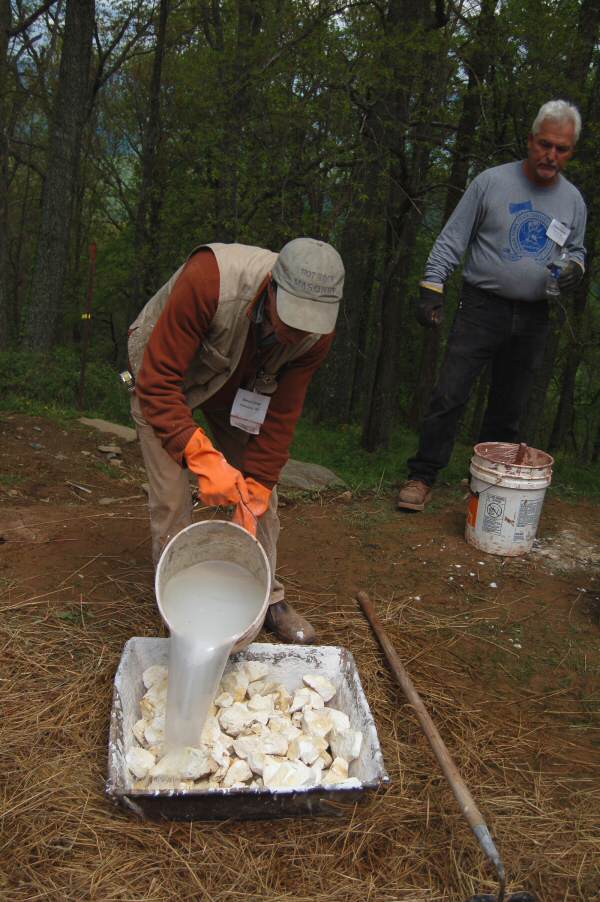
Steve slakes it by adding water. The reaction gives off a LOT of heat, can boil the
water. Eye protection is very important.
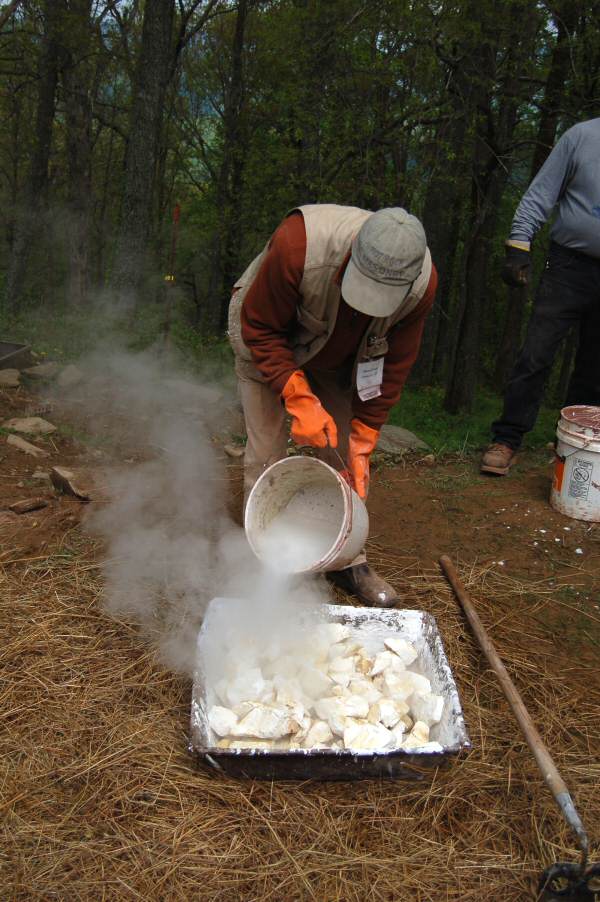
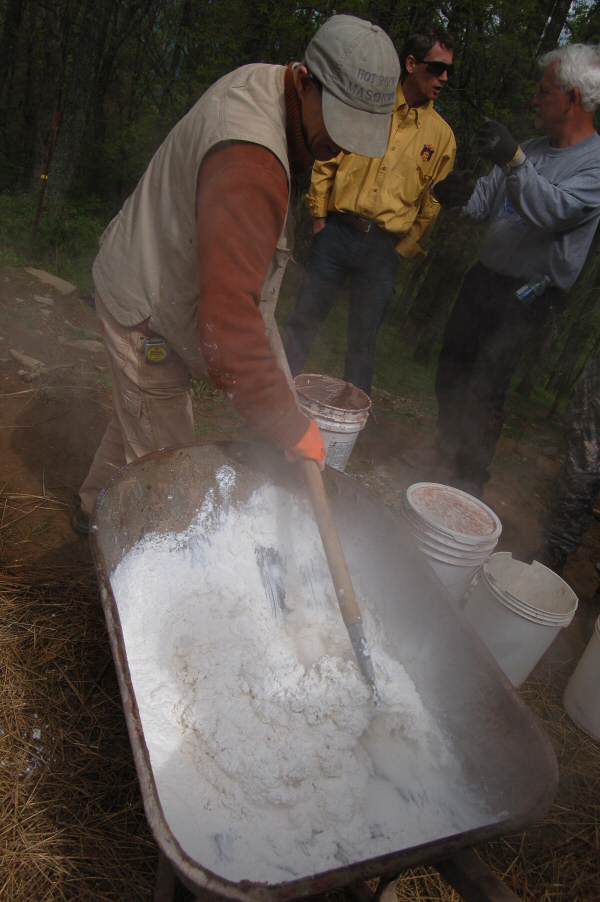
The water starts to boil.
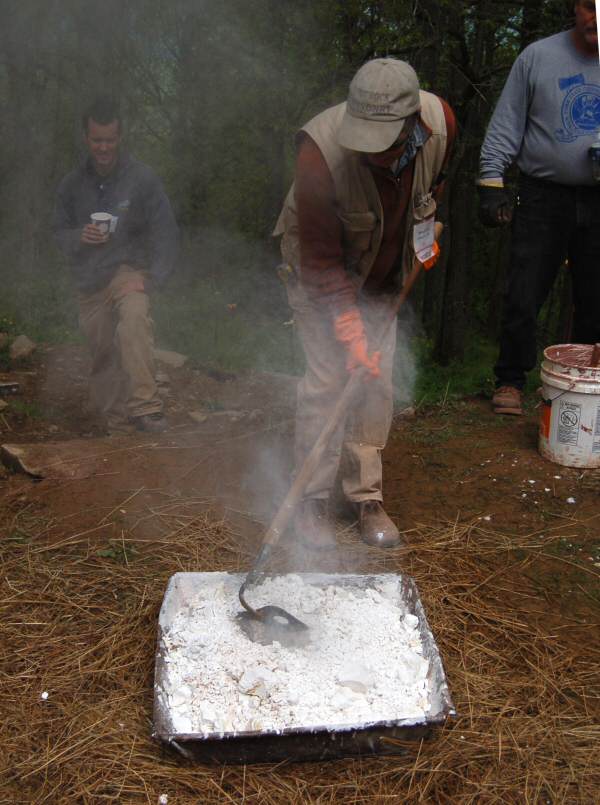
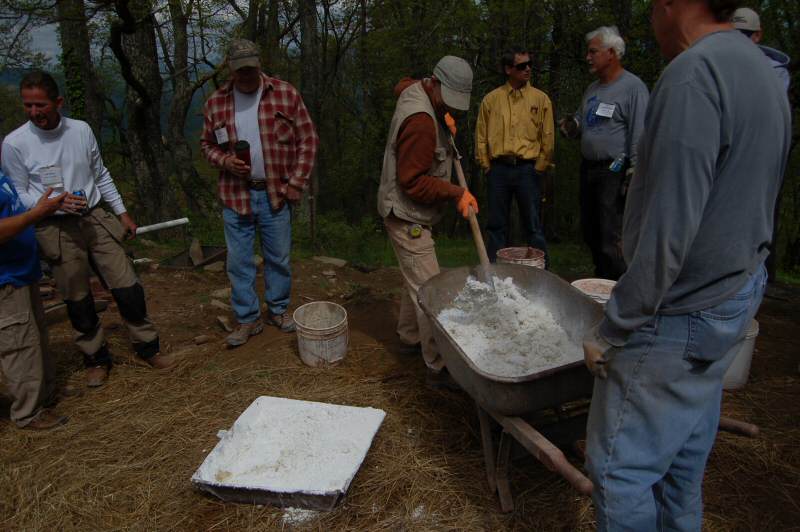
The hydrated lime expands in the pan. Part of it had to be transferred to the wheelbarrow.
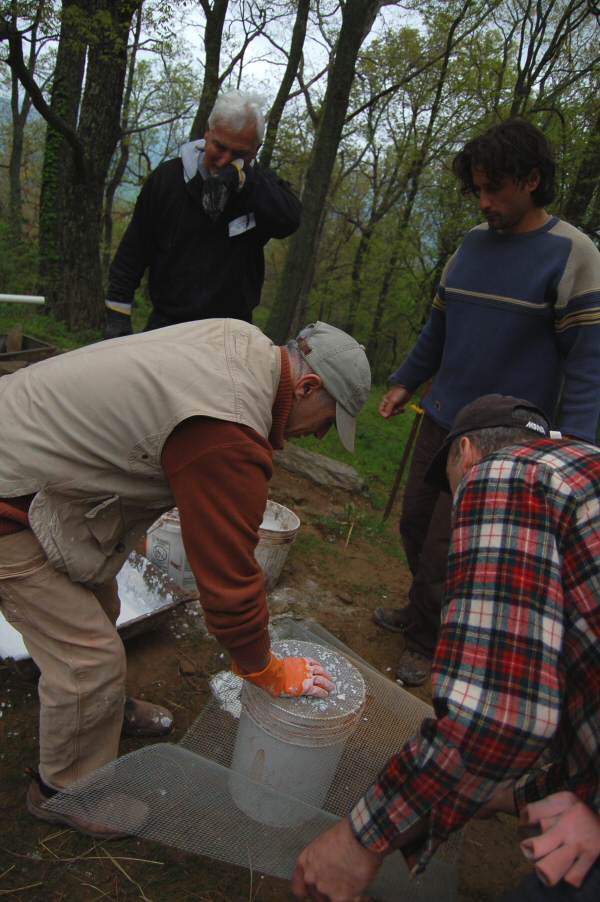
Saving the lime putty in buckets for future use, screening out the lumps.
As long as it stays covered with water, it will improve with age.
We will keep it for use on next year's projects.
It has to be protected from freezing.
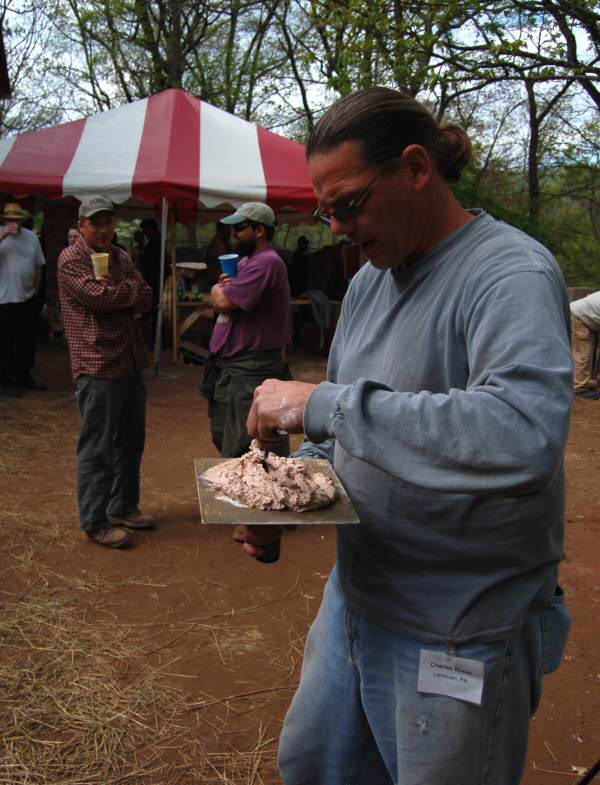
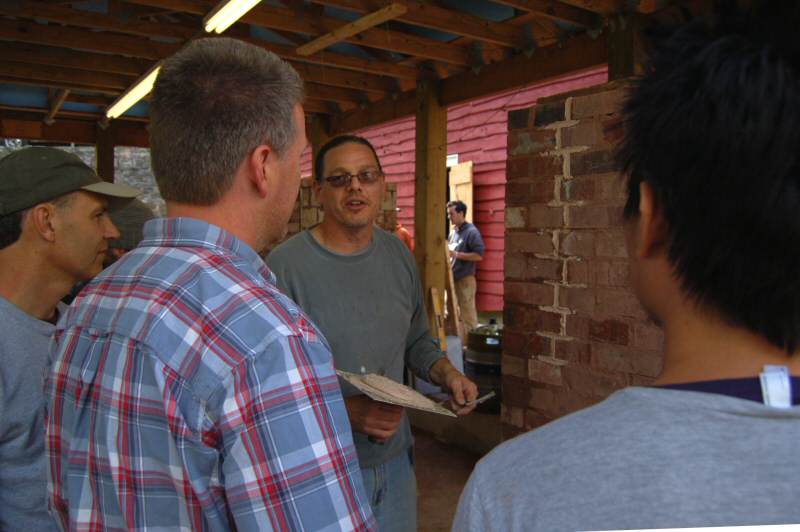
Charles Bozzo is a sculptor and historical restoration specialist.
He made a small batch of lime mortar by adding sand to the putty.
We tried it out on repointing an expansion crack on one of the test heaters. The heater is hot and the vertical crack is in
the expanded state. Repointing the crack wedges it in the open position. The mortar has to be kept from
drying out too quickly by spraying with water. The repair worked very well, and the crack did not reappear during
the next heating cycle.
See also,
2007 Photo Report
2006 Photo Report
2004 Photo Report
2003 Photo Report
2002 Photo Report
2001 Photo Report
2000 Photo Report
1999 Photo Report
1998 Photo Report
1997 Photo Report
This page was last updated on April 30, 2012
This page was created on April 27, 2012
Back to: