
Triple
Skin / Contraflow Heater in Japan
Part
2

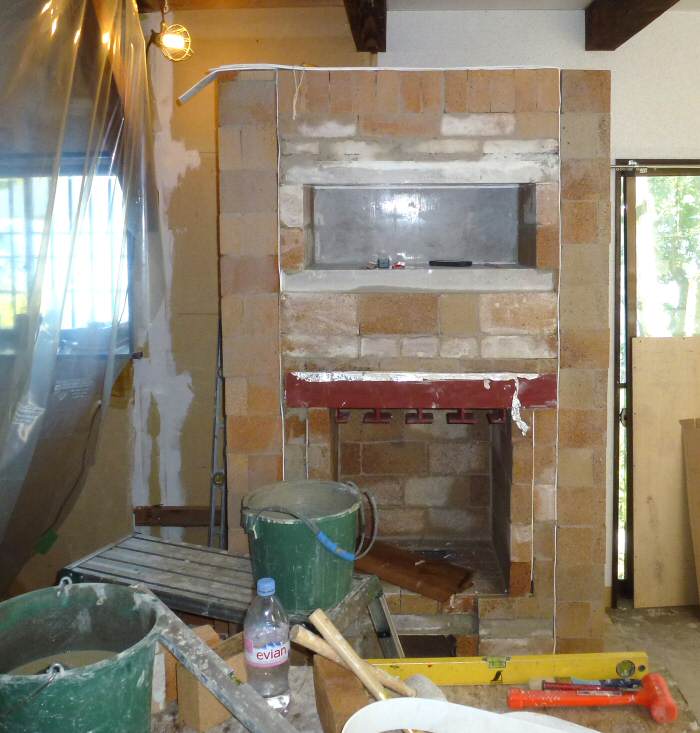
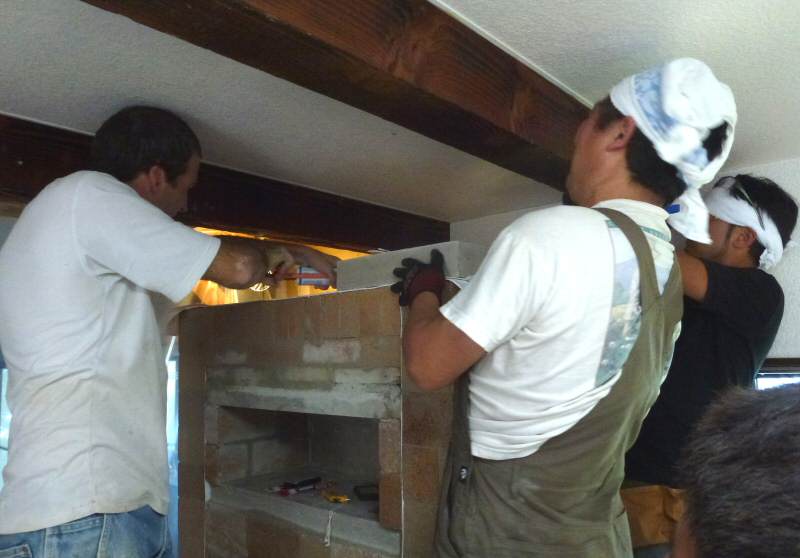
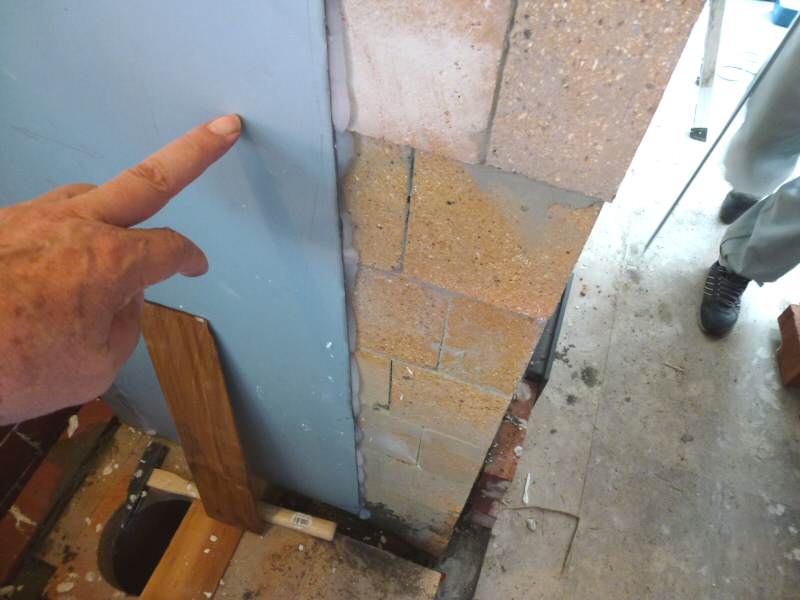
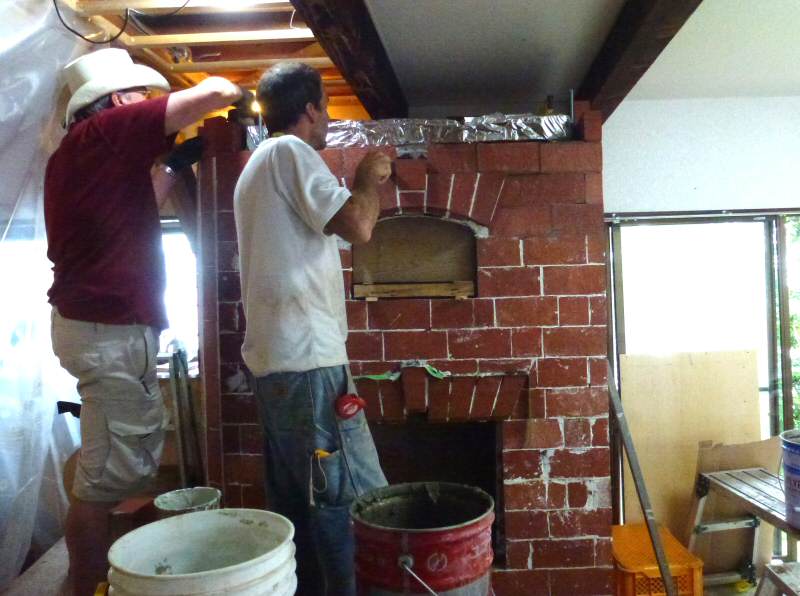
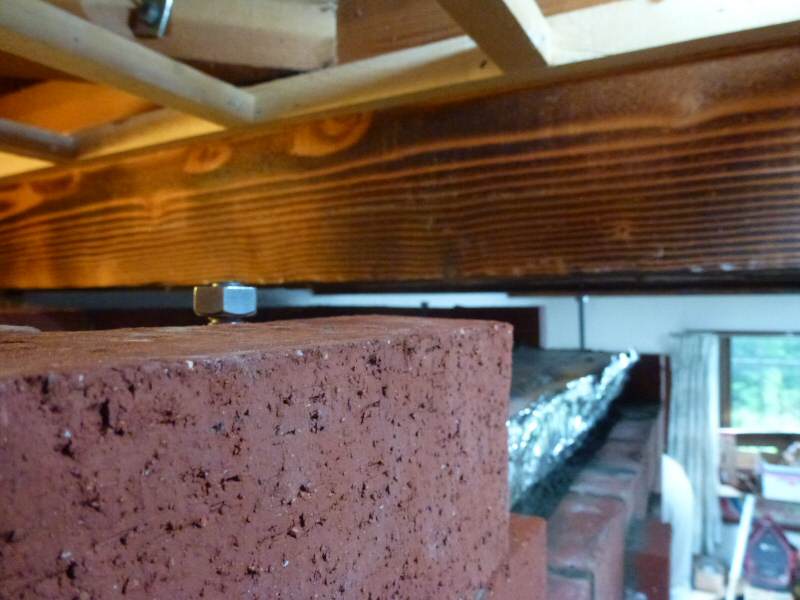
Note
the tight clearance to the beam.
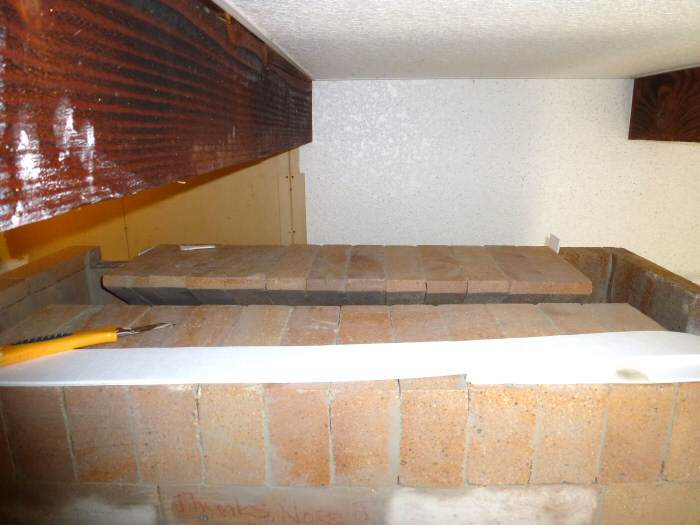
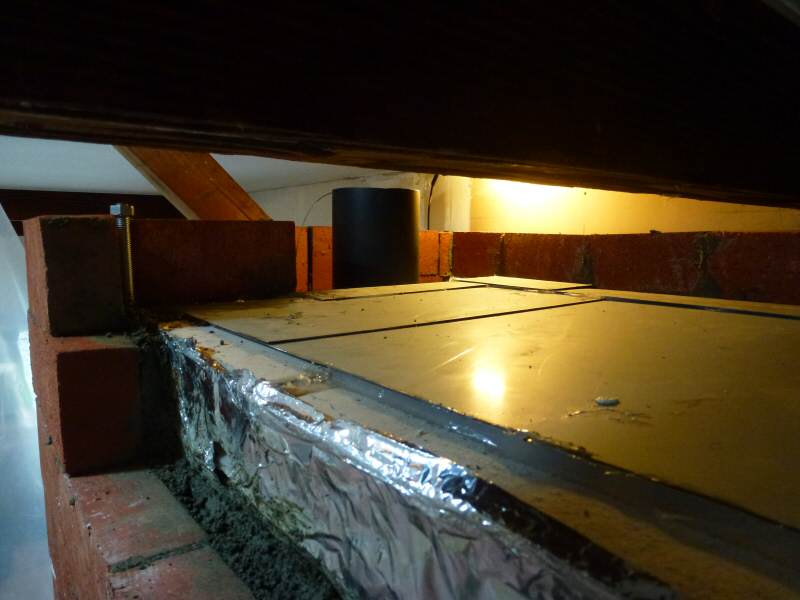
Last
view inside the top before the ceiling slabs go on.
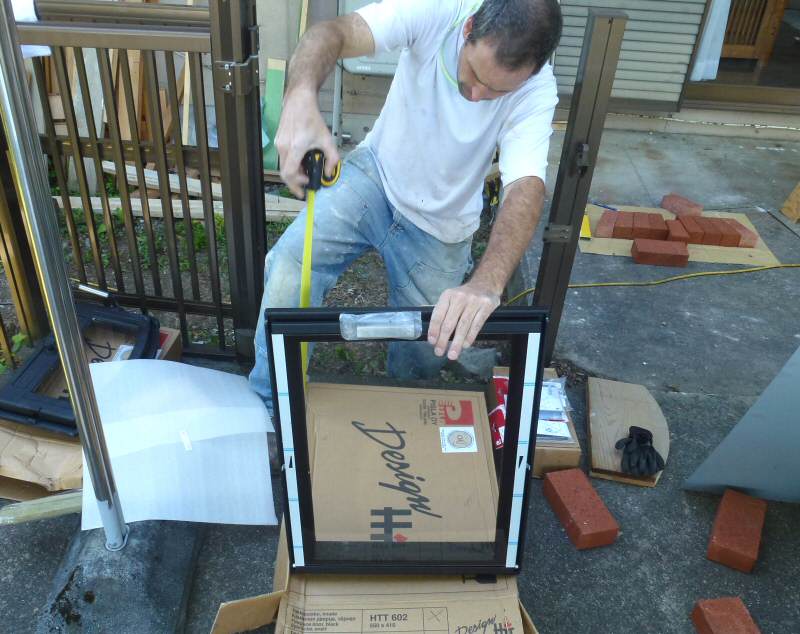
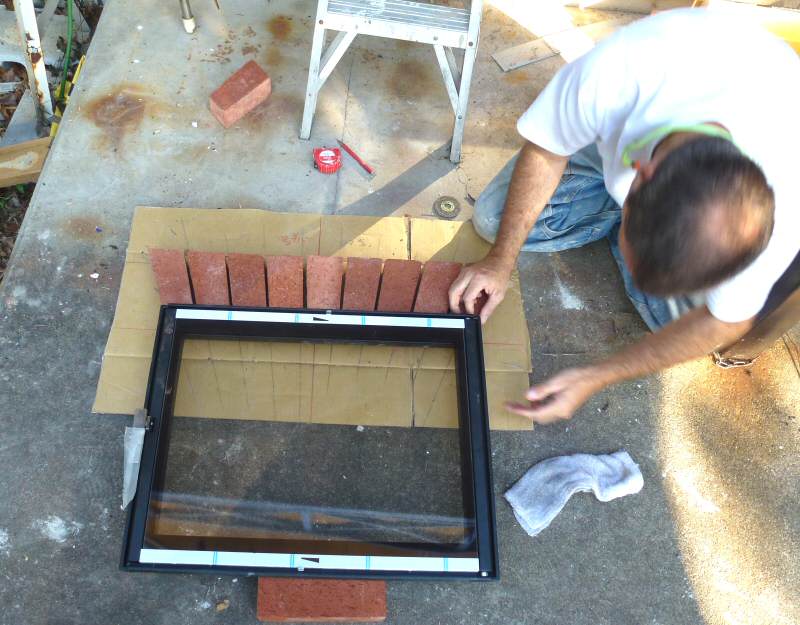
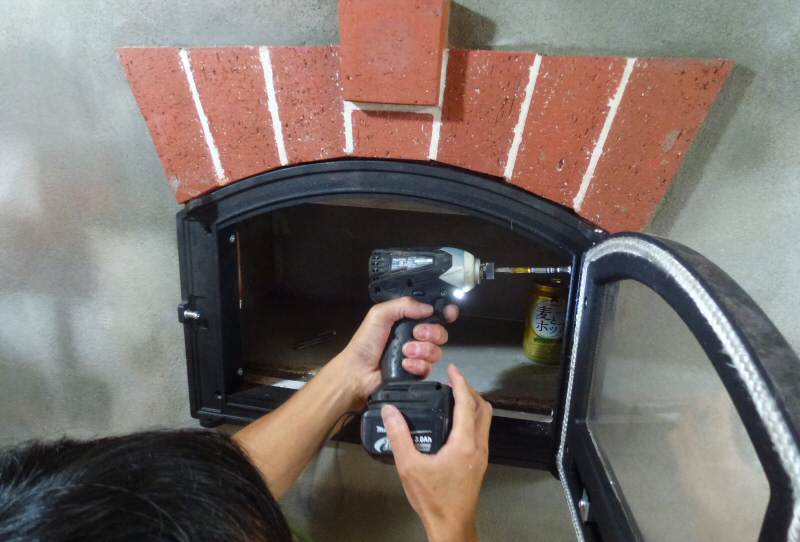
Checking
out the new Pisla
602 door.
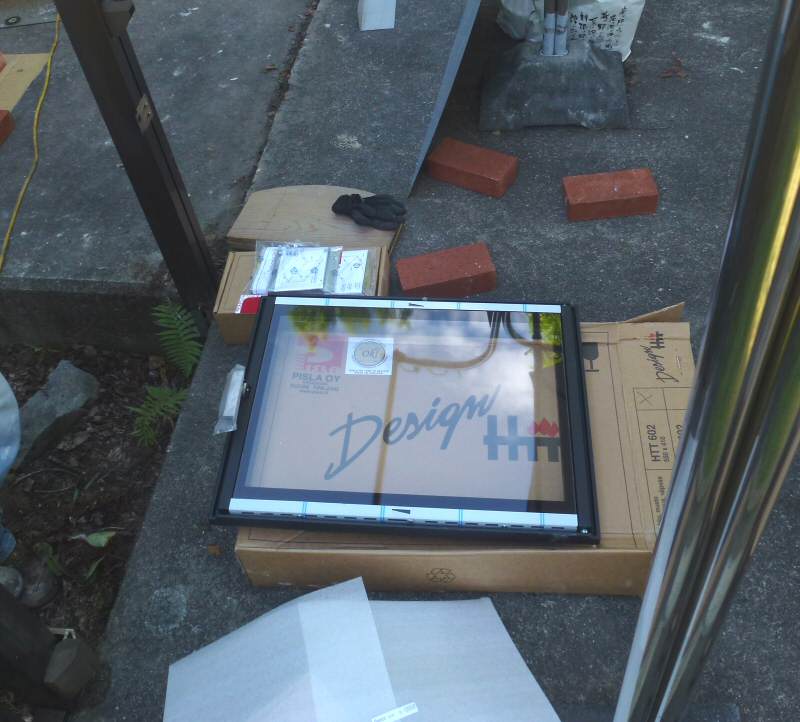
Very
nice. Finally, an affordable 22" door with maximum glass. The have a
double glass version planned for release soon.
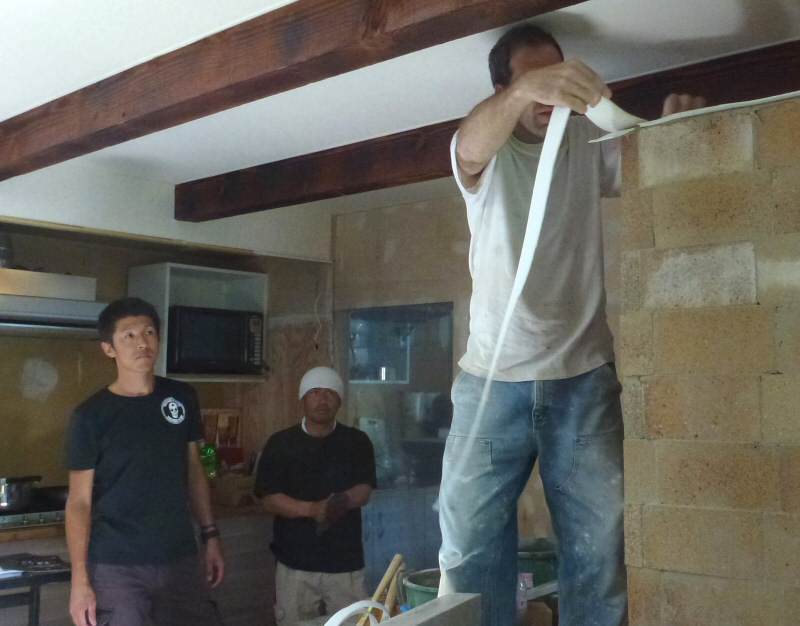
Laying
down gasket for the ceiling slabs
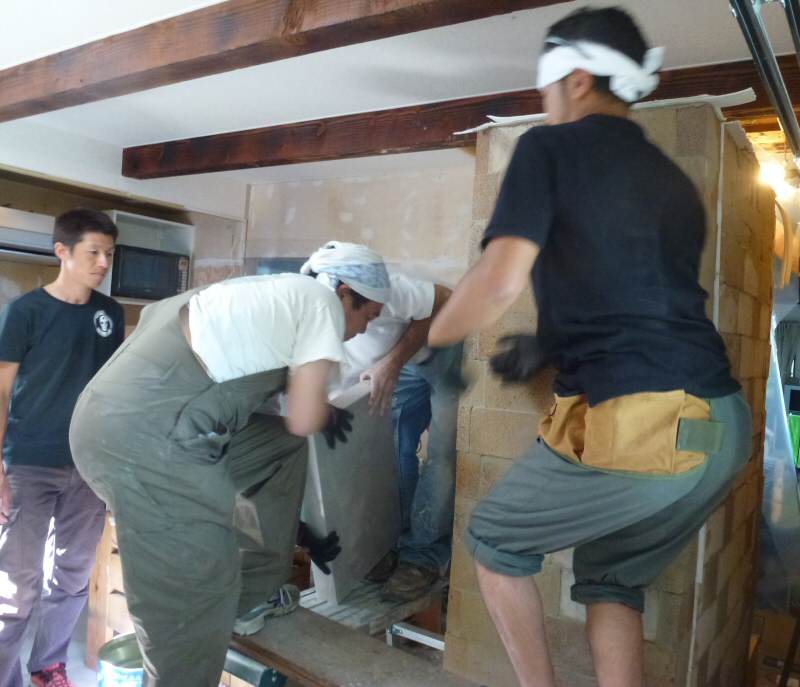
Lifting
the first of the 3 ceiling slabs into place.
Sealing
the slabs together with silicone.
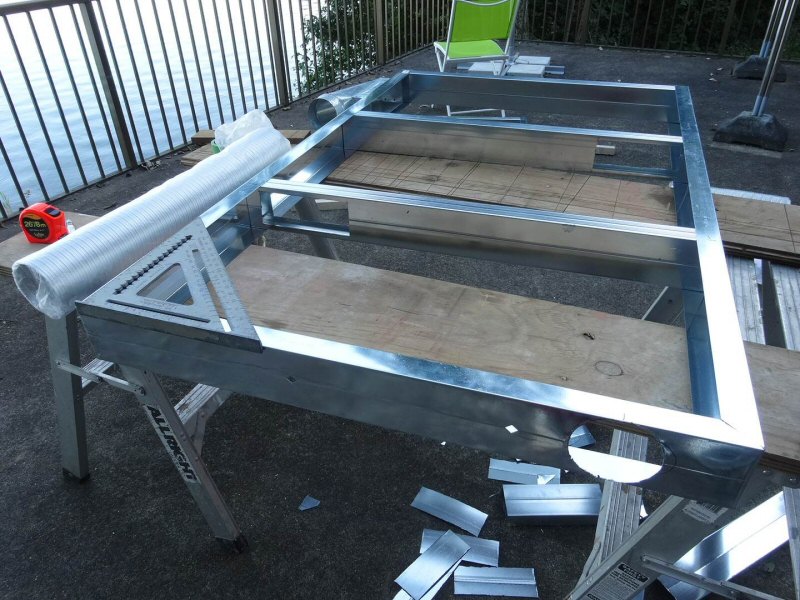
Starting
work on the sheet metal. Having a tin shop prefab it would normally
have saved a lot of time compared to
on-site
fabrication (which is a good way to ensure that you don't make
money on a job ;-). However, we had lots of
help and it was a real learning
experience for everyone involved.
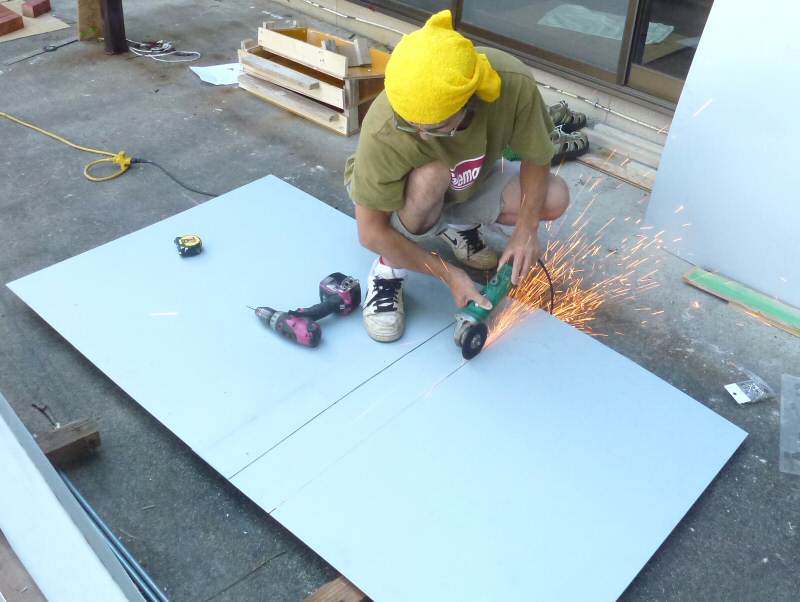
Sheet
steel was fairly heavy at 0.7 mm (22 gauge), and came in 3' x 6'
sheets. We pop-riveted it together, with a heavy
bead of silicone to provide an airtight seal. The corners are bent
around, and the vertical ends sealed to the core with
silicone, and then buried in mortar slush.
With
a prefab pan, it would have been possible to wrap it around the bottom
of the base slab. In this case, we trusted
the job to silicone only.
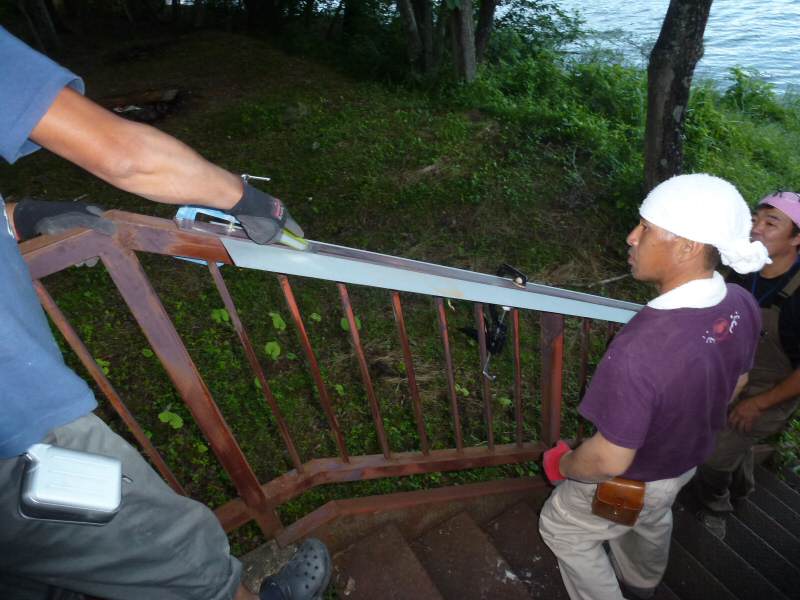
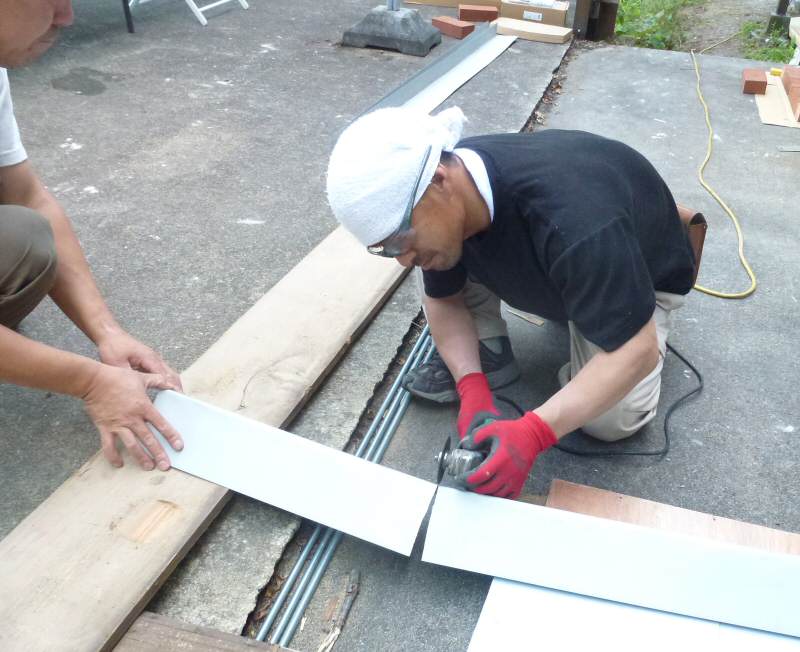
We
had no sheet metal brake, so could not bend the large sheets. We used
6" strips, and made corners out of those.
The
corners were pop-riveted to the flat sheets.
We scrounged up a couple of C-clamps and used the square tube
metal railing as a bending jig.
The Japanese crew did a great job on the bending, totally improvised.
Here, they are scoring the bend line with an
Olfa knife, a great idea.
I always assumed Olfa's were made in Sweden because of the name, but
they are made in Japan. The black blades
in Japan seem to be quite a bit sharper than the ones we get in North
America, so Brian and I both picked up a
box of 50 blades for $7.00. They'll slice paper into thin strips of
confetti, just like the sharpest knives I've ever used.
The same pack of blades here costs $35.00.
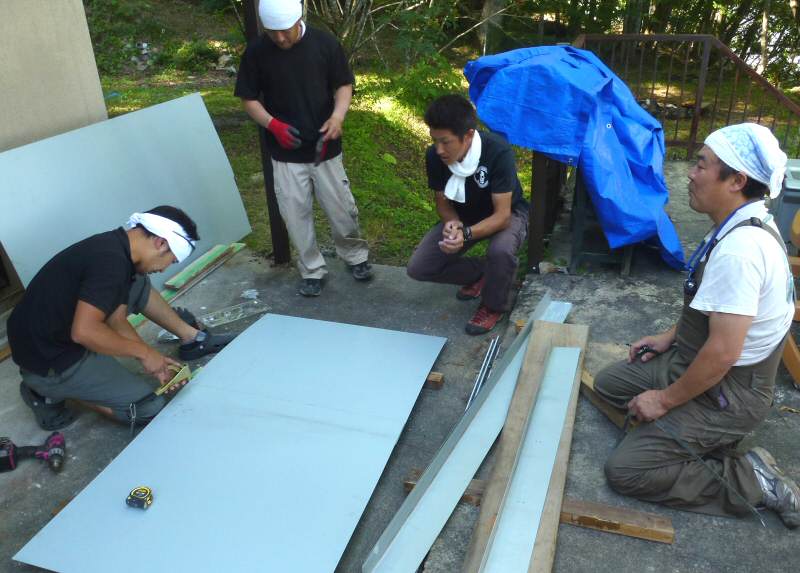
Pop-riveting
two flat sheets together.
Cutting
a corner piece to length.
Ono
laid the pop rivet holes out very carefully and evenly spaced.
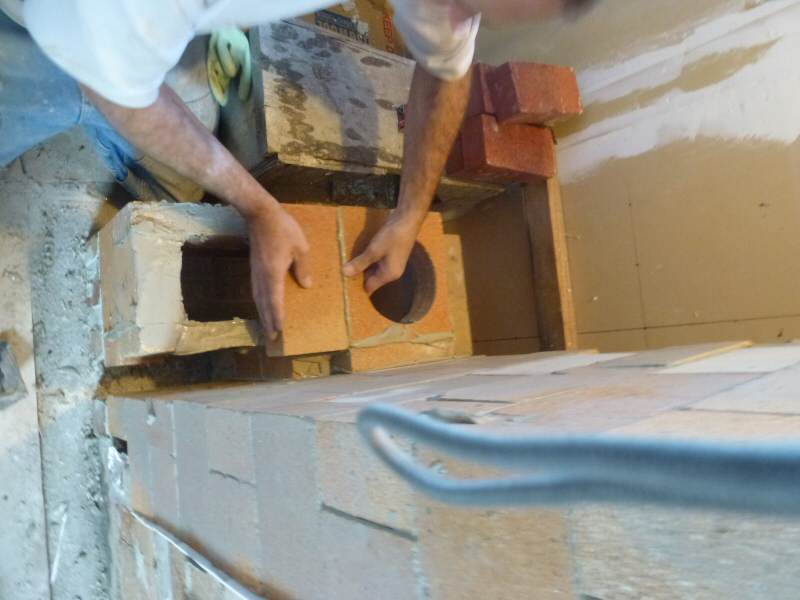
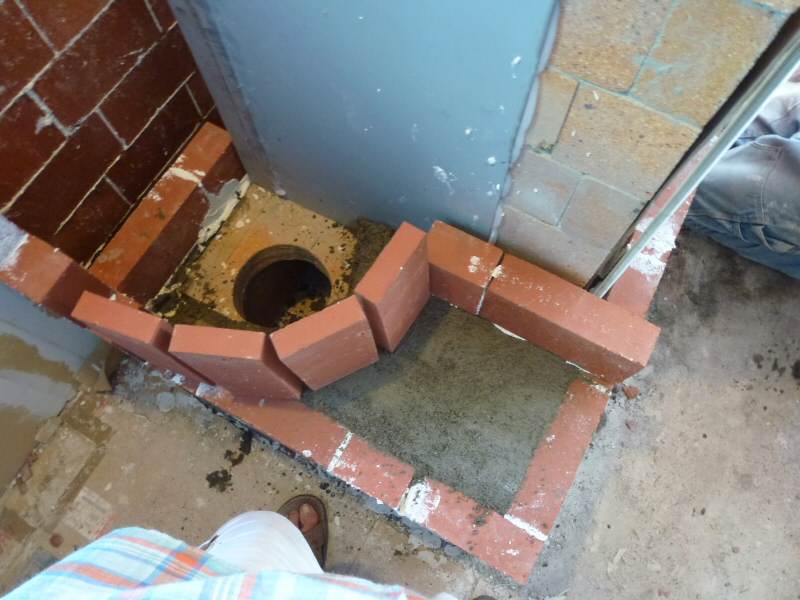
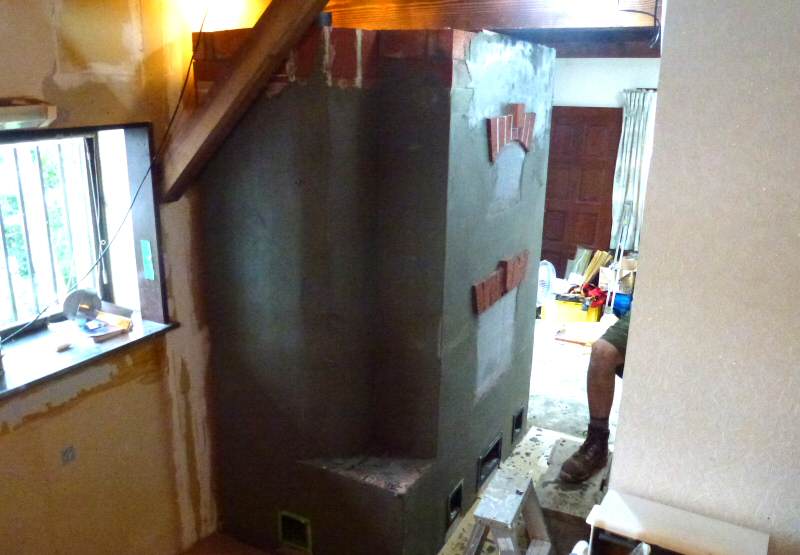
Chimney
connection, clean out, and small heated bench.
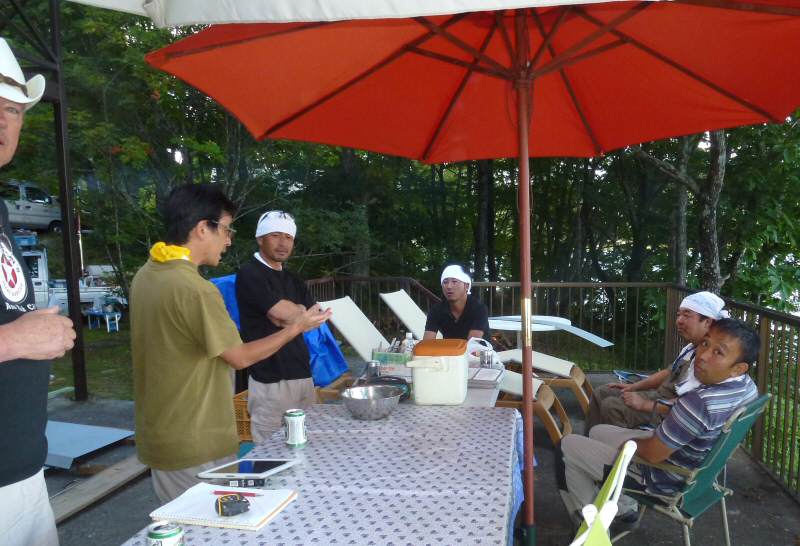
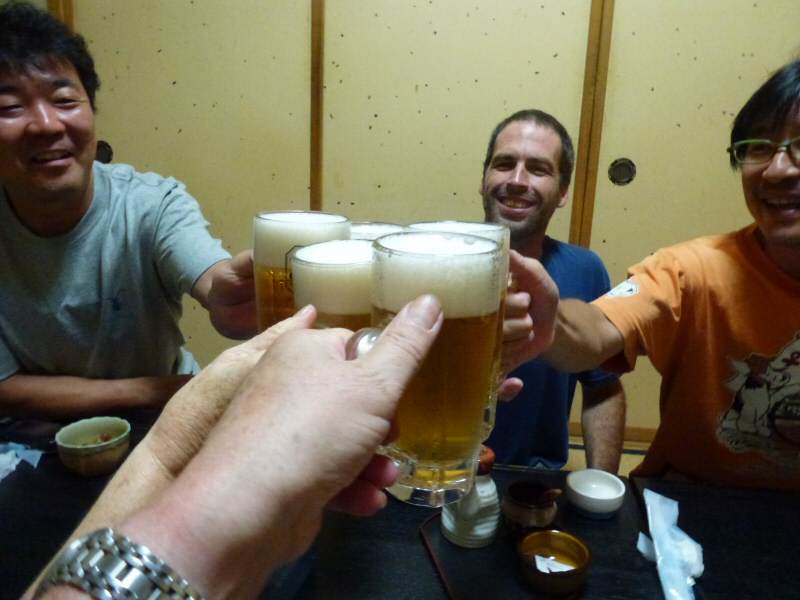
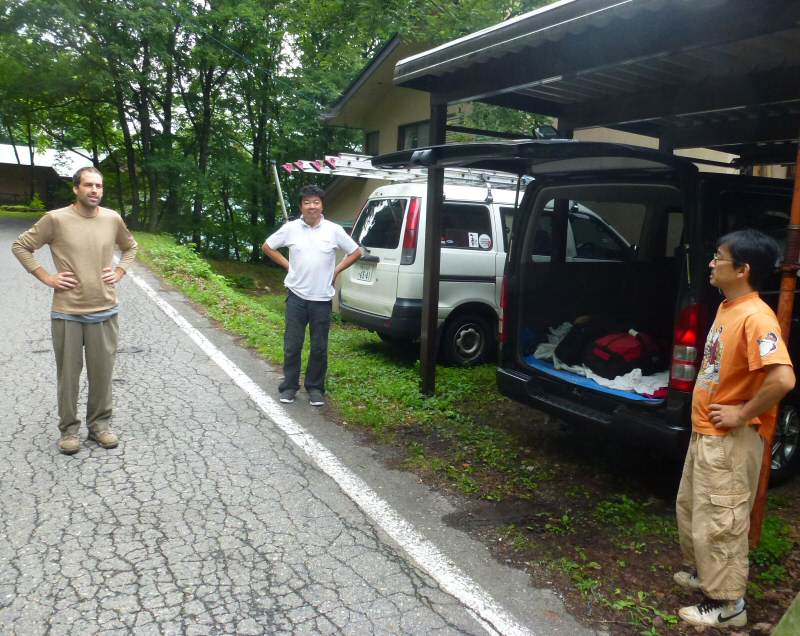
Saturday
evening. Party is getting set up in the background. The silver truck
you can just barely see just rolled in and has a portable
bake
oven on it. Should be interesting! (separate report coming
soon).
Aki's
friends Troy and Sakiko dropped by for the party. They have a bar,
restaurant and lodge in nearby Hakuba, which
is a big ski
area. The ski jump from the '98 Nagano Winter Olympics is located there. Troy is a Kiwi,
and has lived
in Japan since 1992.

Sunday
morning. Brian is getting an early start because he wants to get the
heater finished before he has to fly out on
Wednesday. I'm
all for that plan, because I'll be finishing up before Leila and I get
to check out the sights in Kyoto,
about 4 hours away by bus.
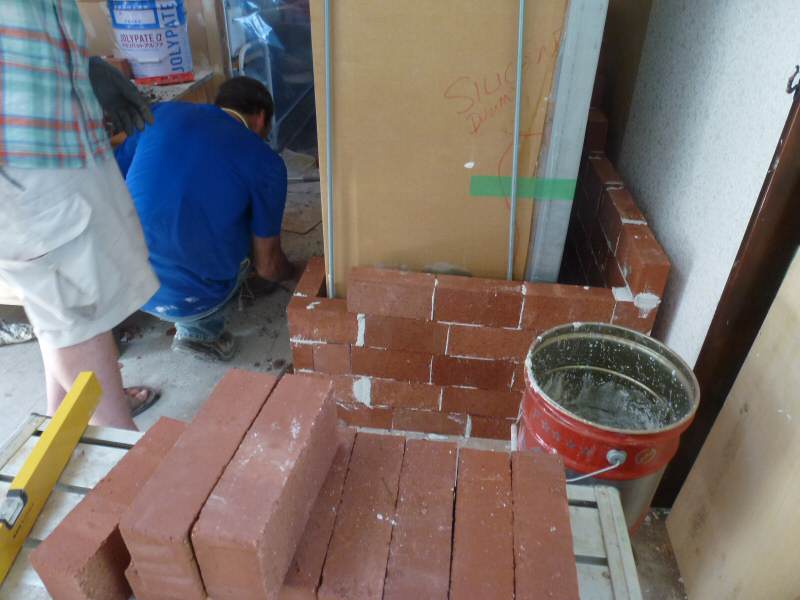
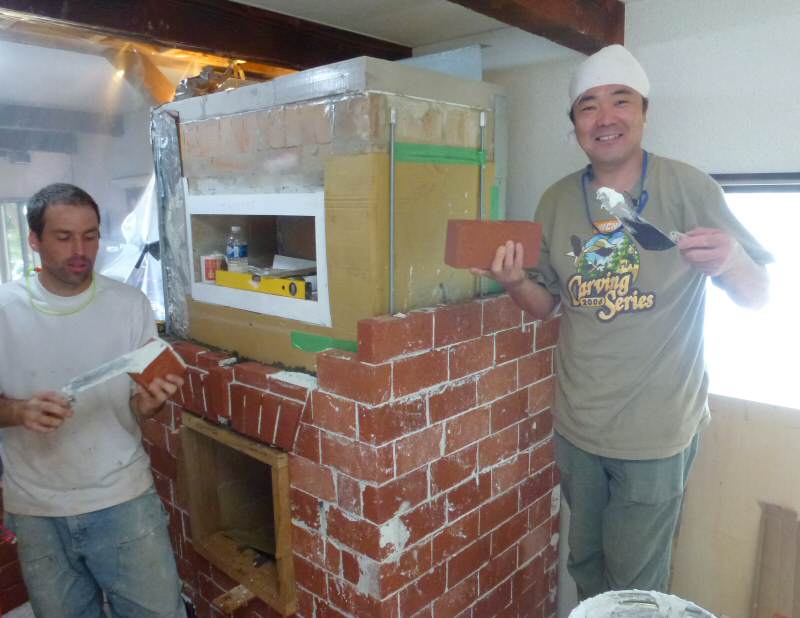
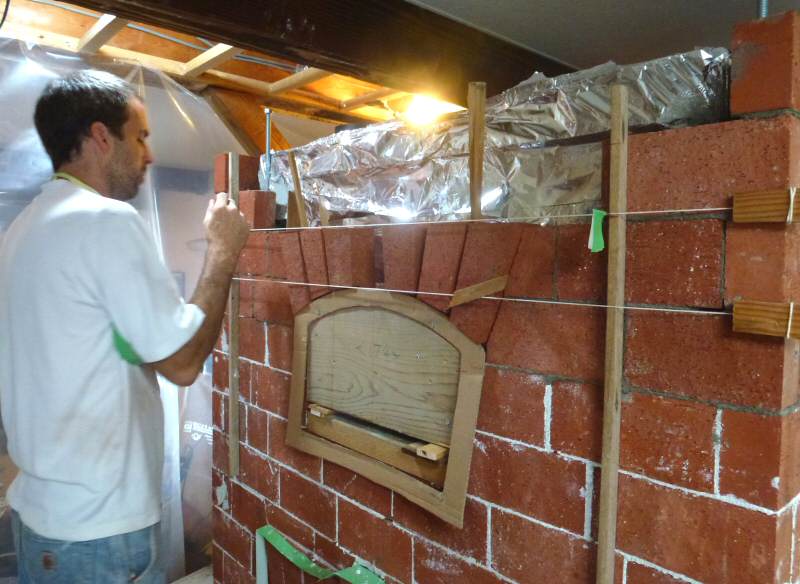
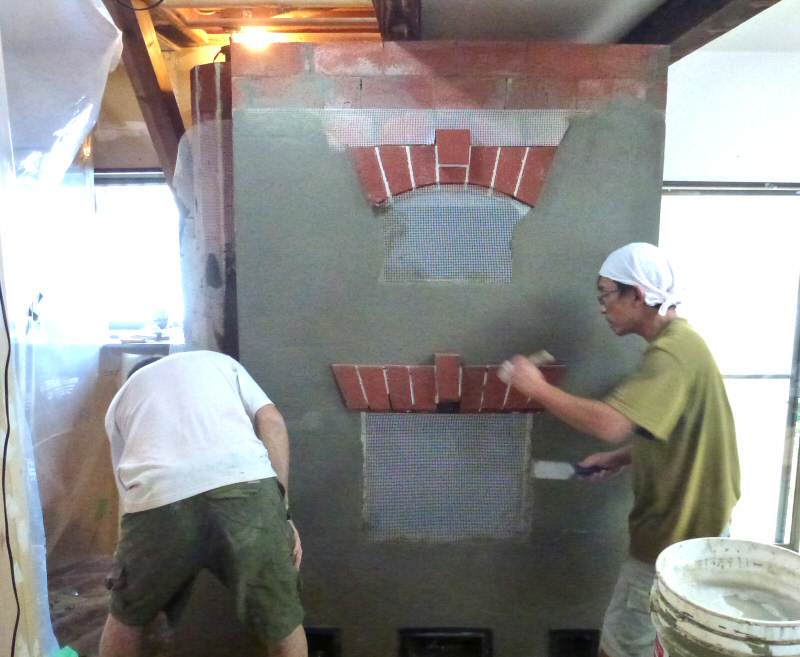
Starting
on the facing. We used red pavers from the local garden supply and set
them as shiners (on edge). For
mortar we had white
thinset originally intended for plastering. It was very nice (see video
below).
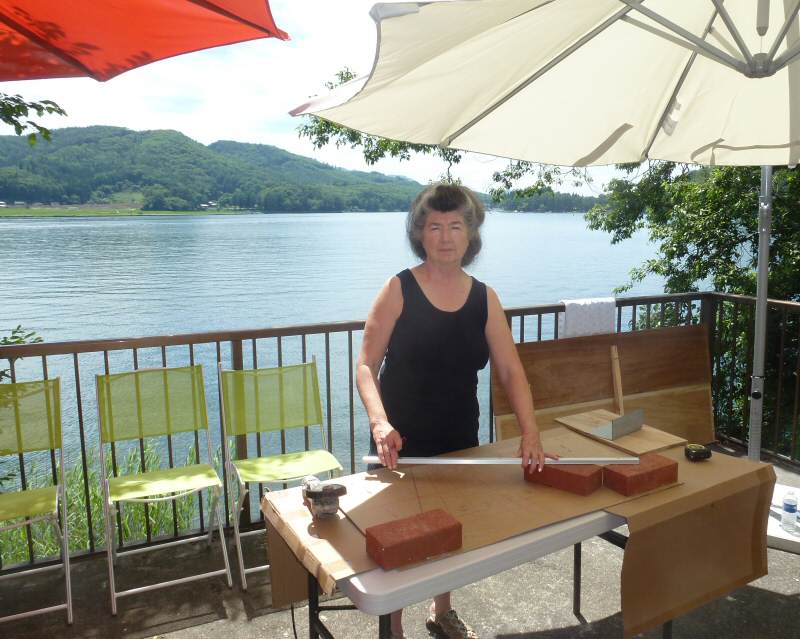
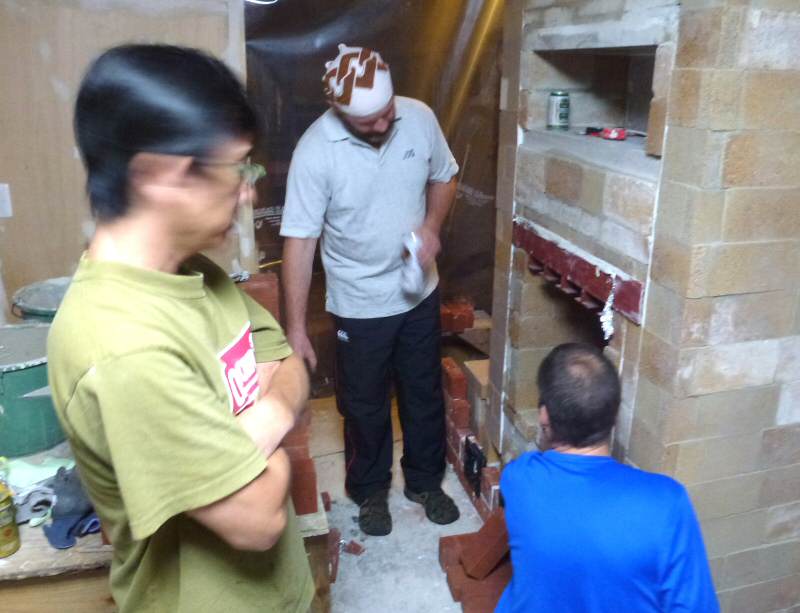
Laying
out oven arch bricks from Brian's template.
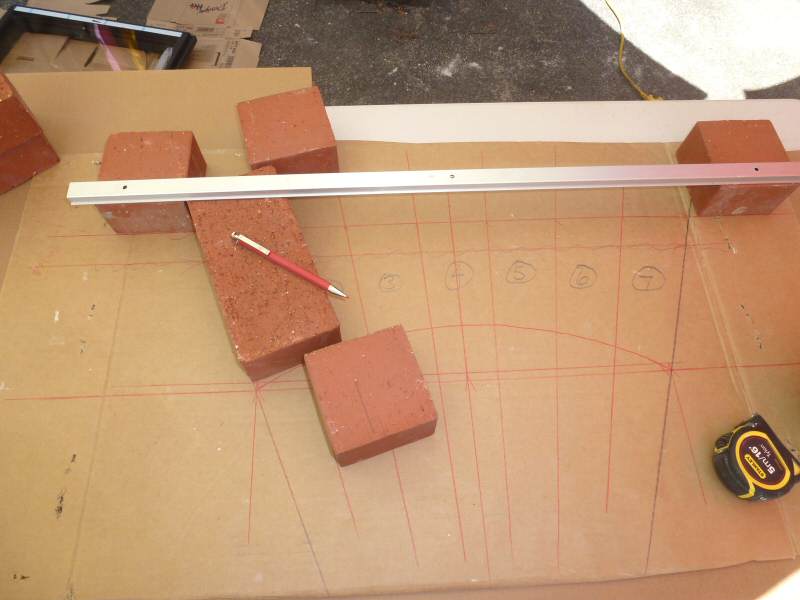
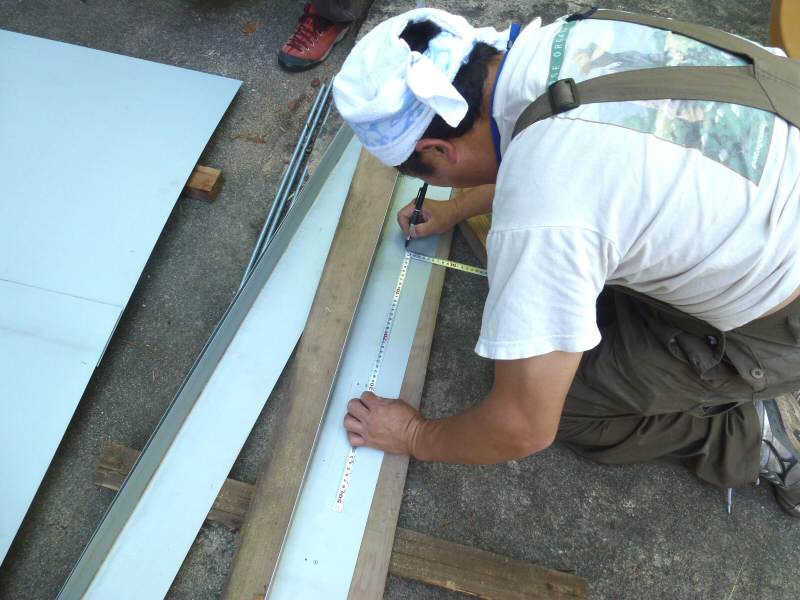
Method
of transferring the lines, without having to eyeball them. Note the
cool 2mm red mechnical pencil, one of our major
Japanese
finds. The hardware store had them in about 4 different size leads, and two
brands including Mitsubishi.
Brian and I bought a pile of them, as well as refills.

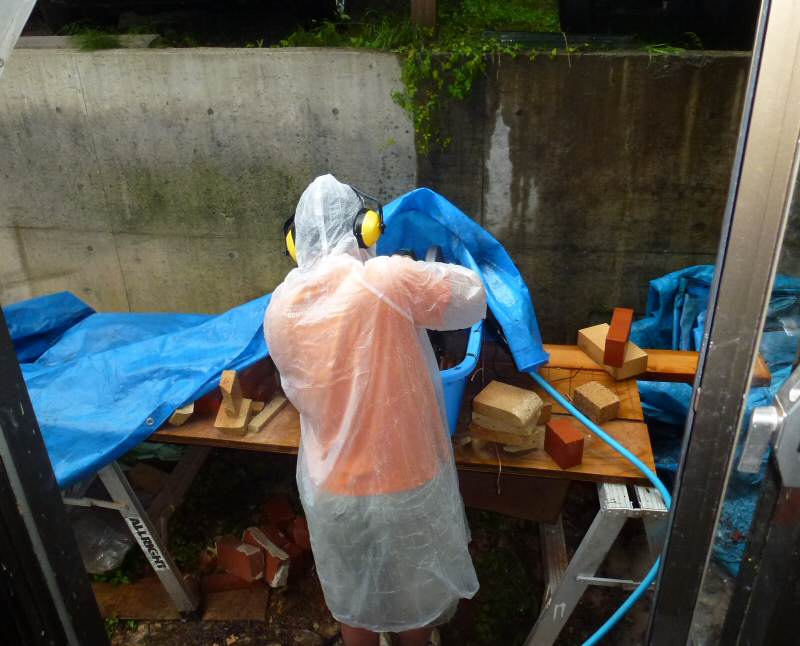
My
turn at the chop saw. Aki came up with this setup, and it actually worked a lot
better than we were expecting.
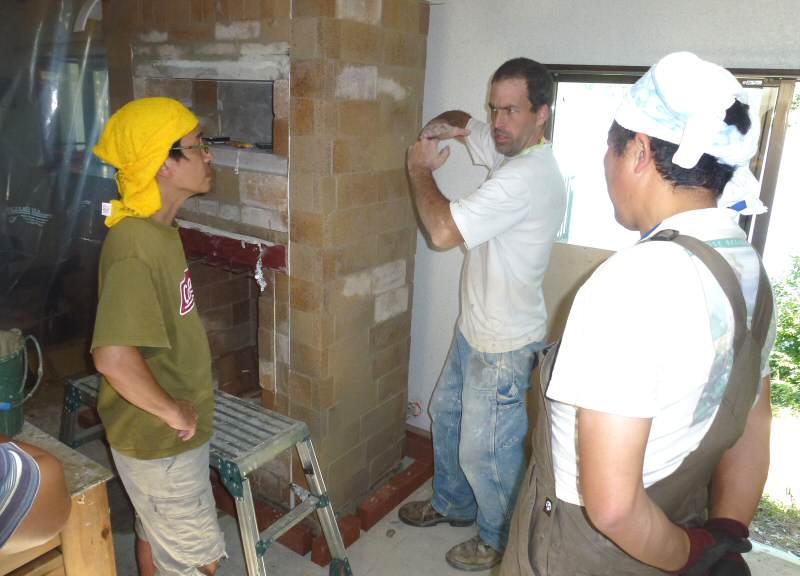
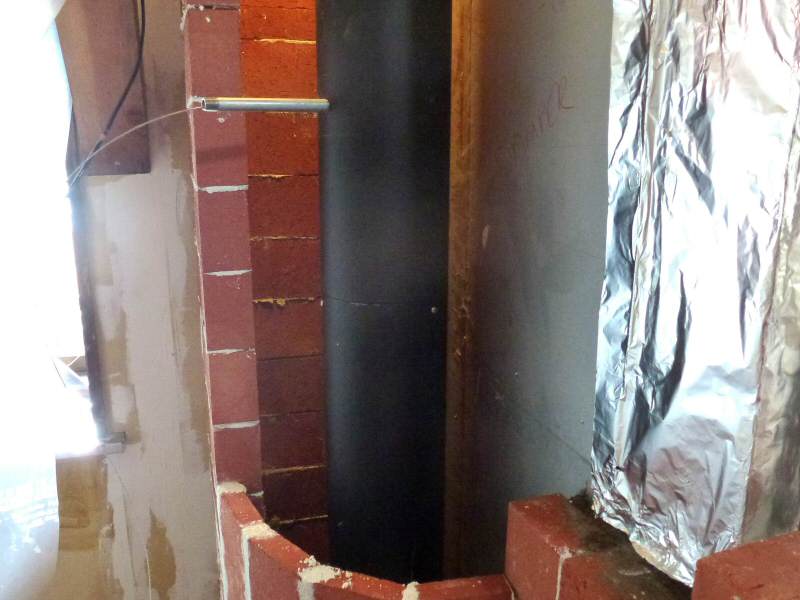
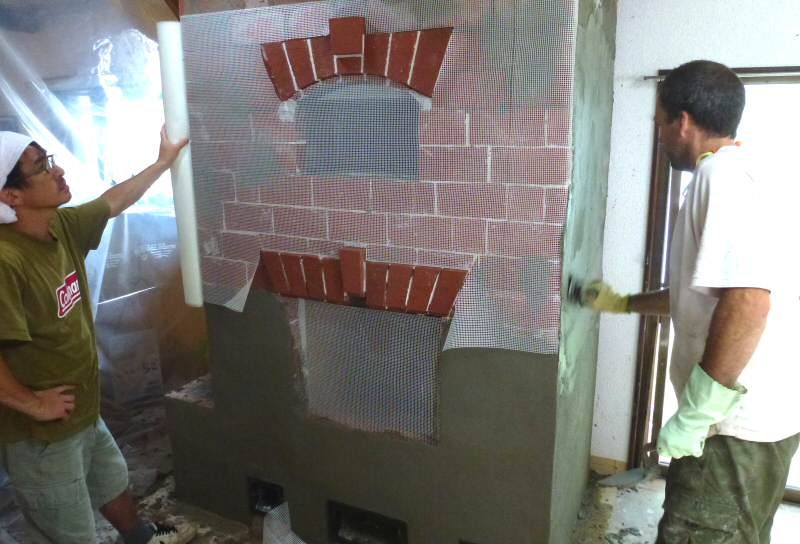
Installing
the sheet metal outer skin onto the core. This makes it a double skin
heater, but more compact and responsive
for the
convection loop. The upstairs panels will be insulated against the
wall, and the outside radiating surfaces will
be 1/4" thick.
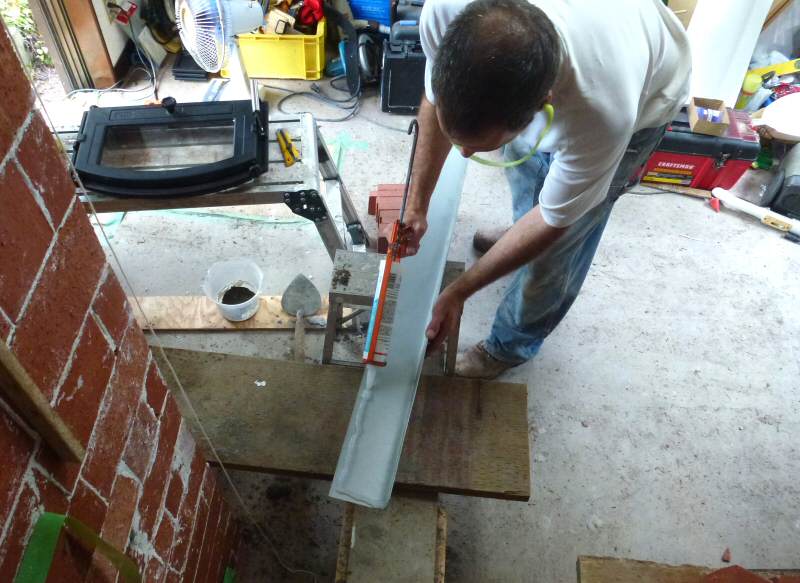
Setting shiners in thinset
Laying out the curve. The goal is to avoid cuts. The red pavers were
available as a split, so this section of wall will only be
1.5" thick. It is the bench back and will warm up quickly . The bench will get a wooden extension, where my feet are, and
follow the curve of the bench backrest.
In
order to lay up the splits, I needed to accelerate the set of the
mortar, similar to what the Ortner
Haftmoertel
from Austria does.
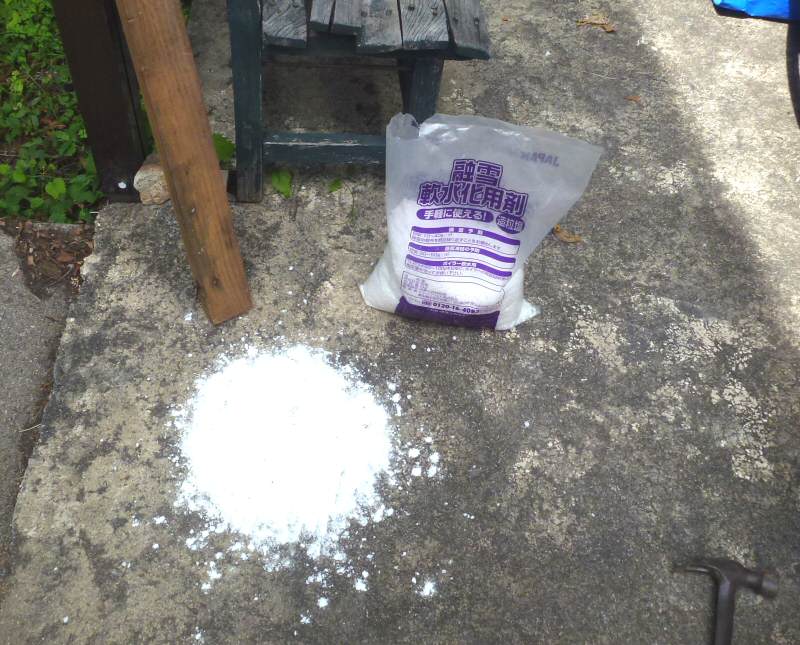
Aki
could not find any quick setting thinset in Tokyo. We bought a bag of calcium
chloride, which is an accelerator,
at the farm supply and experimented.
To get sufficient strength
of water solution, we ended up having to powder the pellets using the
end of a 2x4 like a mortar
and pestle. The accelerated mortar was quite effective, with a long pot life and a quick set
once it hit the brick.
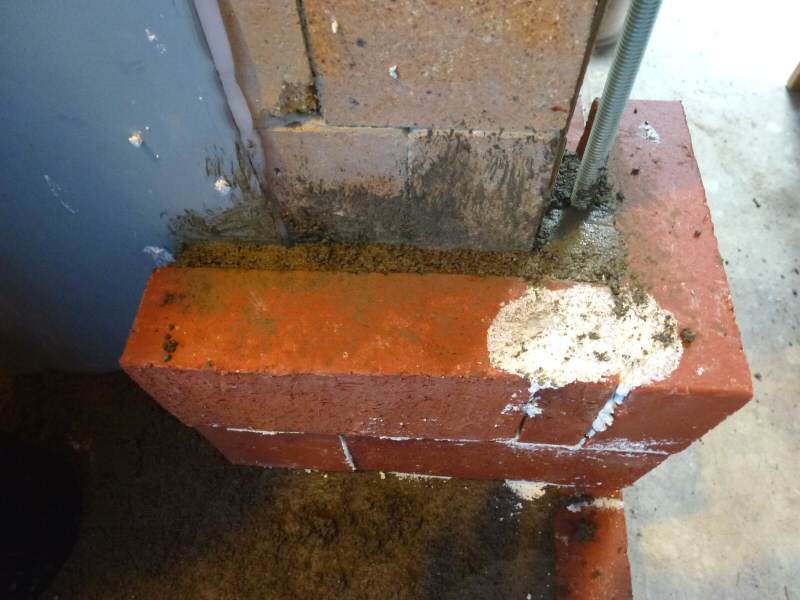
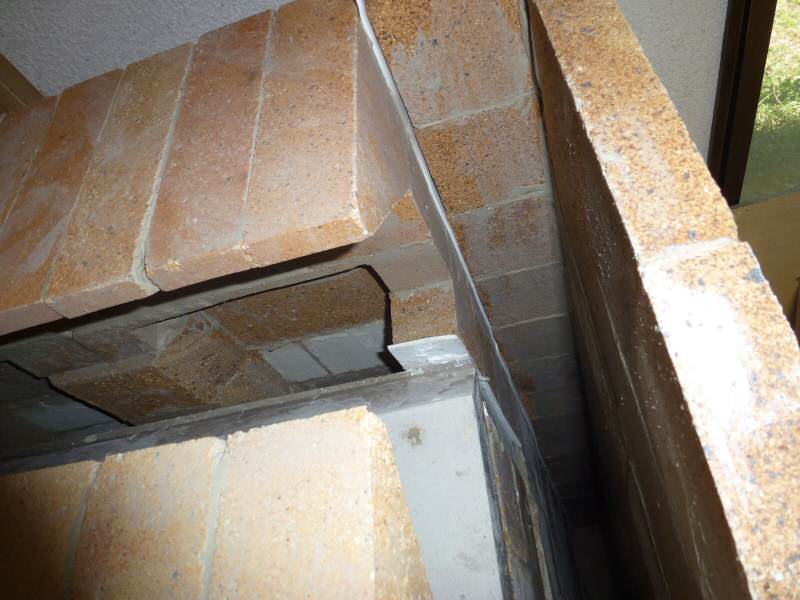
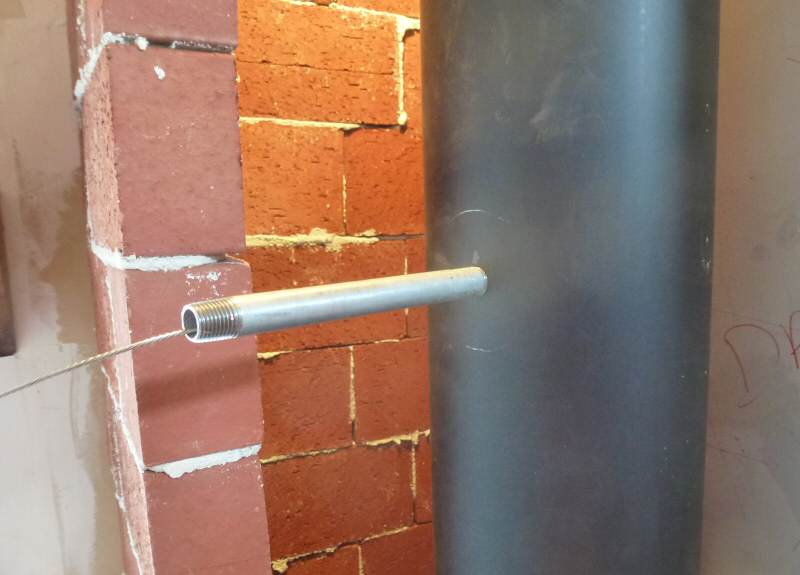
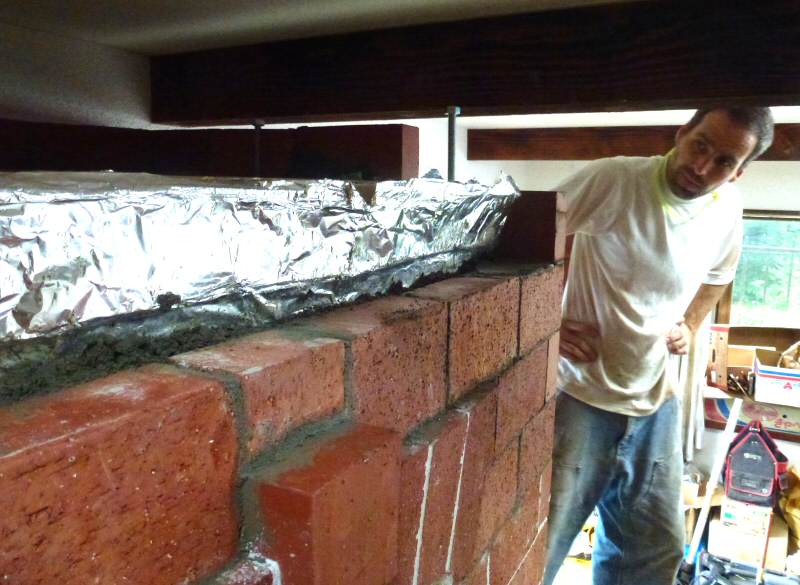
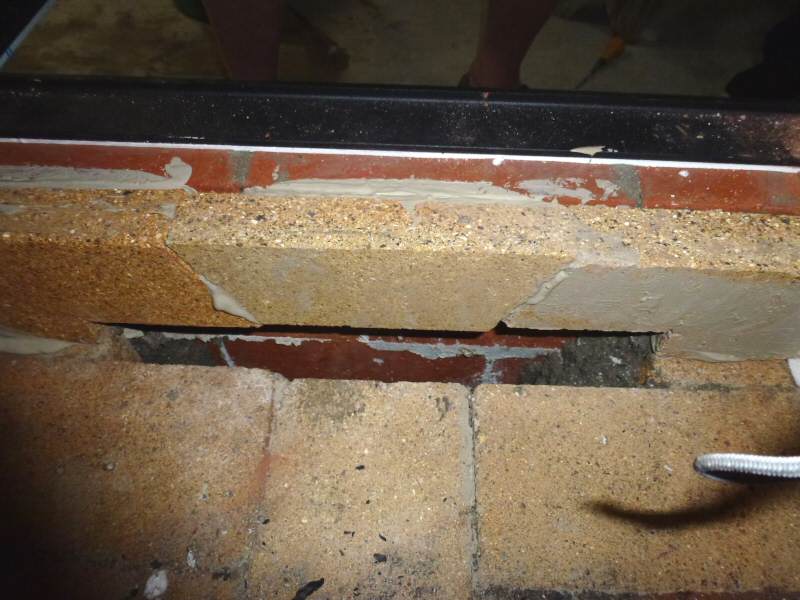
Slush
detail. Note the threaded rod for seismic on the right. It will get a
plate bolted to the top of the facing, to put the facing
in
compression.
Also
note the sheet metal skin on the left. It is sealed to the core with
silicone. Silicone will give a very high strength,
permanently flexible
bond good to 500F, as long as the bricks are dry and clean. These bricks were
still damp - even if there
is no bond, the silicone forms a
rubber gasket perfectly contoured to the irregularities of the
brickwork. It is then
embedded in the slush as shown.
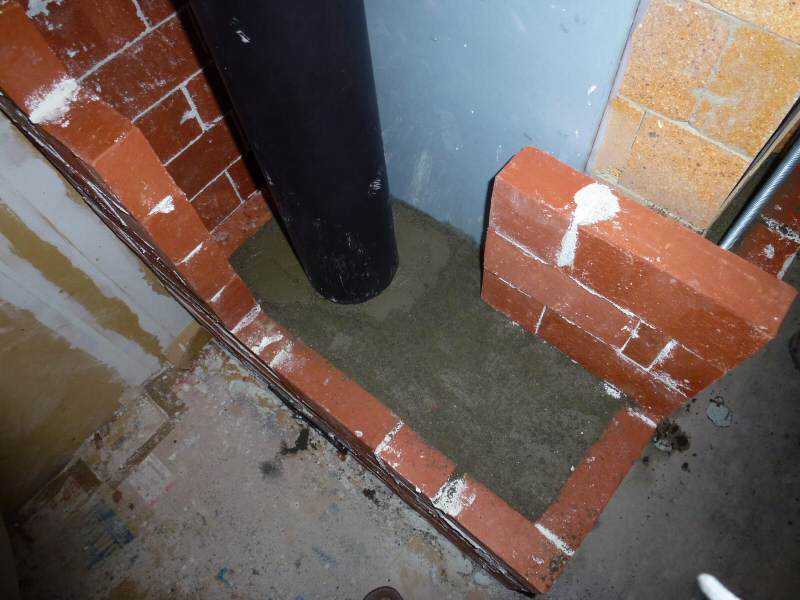
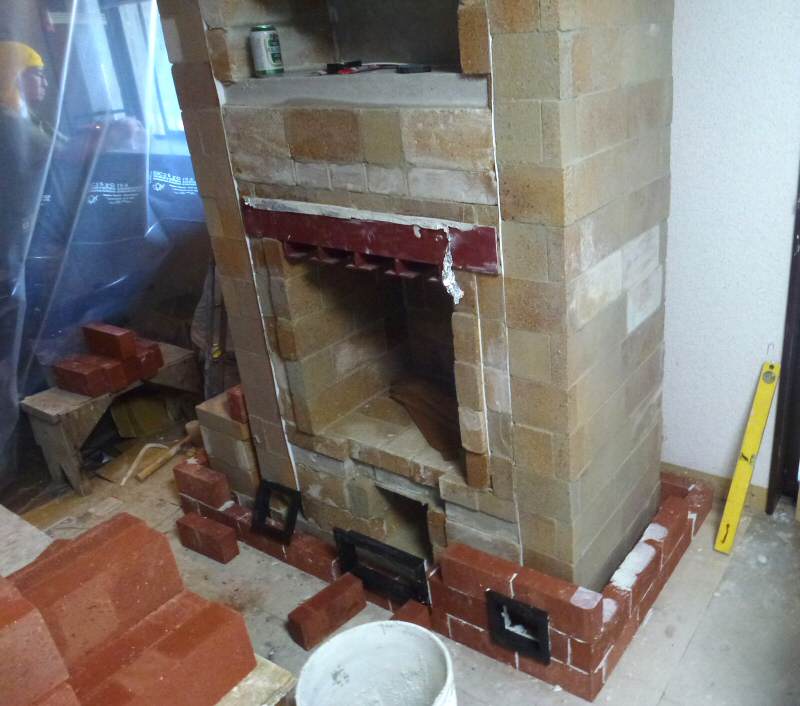
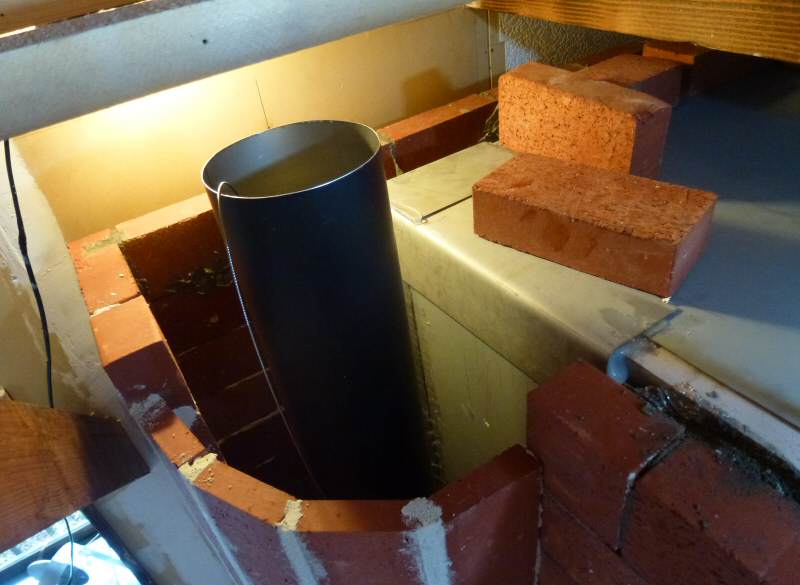
6" single wall chimney. Saves space, and exchanges heat to the convection space.
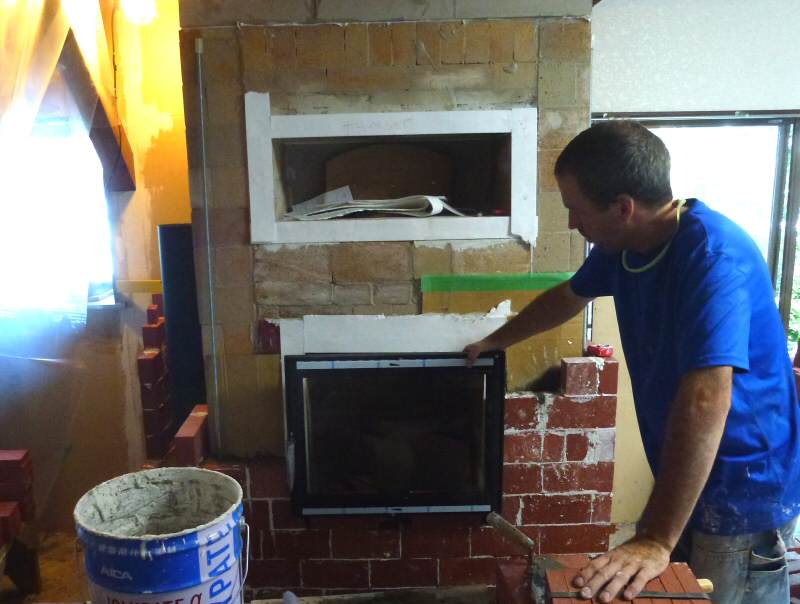
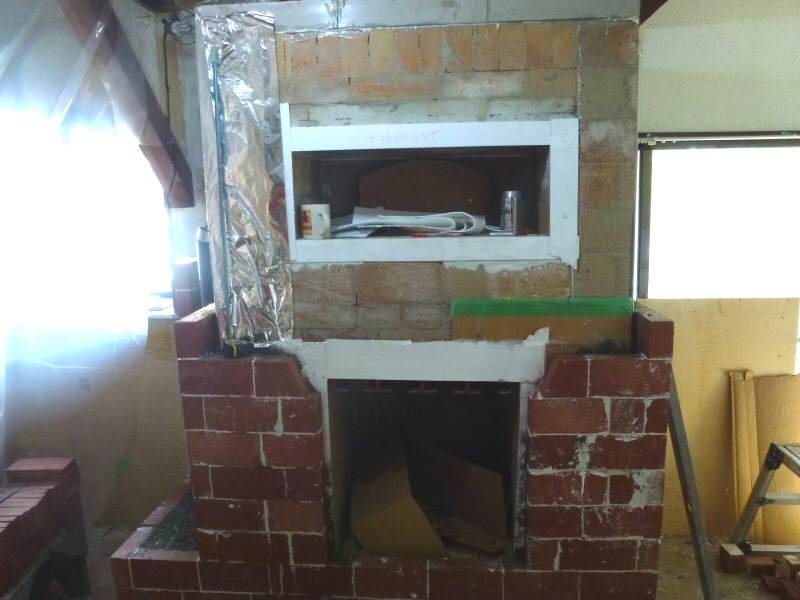
Trying out the door for height.
Threaded rods for seismic. They will get lengthened, using the long nuts on the ends
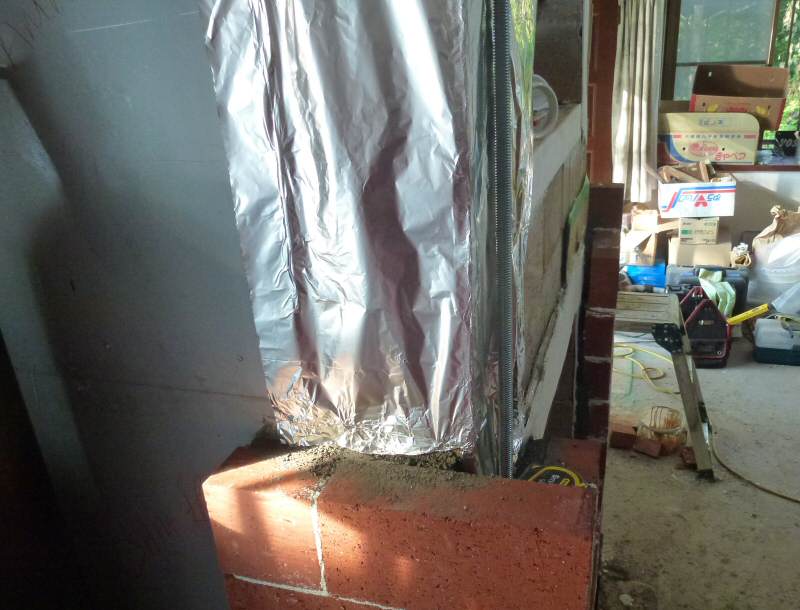
Aluminum foil slip joint prevents the slush from bonding to the core, allowing the core to slide up and down
inside the facing.
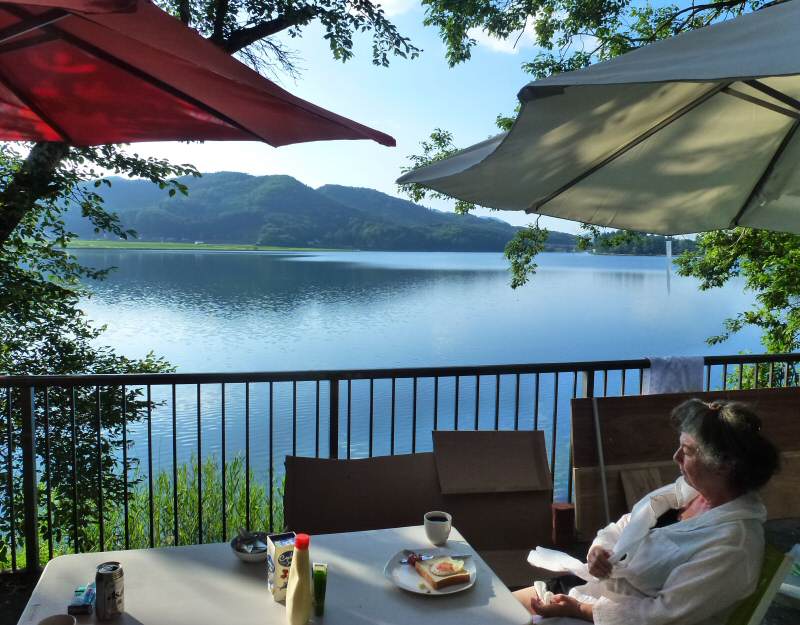
Another beautiful morning. We had great weather, and then some wet weather rolled in at the end.
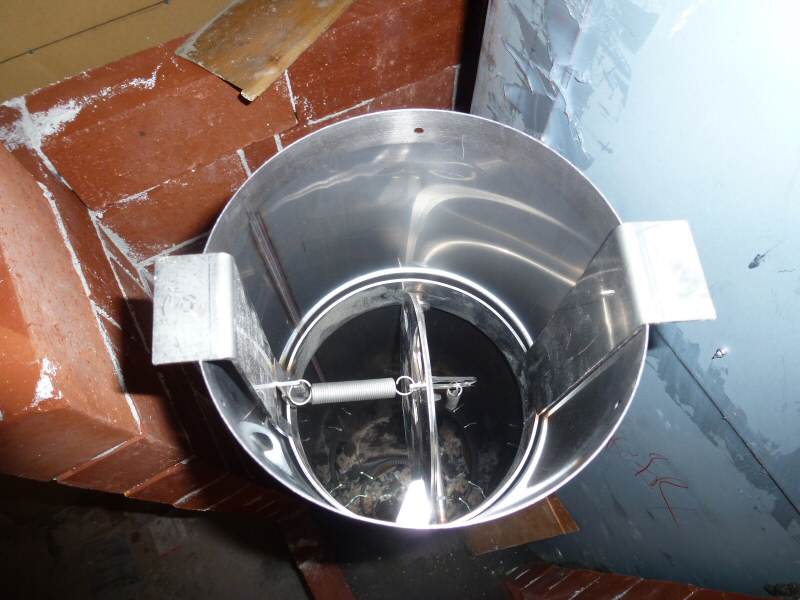
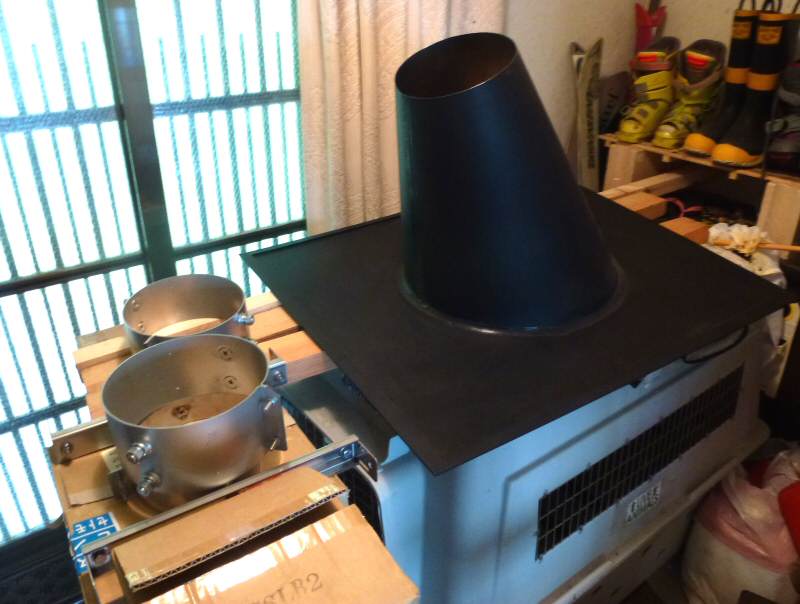
Spider damper, developed by Sleepy Hollow on Long Island. It is a drop in damper that sits on top of the chimney.
Because it is inside the chimney, it is much less prone to icing than conventional top closing dampers. Brian brought it
over in his luggage.
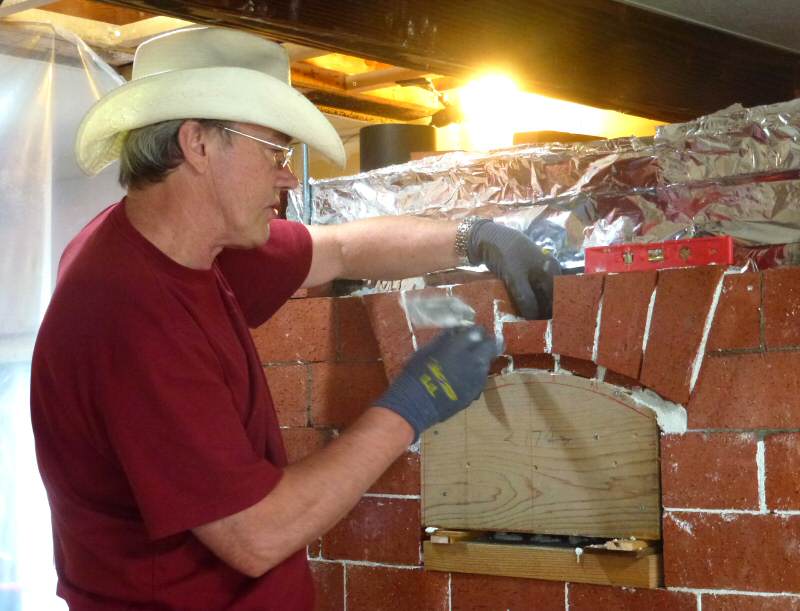
A relief had to be cut into the bottom of the jack arch to accept the door flange.
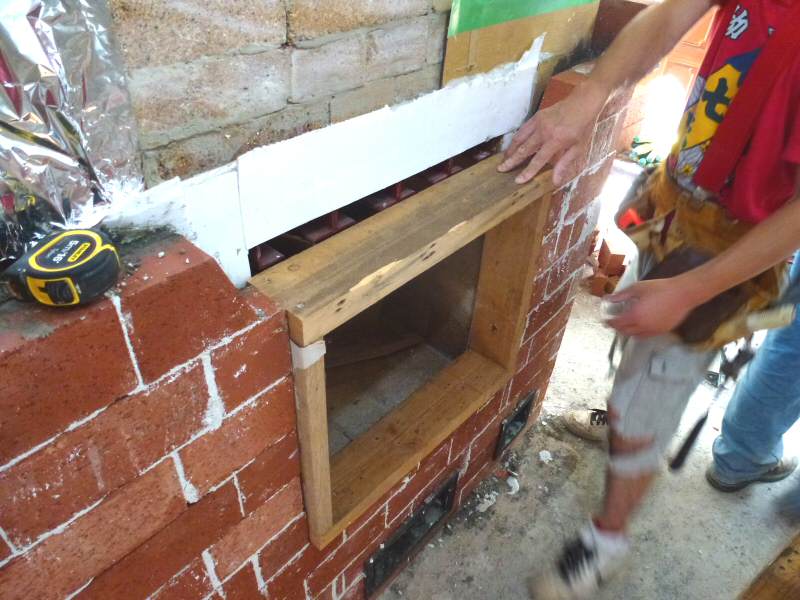
Setting up the jack arch. It will sit 3/4" proud of the face, flush with the arch form.
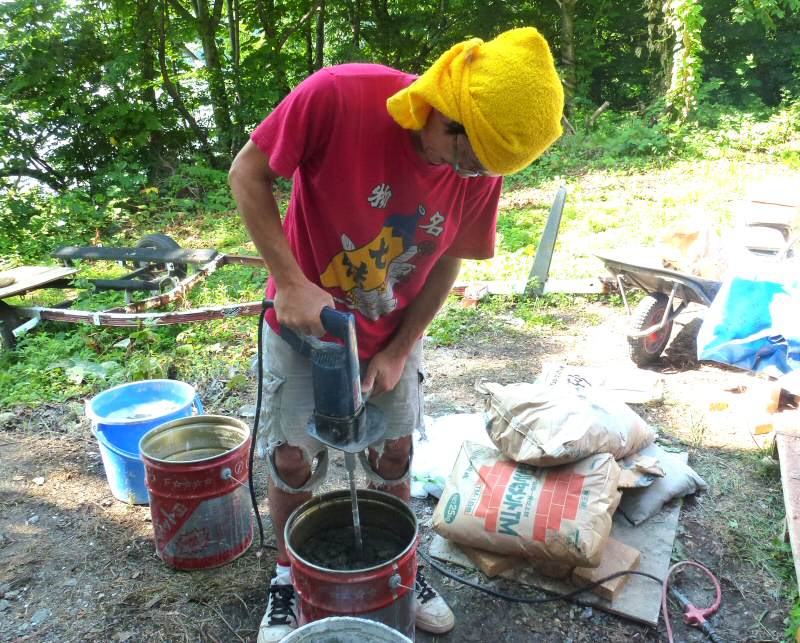
The only way to mix mud.

Setting the jack arch. It will get filled and pointed later.
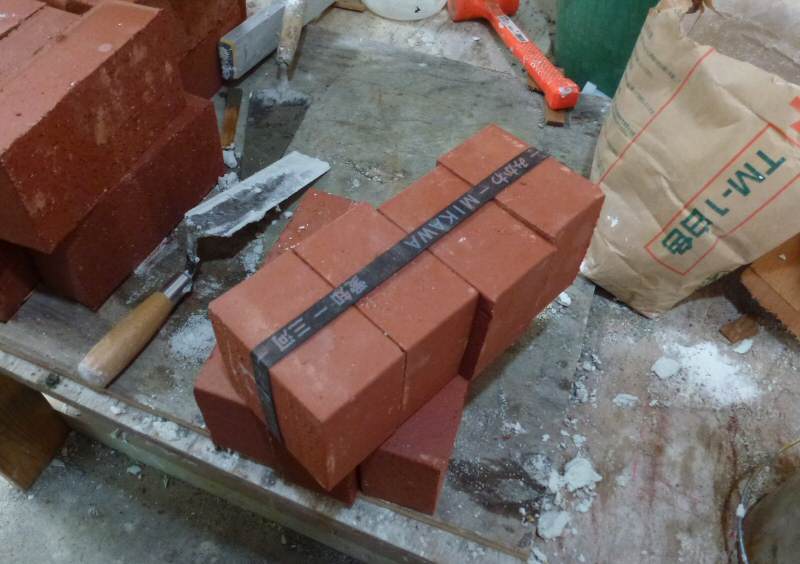
The red pavers also came in halves, conveniently strapped as shown.
Takeo Onozawa (Ono) gets to set some bricks. He is a local chimney sweep from Nagano, and had just returned
from Everett, WA from an MHA HMED workshop with Jerry Frisch. Jerry sent along a couple of trowels, correctly
guessing that they would be needed, since nothing that looks like a margin trowel was available locally. Marcus Flynn
had also given us good advice "for travelling in heathen lands" ;-) to bring a trowel and a tape.
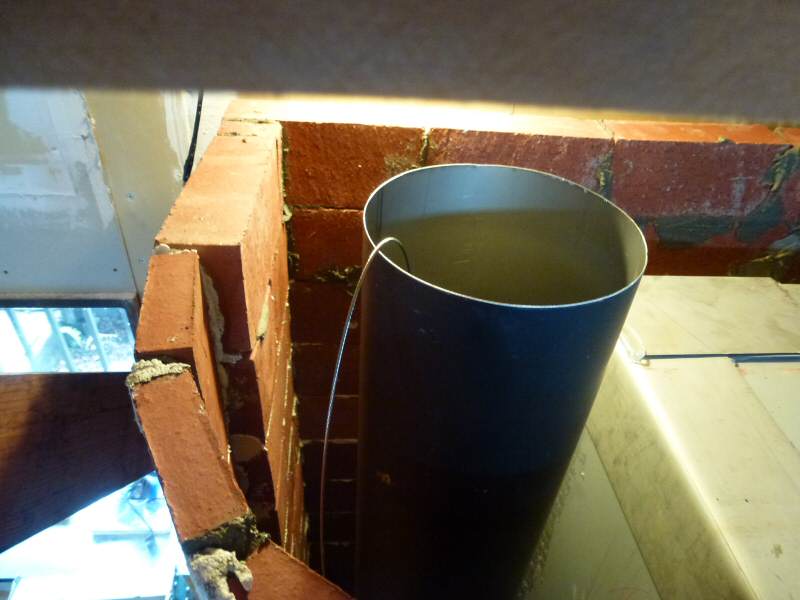
Cable exit for the chimney top damper. There is a 90 degree elbow screwed on inside the pipe to act as a cable guide and
prevent chafing of the stainless braided cable. Ono cut the hole in the pipe exactly so that the pipe could be threaded into it.
There will be a second 90 degree elbow at the cable outlet.
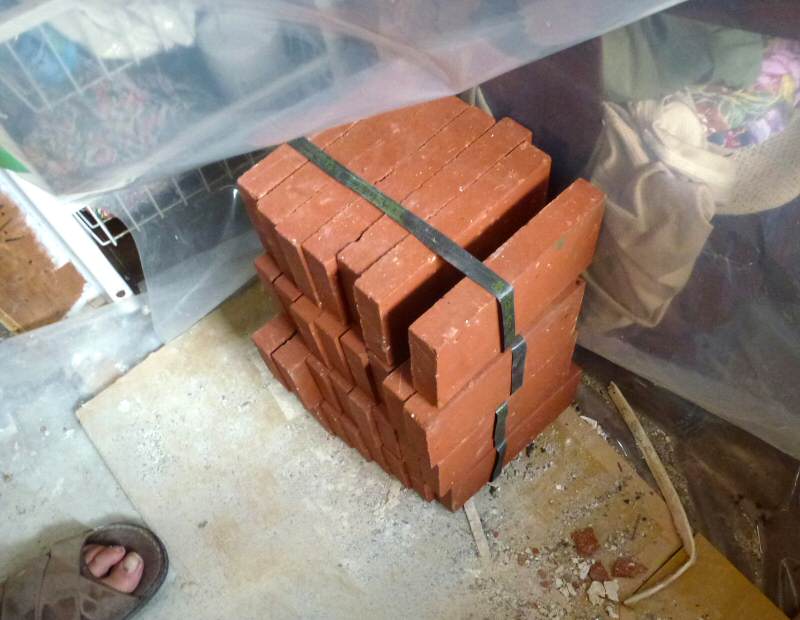
The pavers were also available as splits, in packs of 8 as shown.
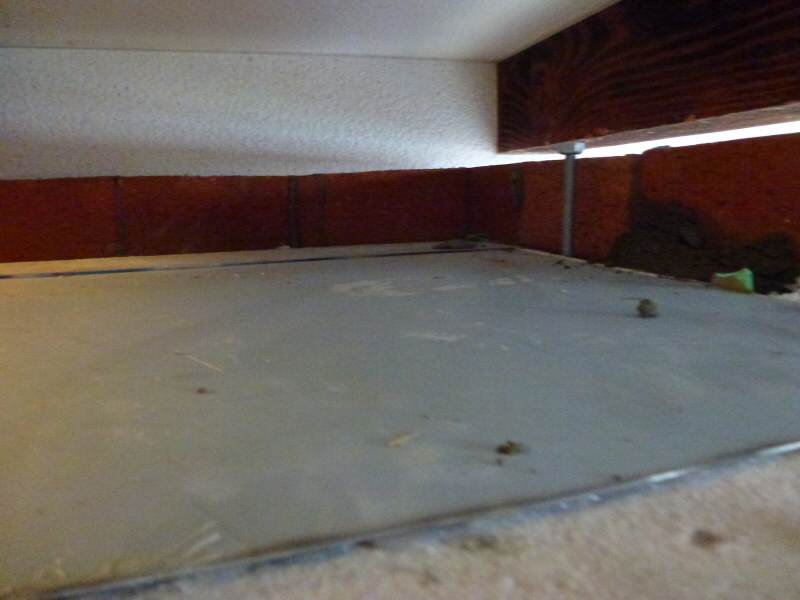
Because of the clearance issue with the ceiling beam, we capped the ceiling slabs on the core with sheet metal.
Capping detail.
Setting up the bake oven jack arch. Aki made us some nice wooden line blocks, that we kept as souvenirs.

The arch bricks sit on the wooden part of the form. The cardboard is a guide for aligning the relief cuts.
Two wild and crazy guys from Czechoslovakia.
Note the tight clearance to the beam. There will be a strip of ceramic paper insulation on the sheet metal, directly
below the beam.
The steel cap for the chamber (not shown) will leave approx a 1" air space from the beam.
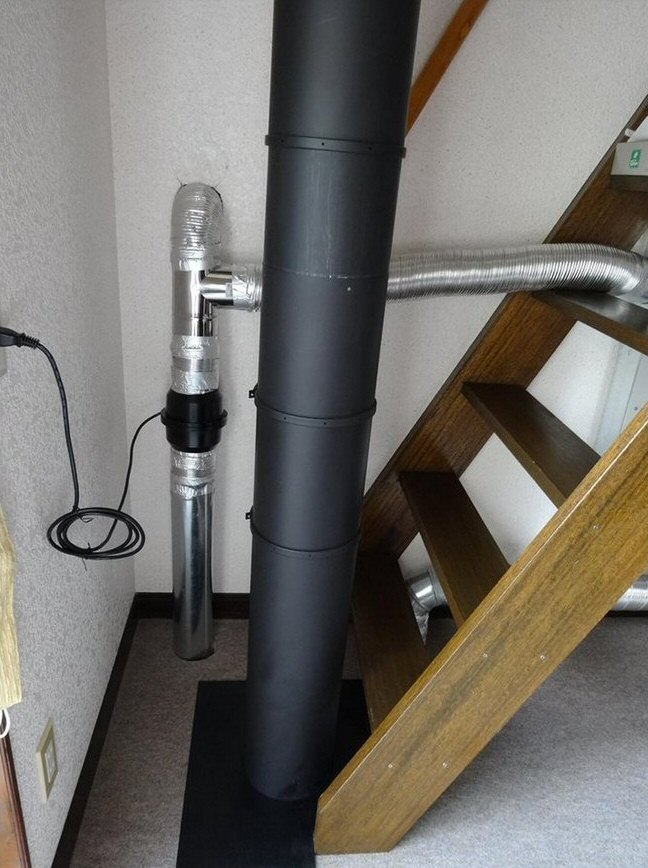
Due to space restrictions, the upstairs radiant panels will be supplied by a 4" duct with an inline variable speed fan.
The warm supply air will be taken from above the ceiling slab.
With the fan off, there will be only minimal convection to upstairs. The top of the metal cap will be monitored for
temperature initially, to ensure that no further protection of the beam is required.
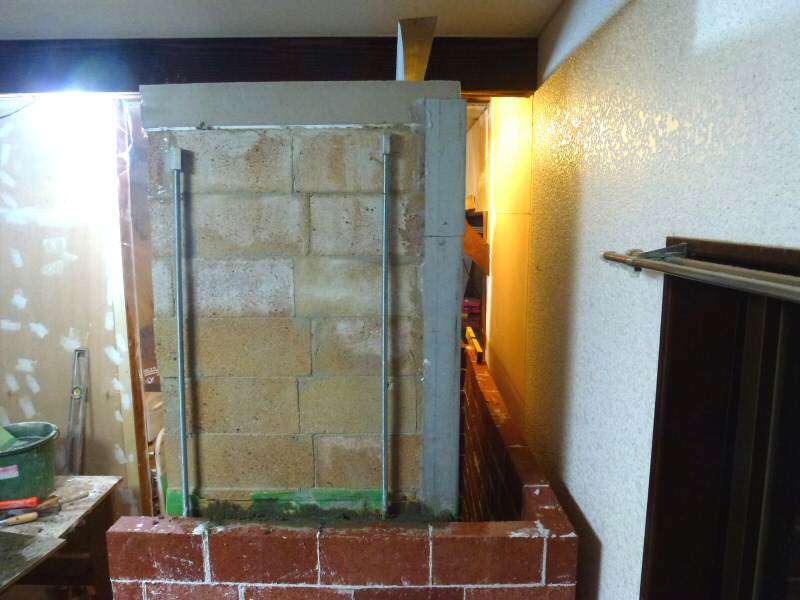
The threaded rods have been extended. A 1mm steel plate will seal the top of the heater. Holes will be cut at a
fabricator's with a CNC laser for the supply and return ducts, the chimney and the bolts. There will be a centre support
for the plate on top of the heater core.
The treaded rods terminate about 1/2" below the beam, to allow the plate to slide in between and drop down.
A second, heavier plate about 2" wide will run around the perimeter and will form the top of the seismic clamp.
The threaded rods are epoxied into the foundation slab.
Detail of the curve, set with splits using quick set mortar. Glass mesh and thinset will add a tensile skin that gives very
high strength.
A similar construction on the Wildacres triple-skin heater this year required sledge hammers for tear-down.

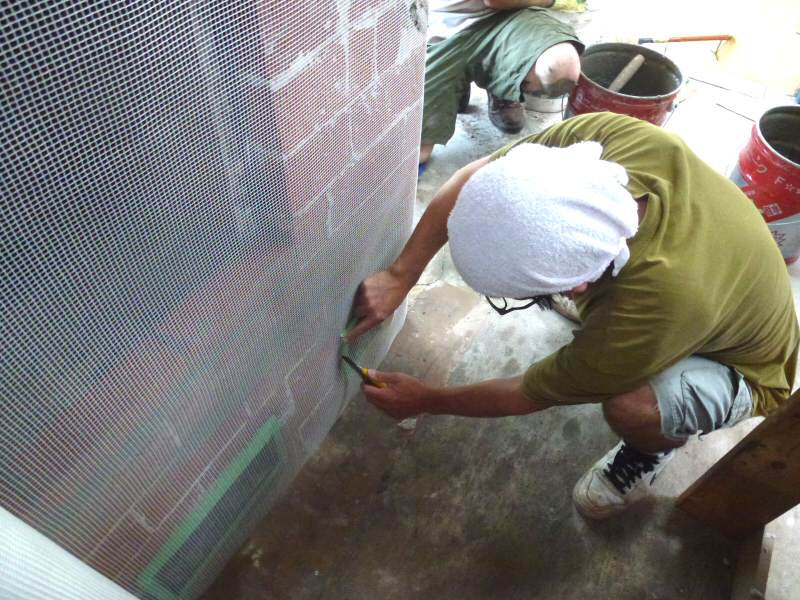
EIFS mesh and thinset plaster.
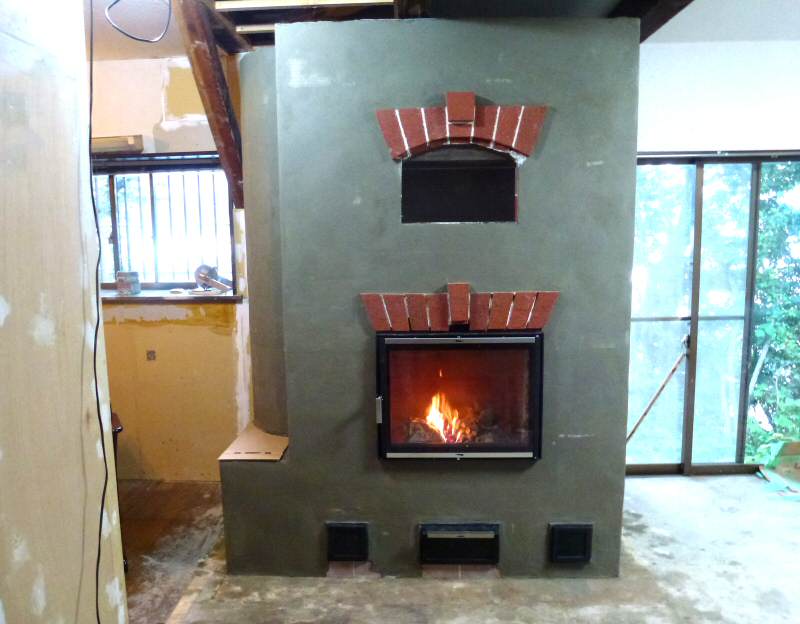
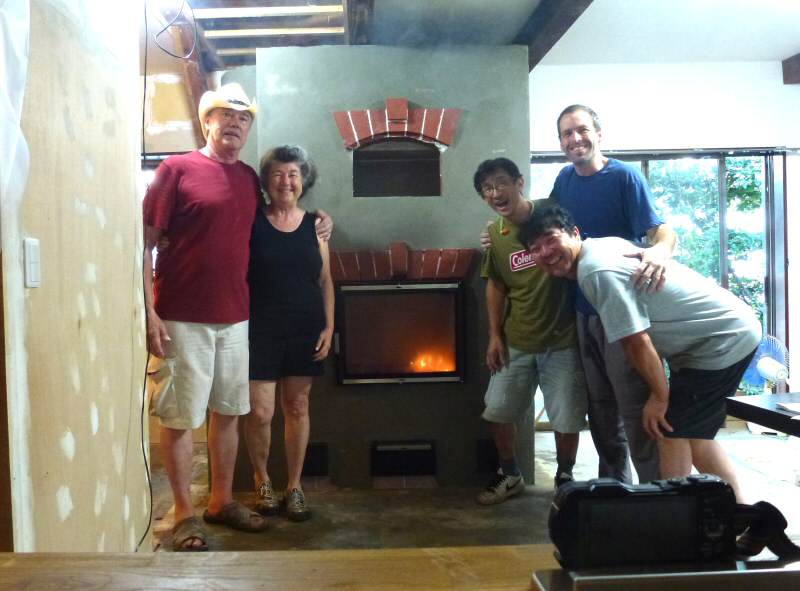
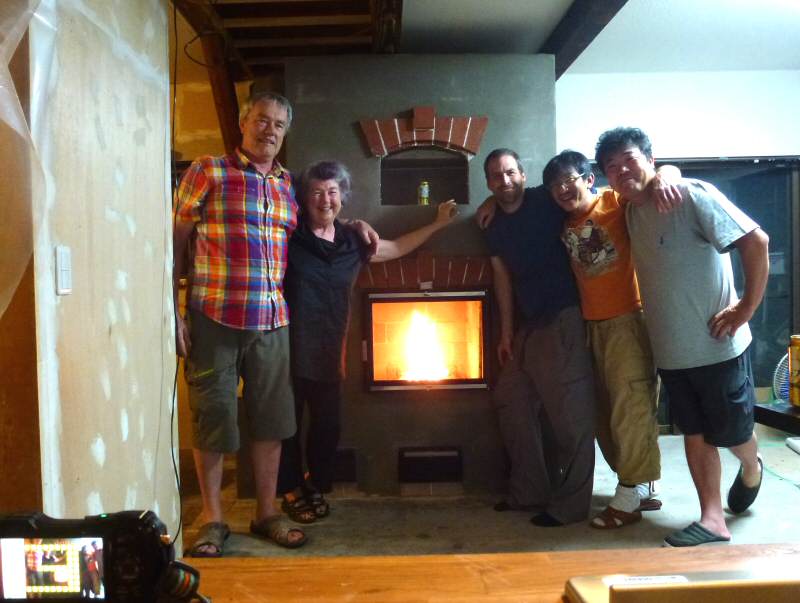
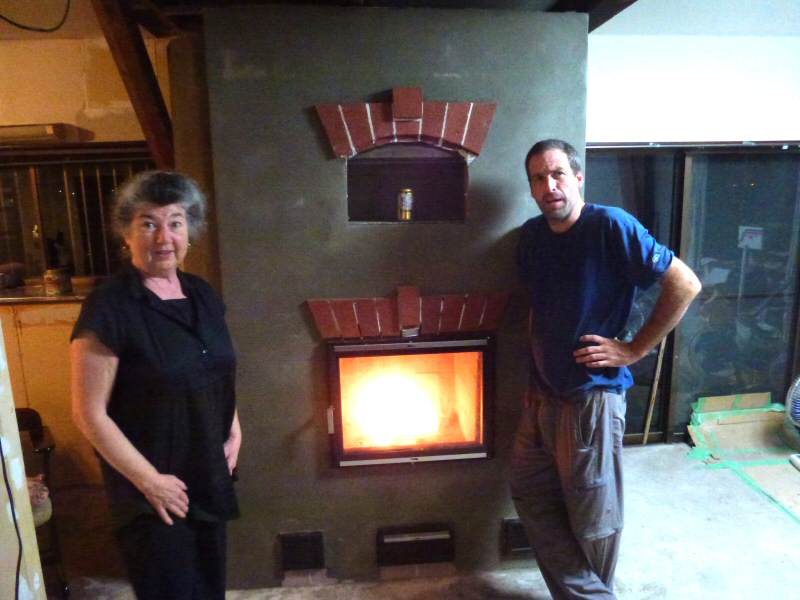
End of Brian's last day. Pretty close to done.
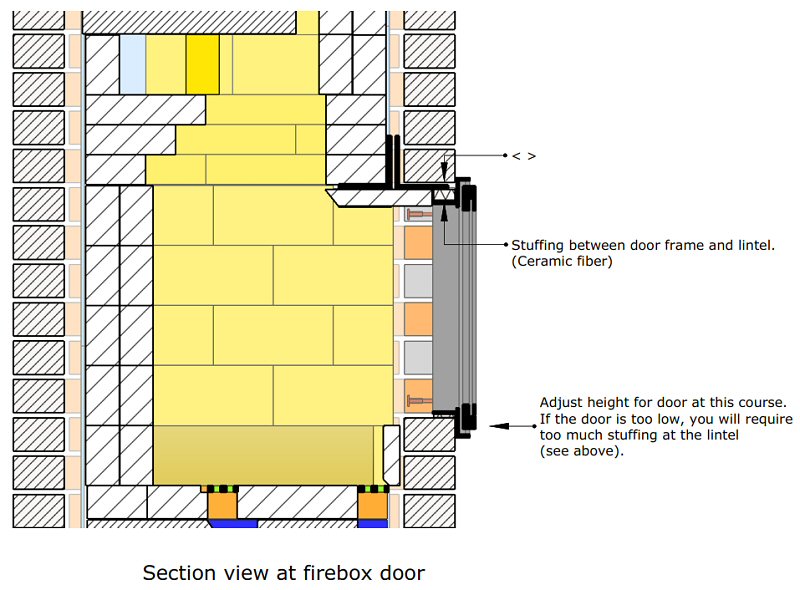
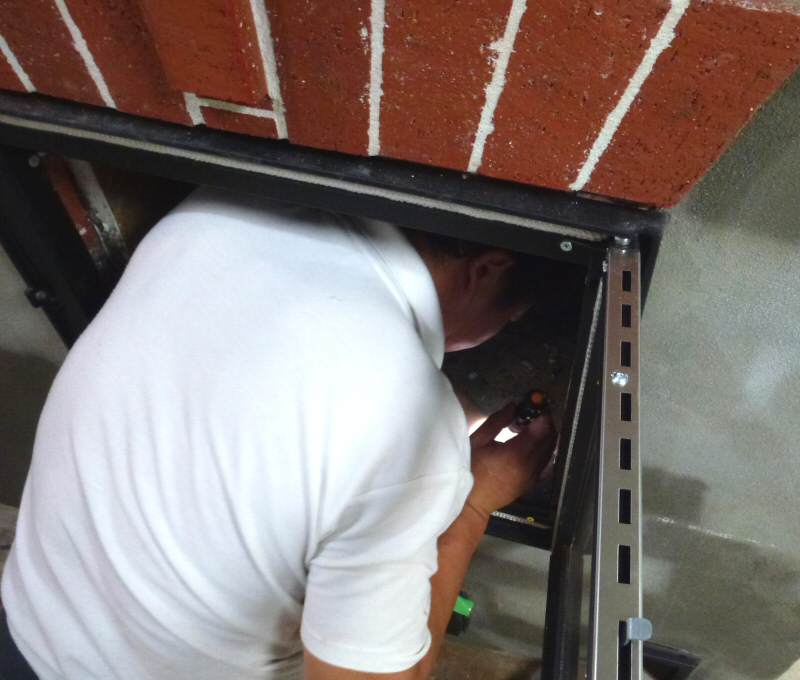
Door installation details

Aki took us to his favorite restaurant, in Omachi City. He has been going here for 30 years. It was amazing, unlike anything
we had experienced before.

Heading out to take the bullet train to Tokyo
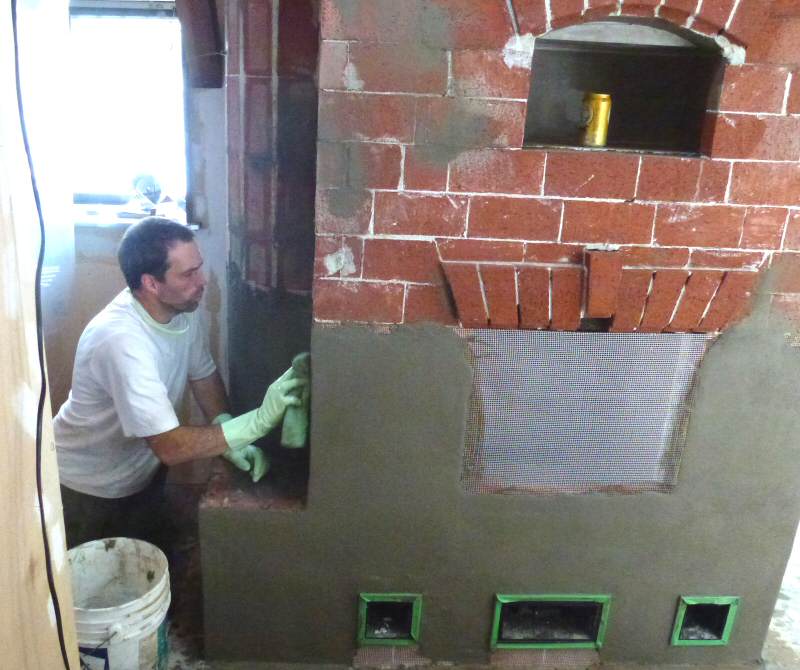
Finishing up.
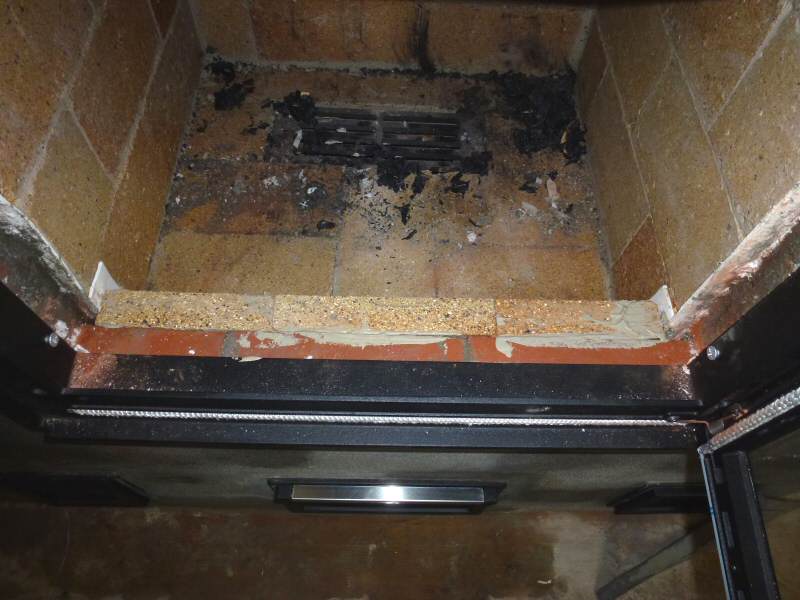
Air slot detail at front of firebox.
Ono installed the chimney. Note the super heavy duty flashing piece, required for the heavy snow loads in Nagano.

Update, Sept 16/13
Top plate with reinforcing straps and CNC cut holes for chimney, warm air supply and return, and seismic hold down bolts.

Top plate bolted in place. It is sealed to the heater with silicone.
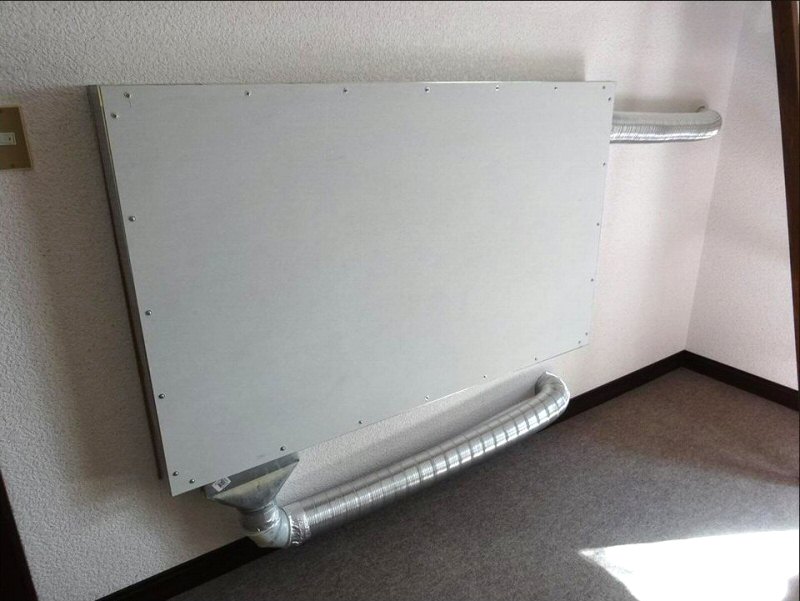
One of two upstairs bedroom radiant panels, framed with 50mm x 150mm metal studs.
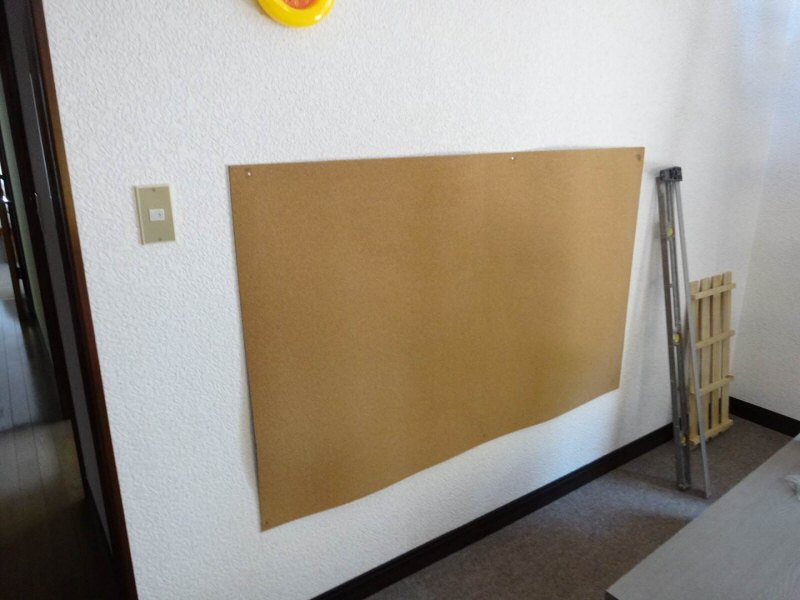
Cork insulation against the wall.

4" supply inlet at upper right. Return air slot on lower left. 4" ducts will be driven by an inline fan.
4" ducts will be used because of space restrictions.
October 2/13:
Inline fan is installed.
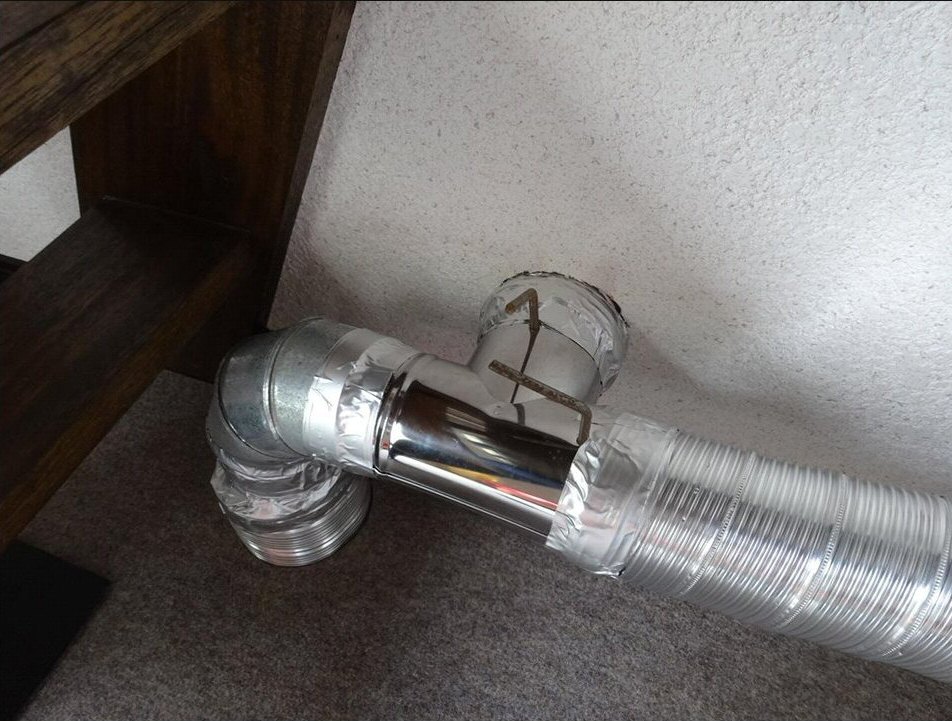
Zone dampers for the two panels.
There will be a finish plaster coat, probably traditional Japanese plaster.
The bench will get a wooden extension to the left.

November 29, 2013:
Update from Aki.

December 2, 2013.
January 29, 2014:
Update from Aki:

This page was last updated on April 5, 2020
This page was created on August 4, 2013
Back
to: