
Triple
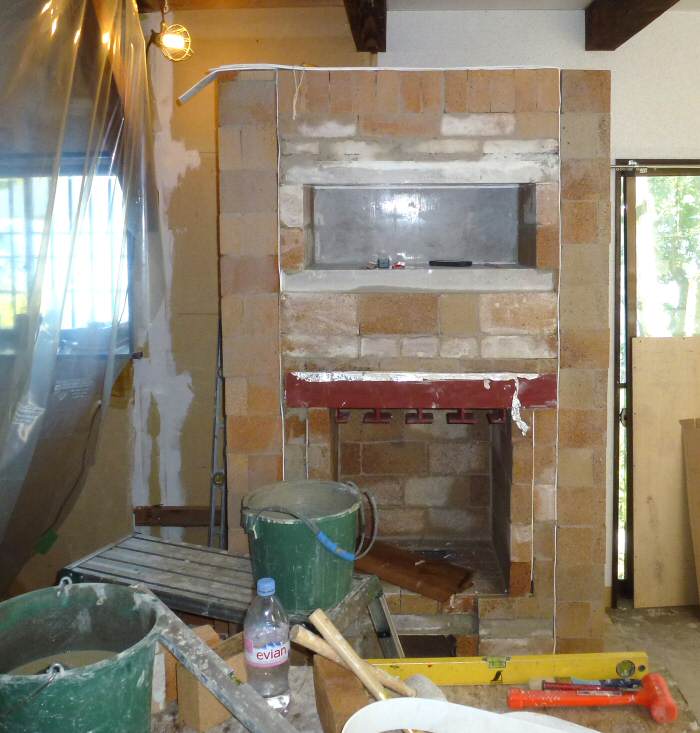
Skin / Contraflow Heater in Japan

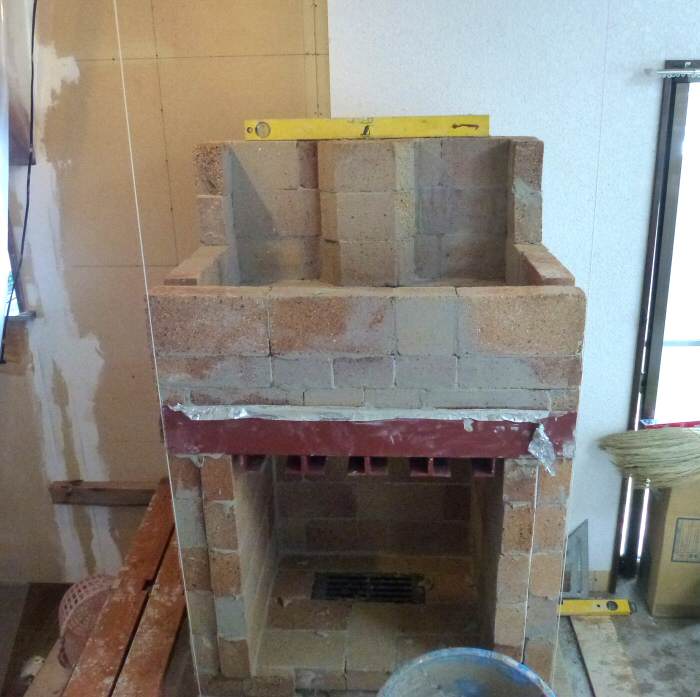
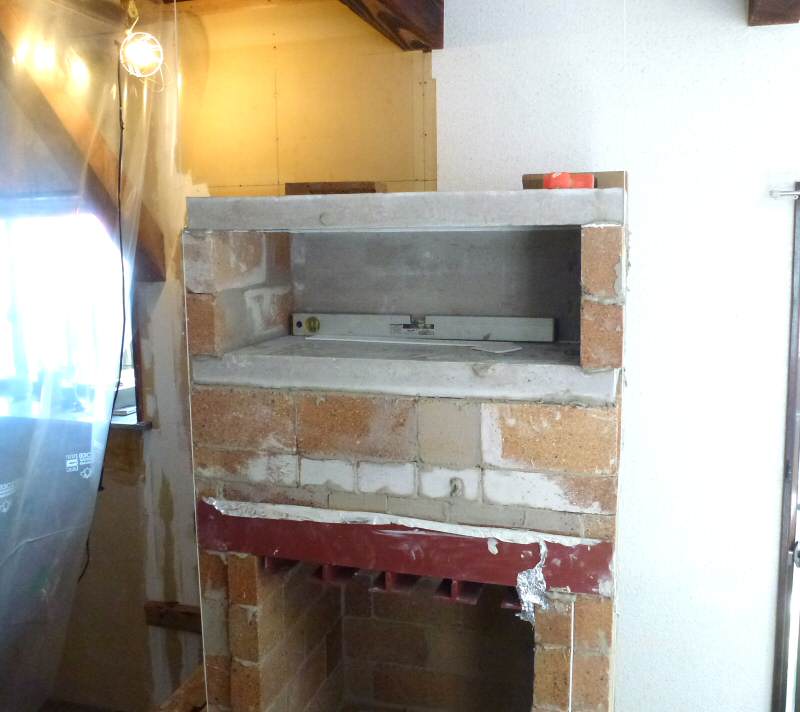
Contraflow heater with 22" replaceable firebox, white oven and small heated bench.
Two upstairs radiant panels.
To be finished in traditional Japanese clay plaster. For MHA member Aki Yoshimizu, who attended Wildacres 2013

Aki's weekend lake house in Nagano prefecture. It was built by his father,
after retirement.
It is uninsulated and almost impossible to heat in the winter with kerosene fired hot air
heaters. Nagano gets as low as
-15 C (0 F) in the winter.
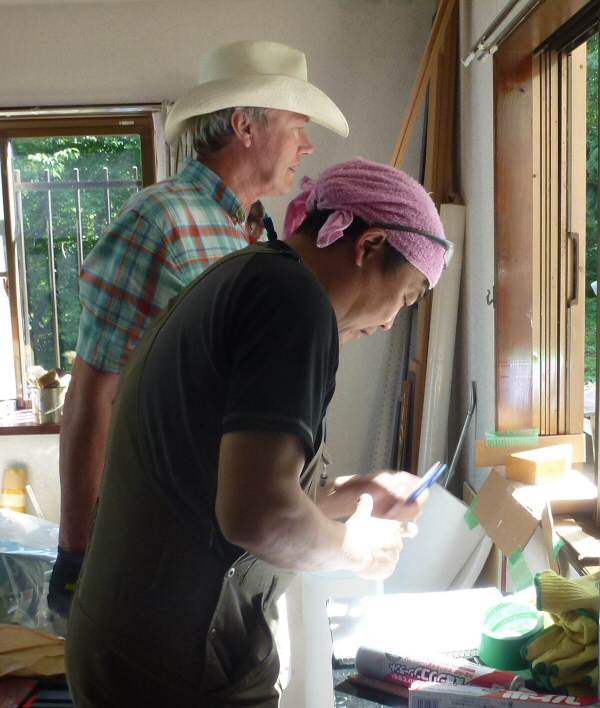
Aki
picked us up at Narita airport, and we spent a couple of great days in
Tokyo. Nagano is a three hour drive, and we
stopped on the way to see Matsumoto
Castle. Check
back soon for a separate photo story on a lot of cool Japanese
non-heater stuff.
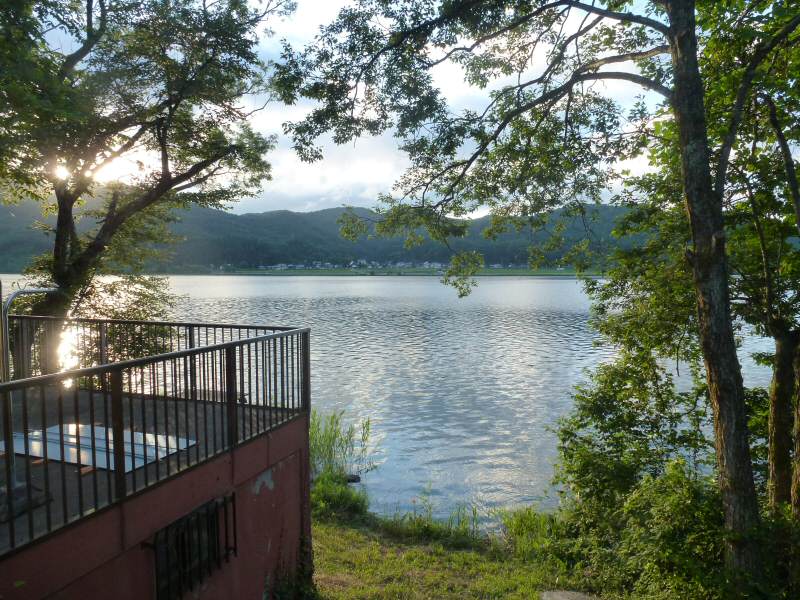
View
of Lake Kitzakiko as you
step out the door of the worksite.
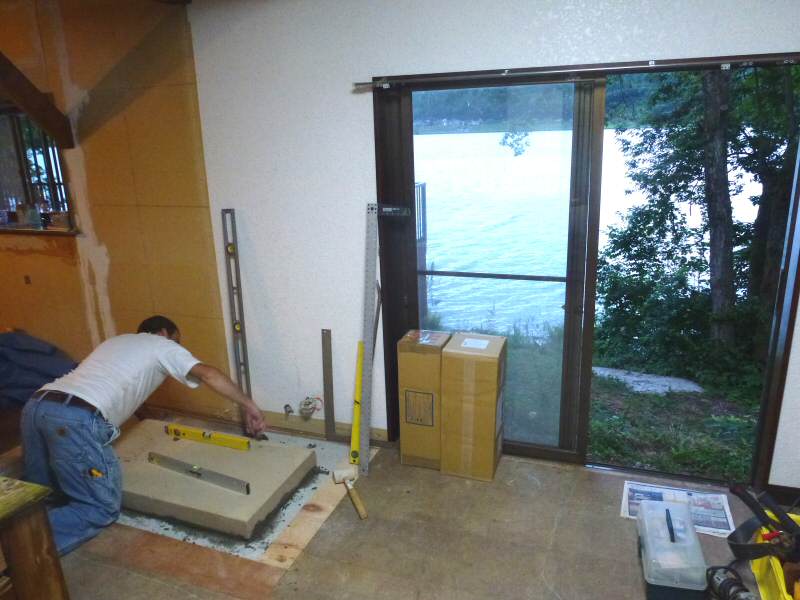
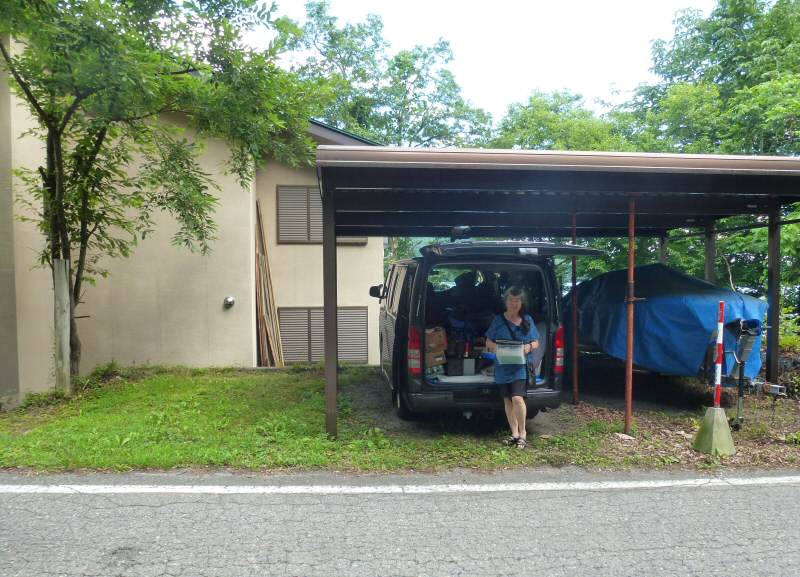
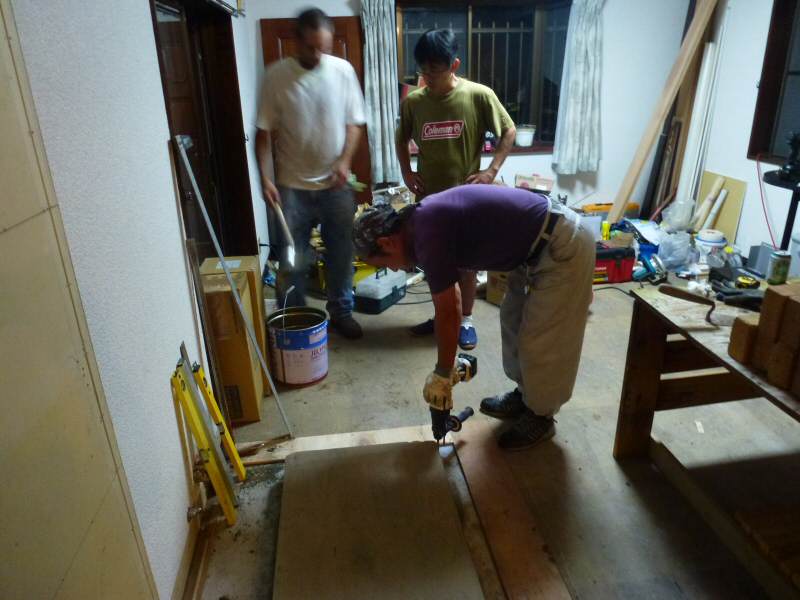
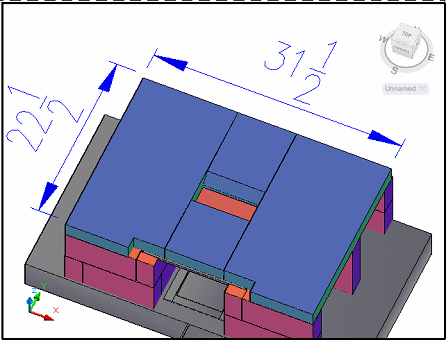
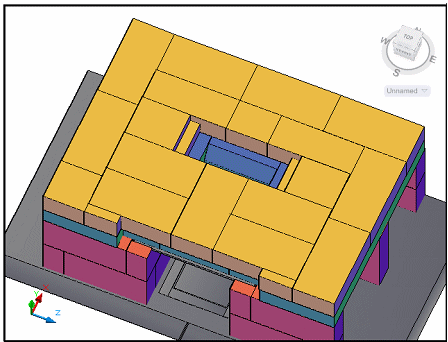
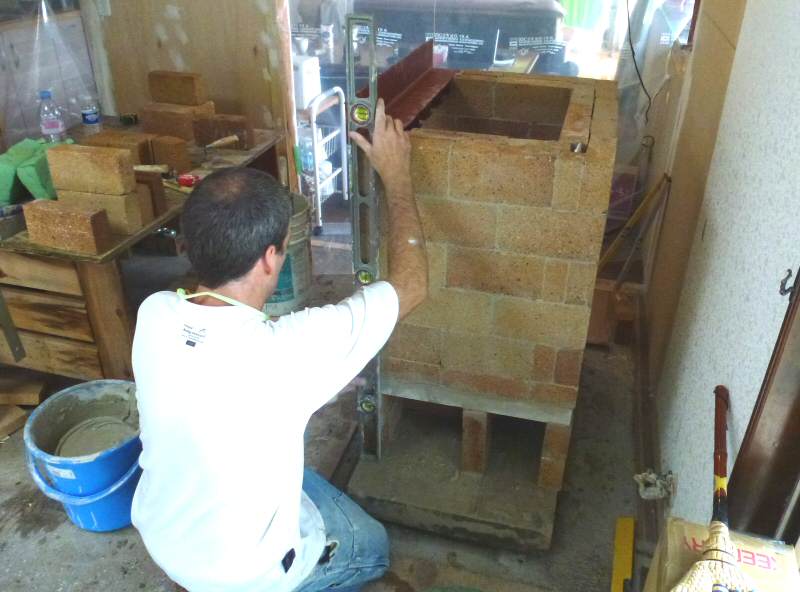
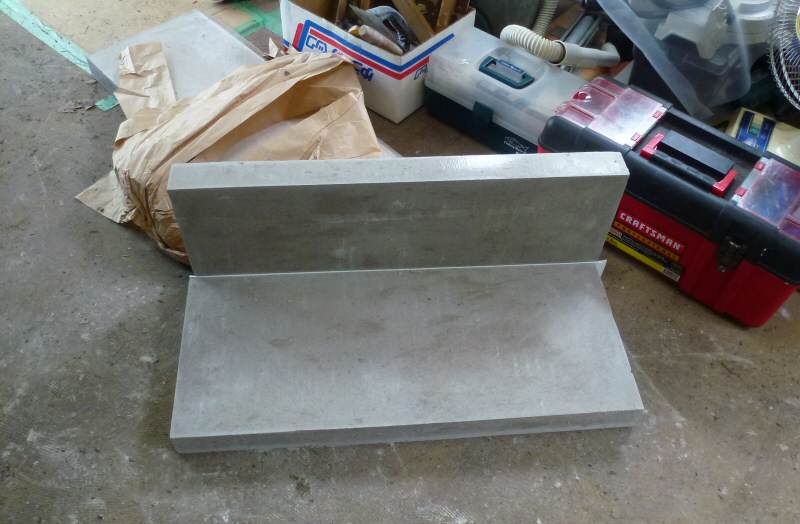
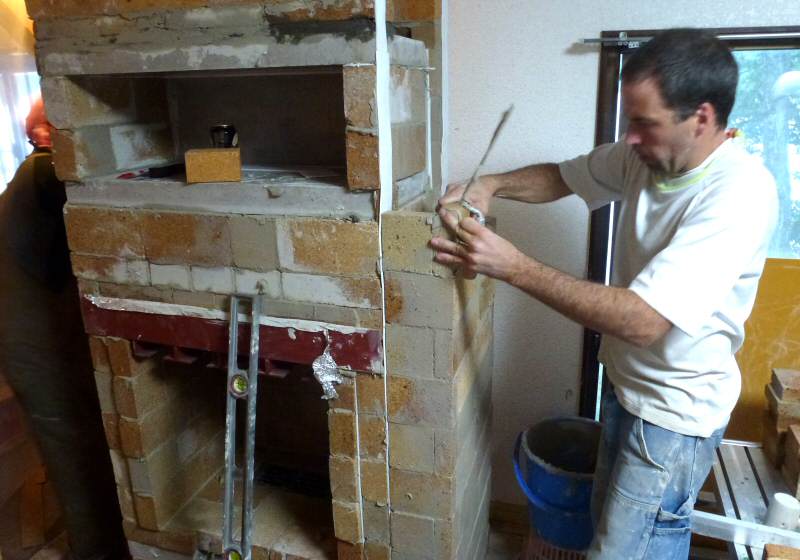
Brian
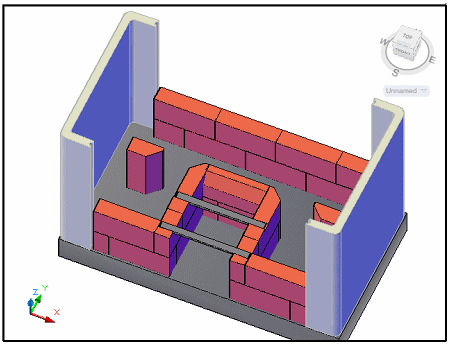
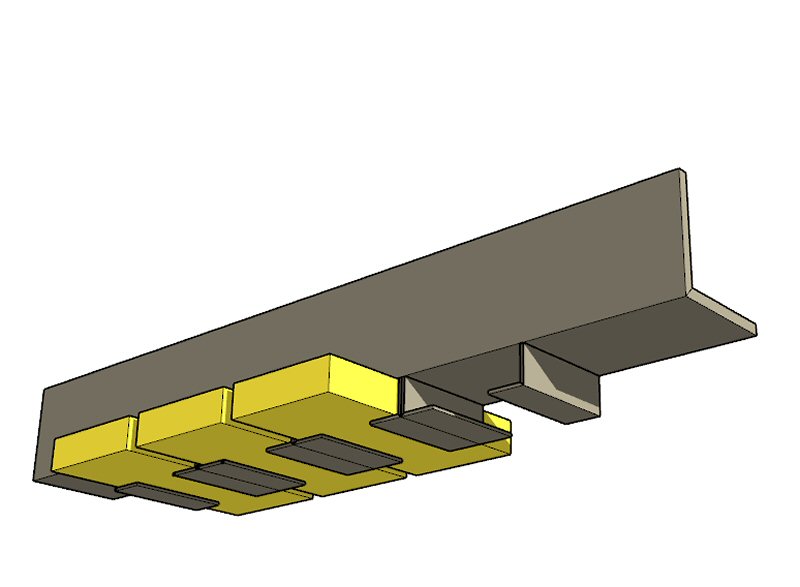
Klipfel lays out the insulated base pad that Aki had precast. This is
the 22" handbuilt contraflow core from the
MHA Heater Plan Portfolio, modified
with the new Heatkit bottom end, and a slightly modifed air system.
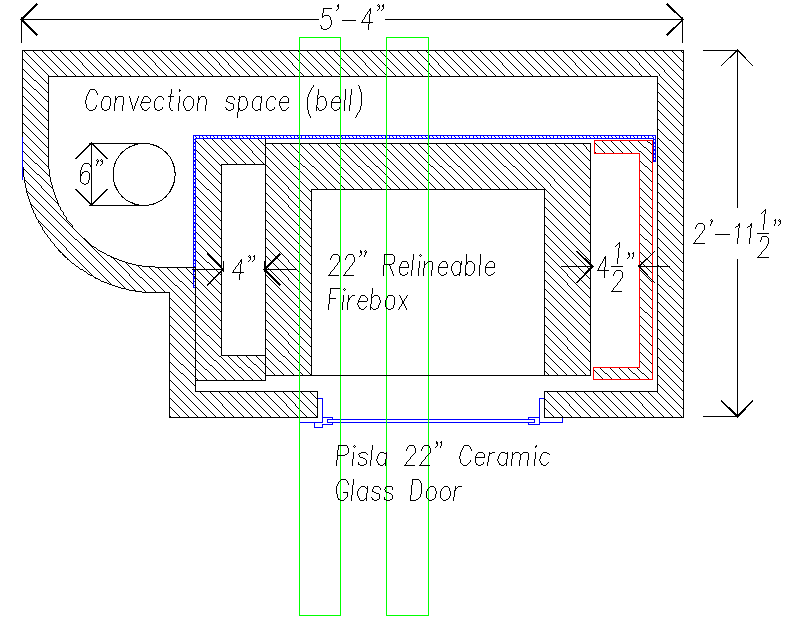
The
rear and left side of the core are used to drive a closed loop
convection system that is very similar to the
Austrian
triple skin system built at Wildacres
in 2013.
However, the convection engine will be used to drive
two radiant
panels in
upstairs bedrooms, thus making the house habitable in winter. The first
six feet of chimney is heavy gauge
single wall steel, for additional heat exchange into the convection system.
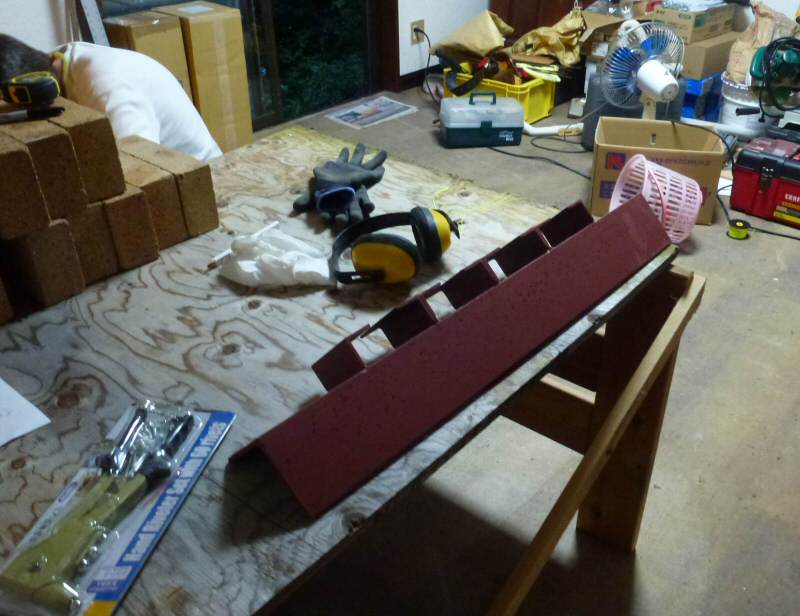
The
second skin in this sytem is 0.7 mm mild steel sheet, shown on the
drawing in blue. This will give considerably
faster response for
the upstairs panels, as well as saving footprint space. Clearance
between the rear of the heater
and the combustible exterior house wall is 2".
Aki's
friend Tsuyoshi from Hakuba came by to drill holes in the foundation
for seismic anchors. He also helped
Aki build the foundation.
New
Heatkit bottom end, based on a design by Eric Moshier.

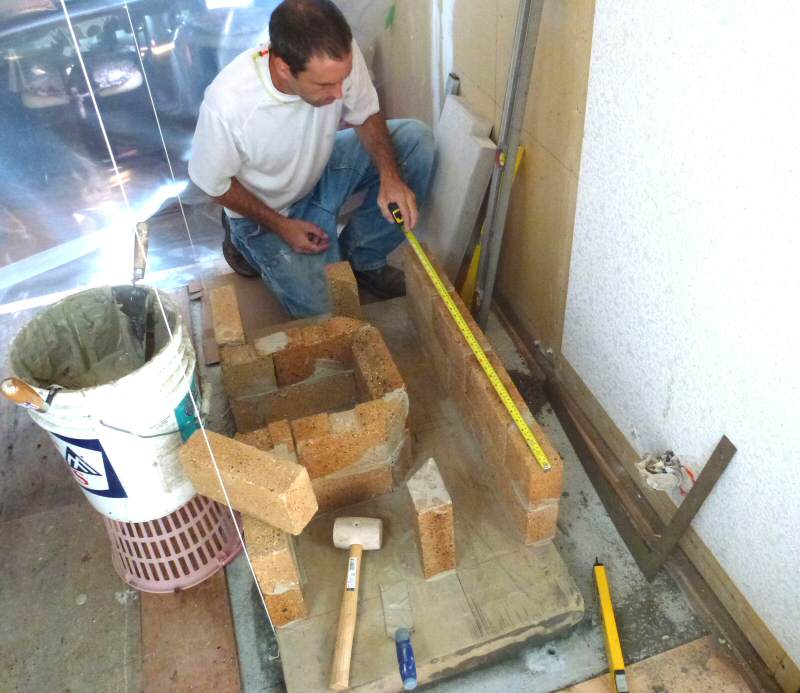
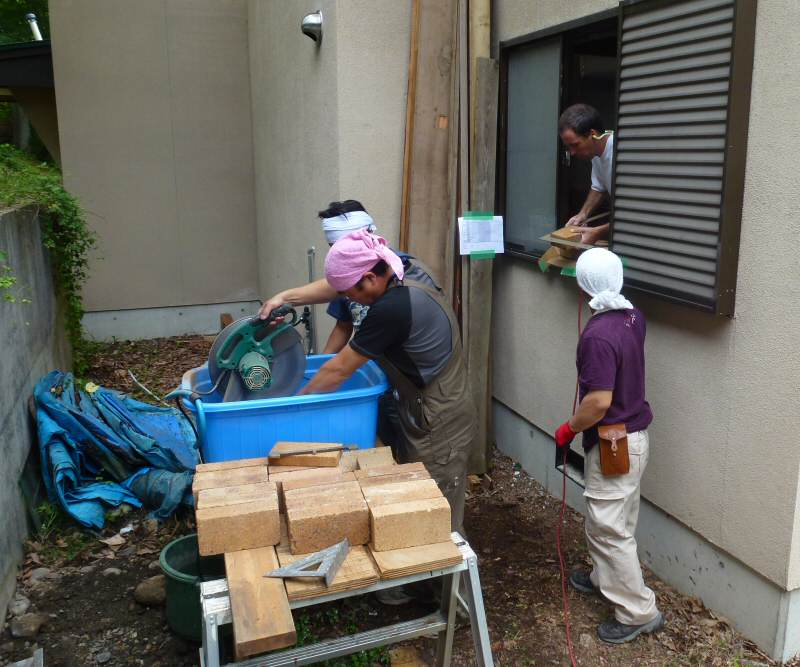
Brick cutting
setup. A chopsaw with a 14" wet/dry diamond blade sits inside the blue
tub. A garden hose has been rigged to keep
the
blade wet. The tub drains into a bucket. Firebrick cut list is taped to
the post behind Brian. Download the cut list.
Right behind Brian is a window into the workroom to hand the bricks through.
Chinese
firebricks from a Tokyo building supply caused us a lot of grief. They
varied 1/4" in thickness. Later we found some
pretty
nice Japanese firebricks at a local farm and garden supply in Nakatsuna.

No biggie - the voltage in Japan is only 100 V ;-)
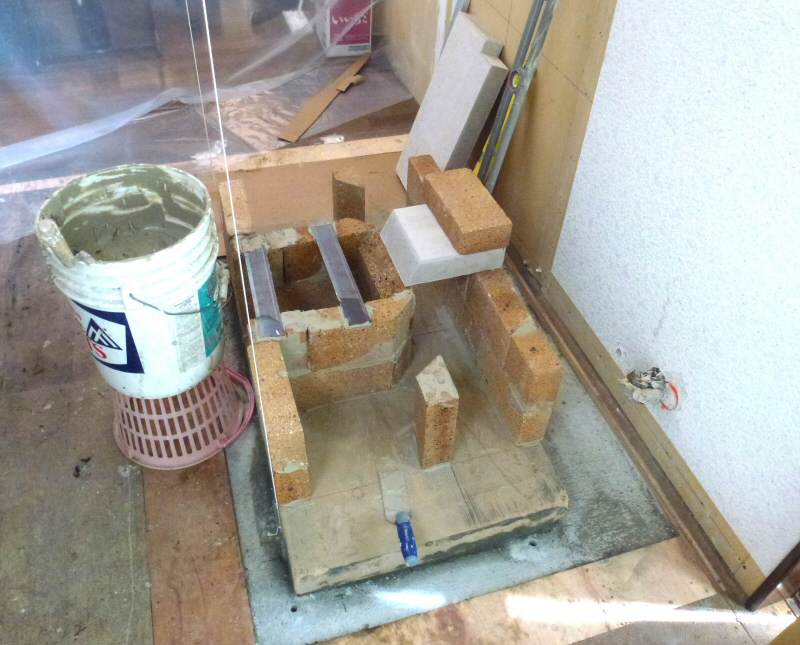
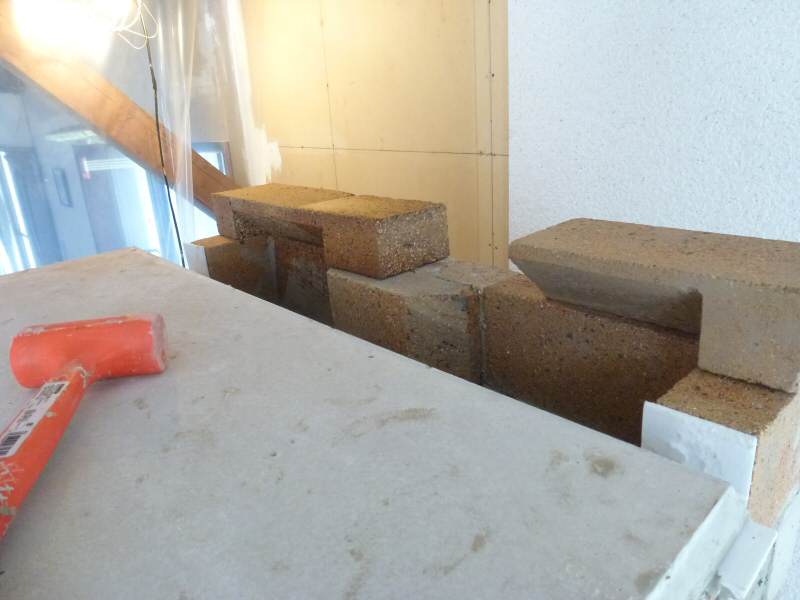
New
firebox subfloor design uses 4 slabs and is adjustable. We cut the rear
grate width in half from the MHA design.
For additional bottom end details, see this link
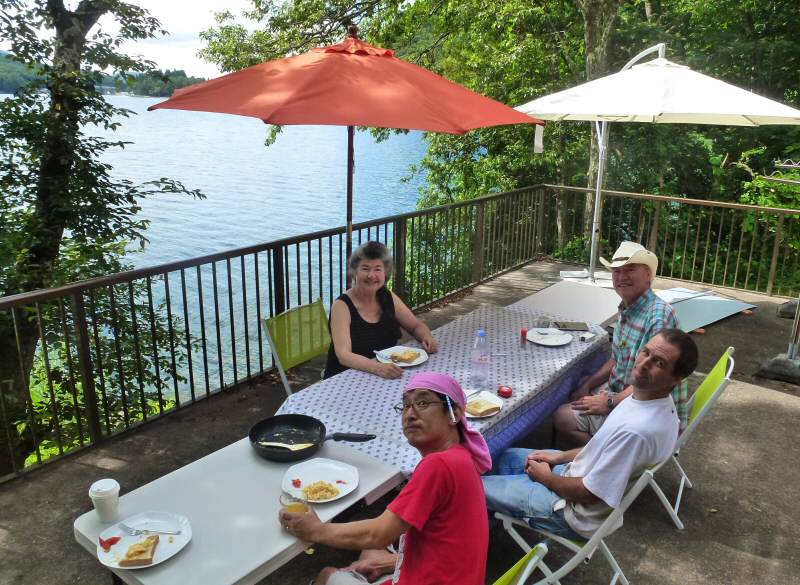
Breakfast
on the deck. Ready to build the core.
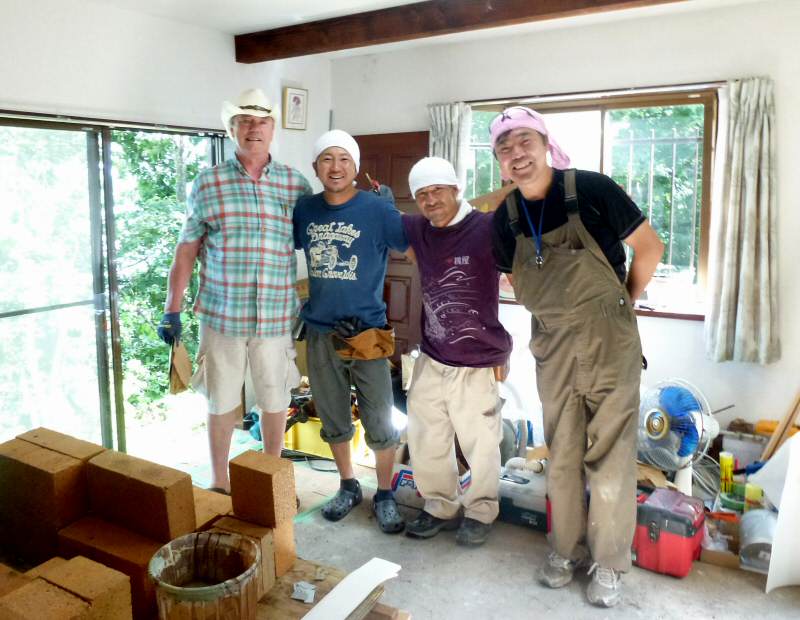
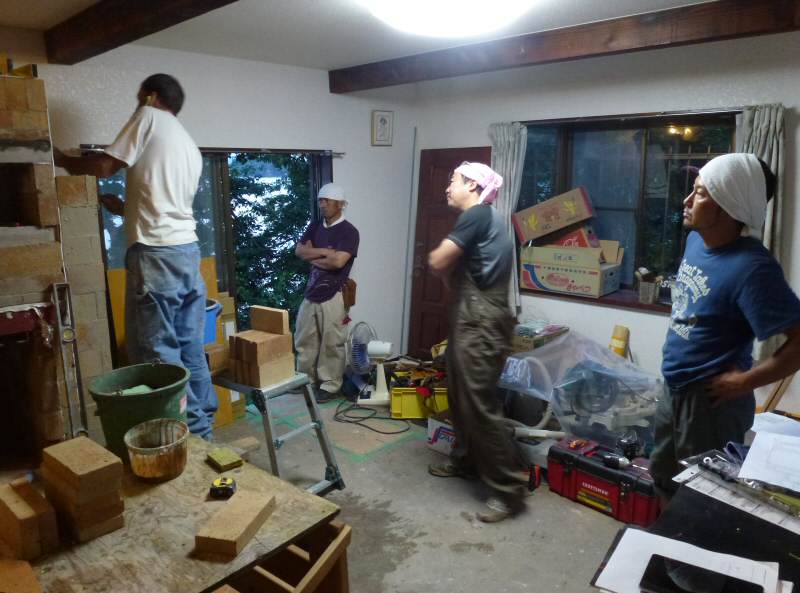
Three
guys showed up to help out and learn about masonry heaters.
From
the left: Norbert Senf, Mamoro Ooishi, Yuuichi Kada, and Takeo Onozawa.
Mamoro
is a chimney sweep and woodstove sales guy from Hokkaidou. Yuuichi is a
mason and garden craftsworker
from Aichi, about four hours away, and Takeo (Ono) is a chimney sweep
from Nagano.
They met while doing volunteer
work after the Tsunami.
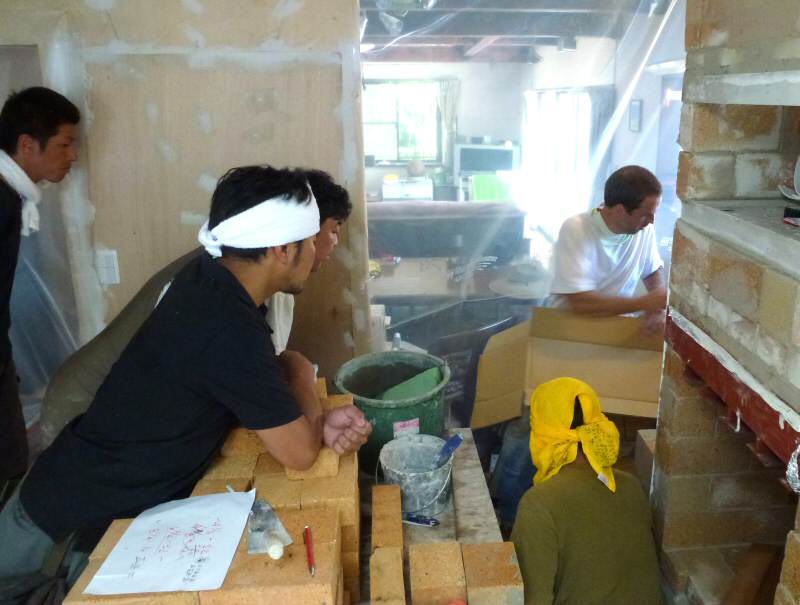
Ono had just returned from Everett, WA, where he took the MHA HMED course
with my old friend Jerry Frisch.
Ono
speaks English. He and I would co-ordinate the tasks, Ono would make
very careful
notes, and then discuss them in Japanese with his co-workers.
Ono
displays an American CSIA
certification sticker in his van window. He is quite busy.
Woodburning is considered
an
aspirational lifestyle in this region, beautiful skii country about 3
hours northwest of Tokyo. In contrast, northern
Japan is less affluent and woodburning there is promoted more
for its economic benefits, as well as the
environmental benefits of being renewable (when burned cleanly).
Hikary Fukuzawa is a forester in northern Japan, who attended the
annual MHA meetings in 2003
and 2006.
Check out
his great presentation on Firewood
Life.
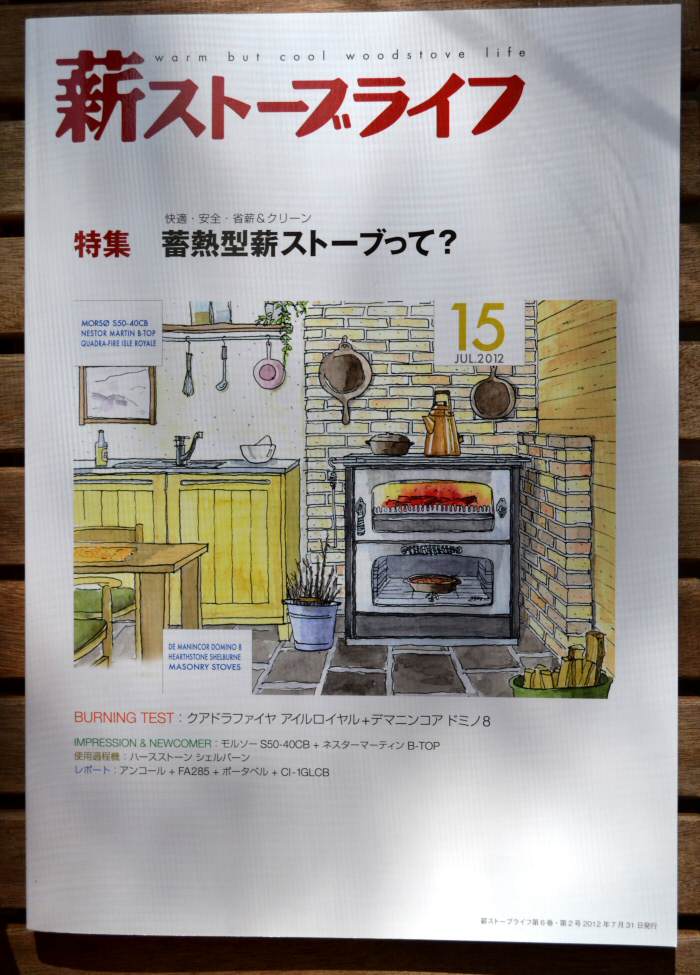
Quarterly glossy Japanese woodburning magazine. "Warm but cool
woodstove life".
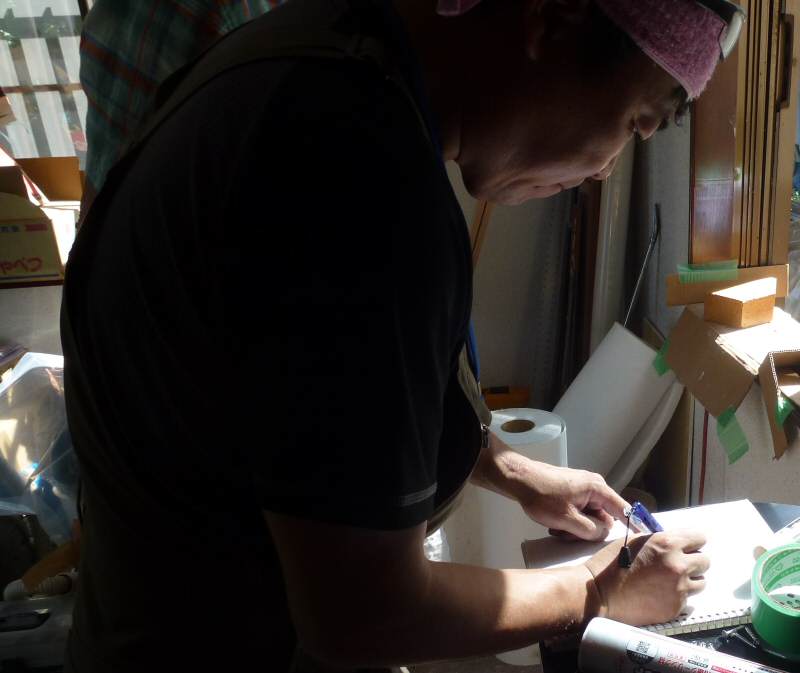
The
Japanese crew were meticulous workers. They picked up new tasks quickly
and executed them as professionals.
Brian is at the window, checking a brick for square.
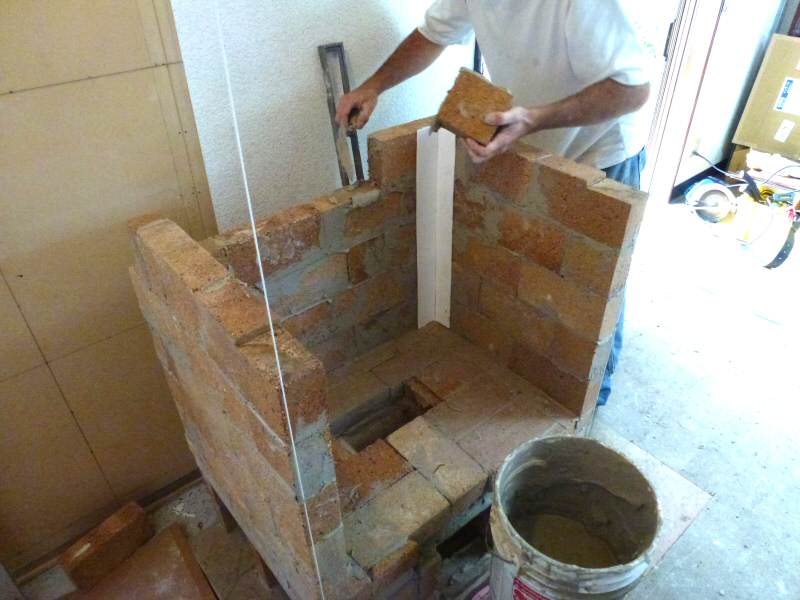
!!#?%$***
Chinese firebricks.
Note the ceramic paper expansion joint between the outer (shown) and
inner (see next photo) firebox shells.
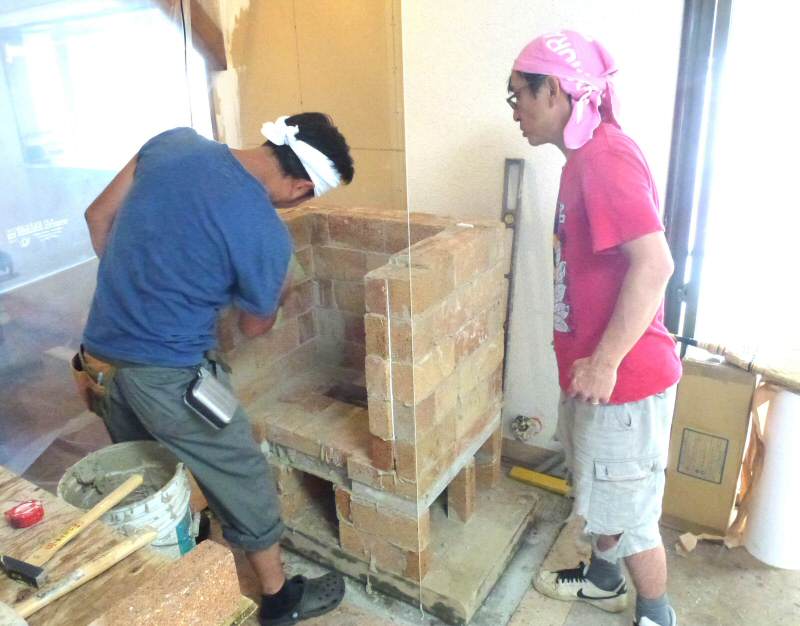
Mamoro washes the firebox.
Steel
Heatkit style firebox lintel with brackets for firebrick split heat
shields, fabricated locally.
Firebox lintel detail. The 1.25" firebrick "splits" act as heat shields to protect the angle iron as well as the firebox
door frame.
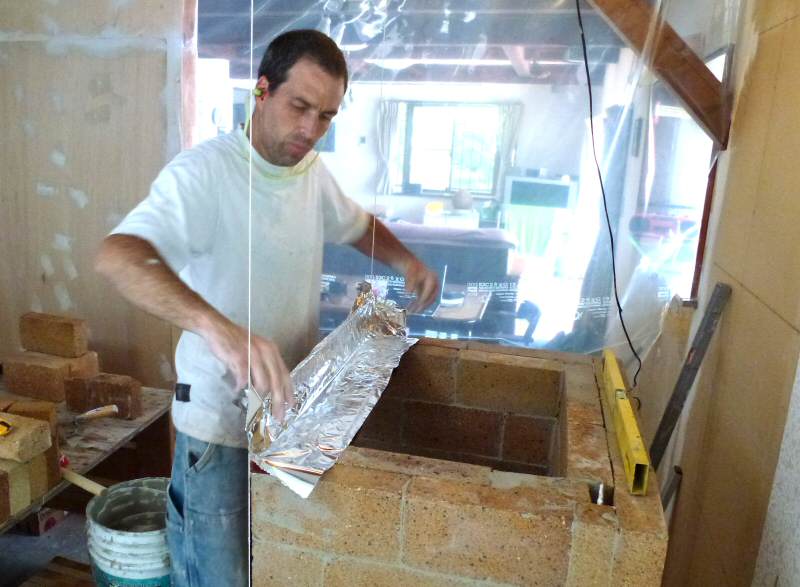
Aluminum
foil slip joint.
Precast
refractory oven slabs. Aki is a carpenter by trade, and built beautiful
molds from Japanese forming plywood.
He
used a stinger
to vibrate the mix, and the castable refractory was excellent quality
with a glossy finish.
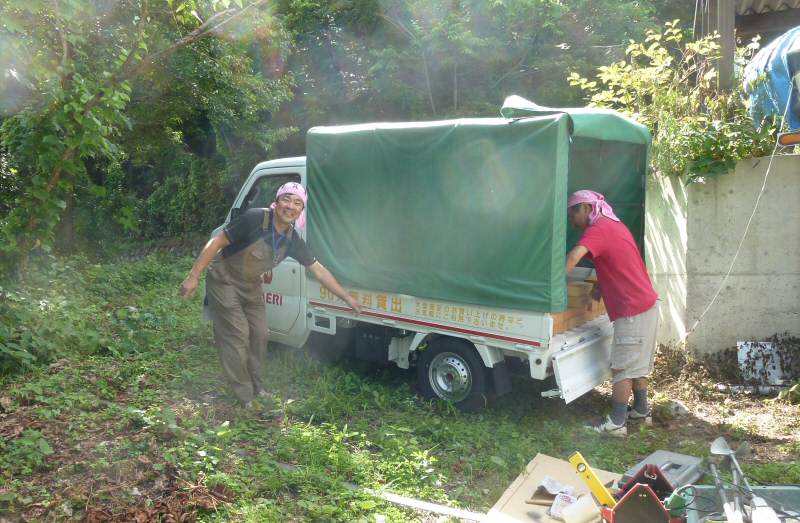
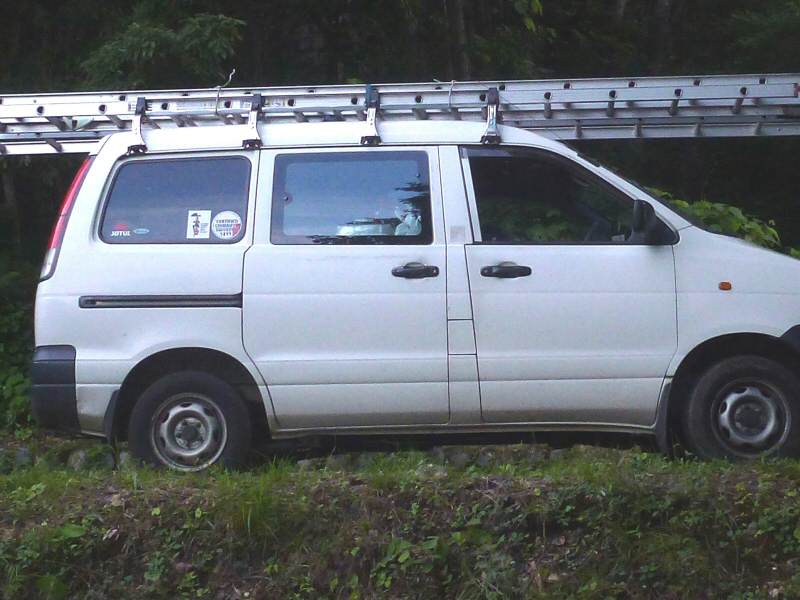
More
firebricks, better quality this time. The local farm and garden supply
will lend you this truck for free for 90 minutes.
700 lb payload, 50 mpg, $9,000.00 new. They are everywhere.

Japan
is right hand drive. My knees were touching the dash - smaller people
are more environmentally appropriate.
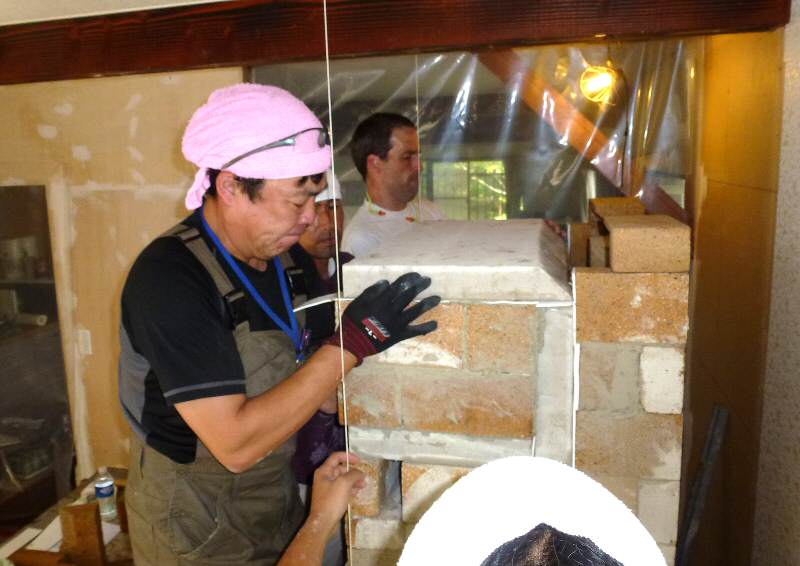
Lifting
the ceiling slab on to the white bake oven. Oven interior is 27" x
13.5" x 9" high, plus 4" in depth for the facing.
The
slot about 12" below Ono's hand is a hot gas bypass to provide heat to
the oven floor.
Updrafting
gas channel directly out of the firebox, behind the oven.
Starting the ceiling transition, which will carry the precast refractory ceiling slabs.
Gluing
on 1/8" ceramic paper expansion joint for the side downdraft channels.
These expansion joints are critical and
need to be executed properly to prevent cracking of the facing. They
allow tight contact between the face and the core,
without using cardboard. We did use some cardboard, just to be sure
with the shiner facing, and the long
distance to do a callback ;-)
Building
the right side channels from splits, same as the portfolio
heater.
On
the left side, we used full firebrick shiners (2.5"), because of the
double wall construction with the sheetmetal. We
tightened the left
channel 1/2" to balance the sides with the simplified bottom end, and
also make it more modular to
the brick size.
Brainstorming the chimney connection details.
Saturday
night. Time for a party. Check back for delicious details.
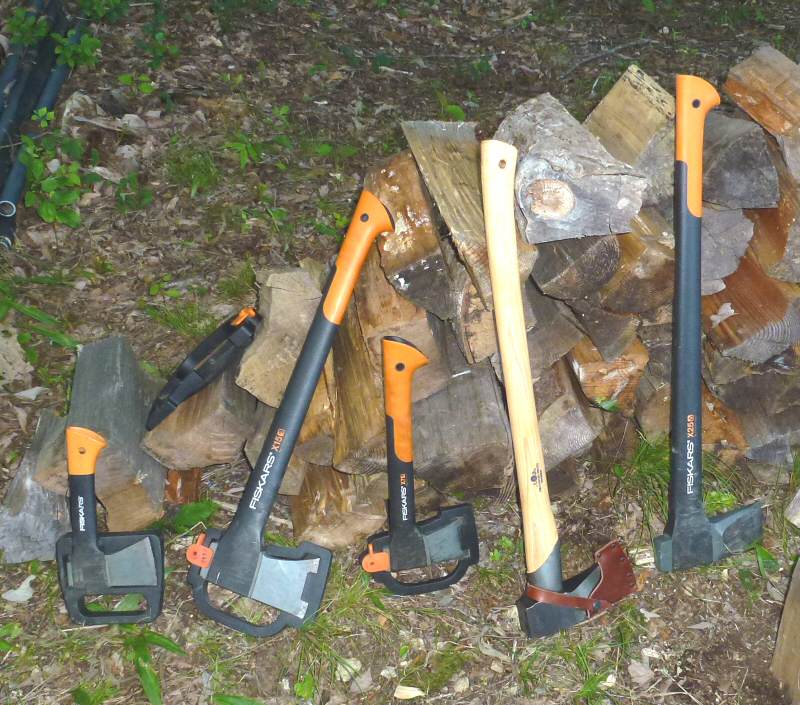
A fine selection of Swedish steel, including a hand forged Gränsfors Bruk splitting
axe.
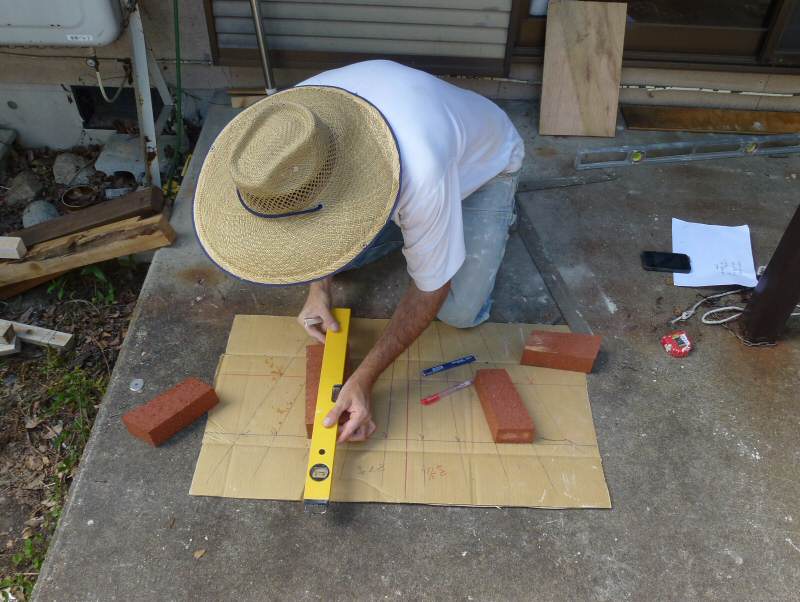
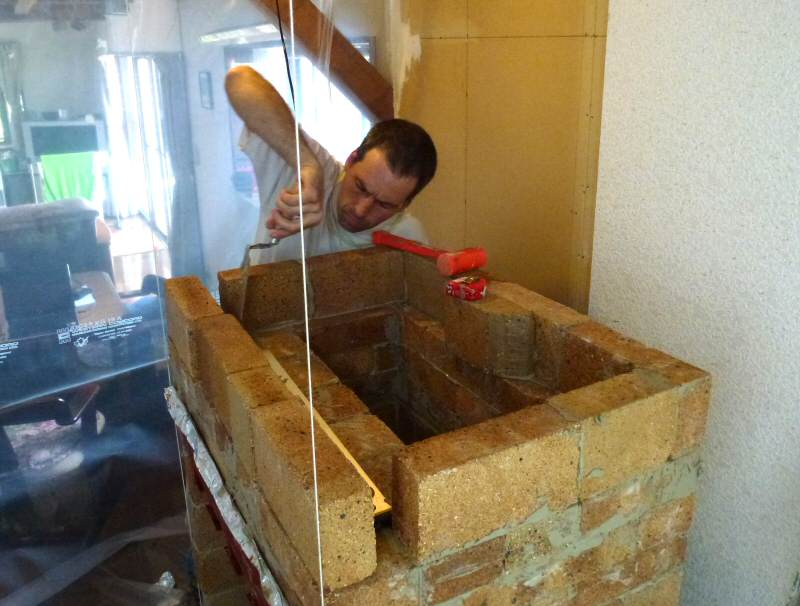
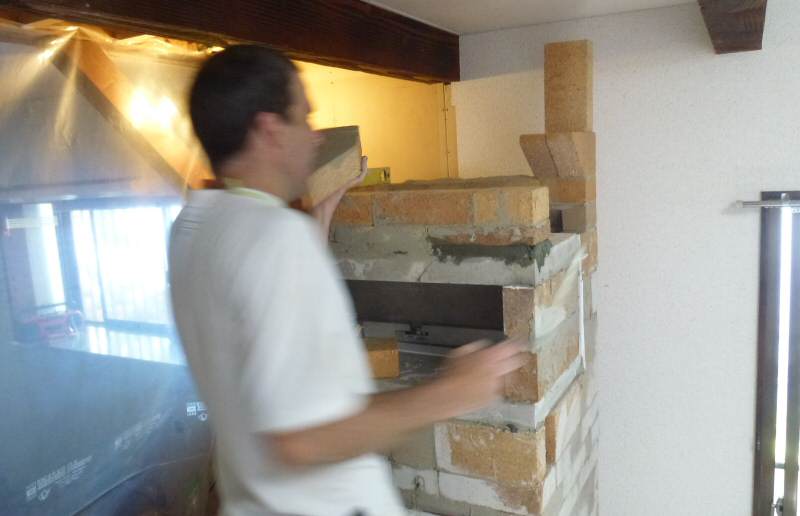
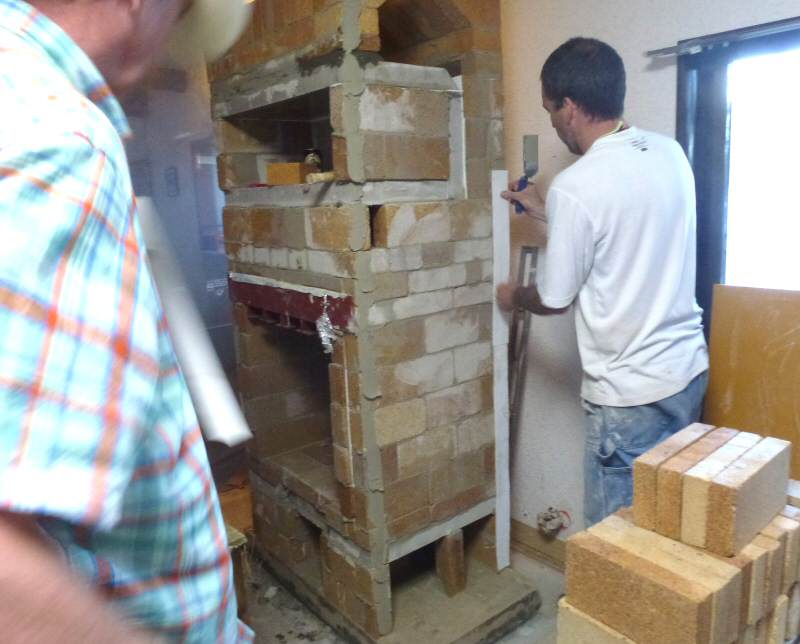
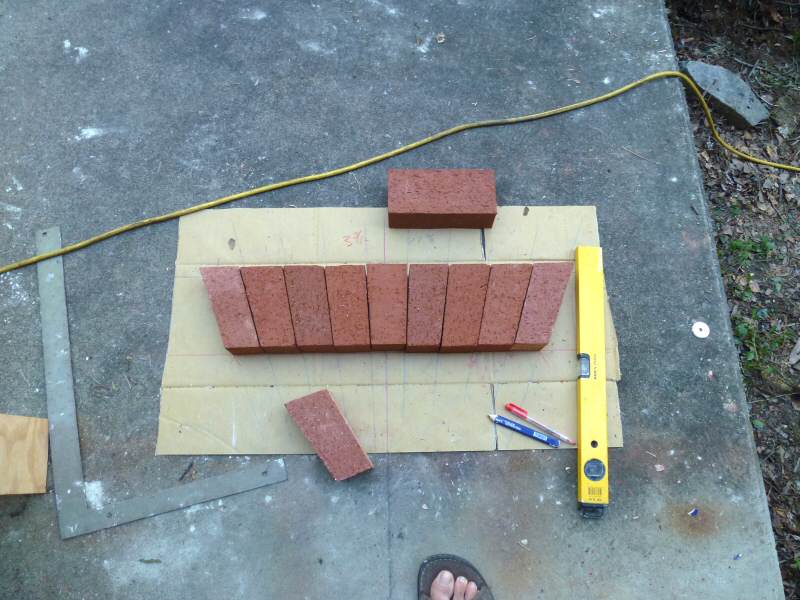
Laying
out a jack arch to bridge the opening above the firebox door. Brian had
intended this to be structural
only and covered with plaster, but we decided to leave it proud of the
face so that it would be a decorative feature.
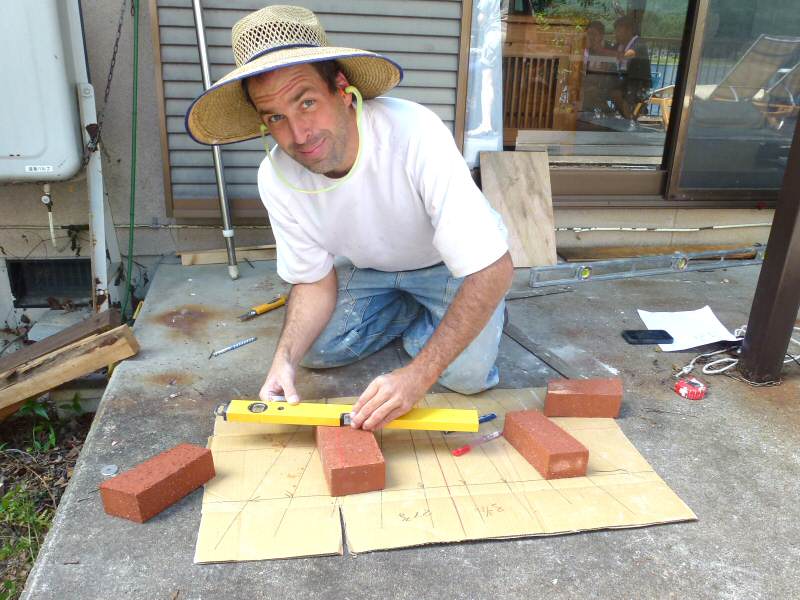
Aki gave Brian this hat, which used to belong to his father. Back then, the hats were made in Japan using traditional
methods. The quality of the weaving was exquisite.
Brian
showed the Japanese guys how to mark it out to his template and cut it, and
they did a perfect job.

End of Part 1
Go to Part 2
This
page was last updated on April 5, 2020
This page was created on August 4, 2013
Back
to: