
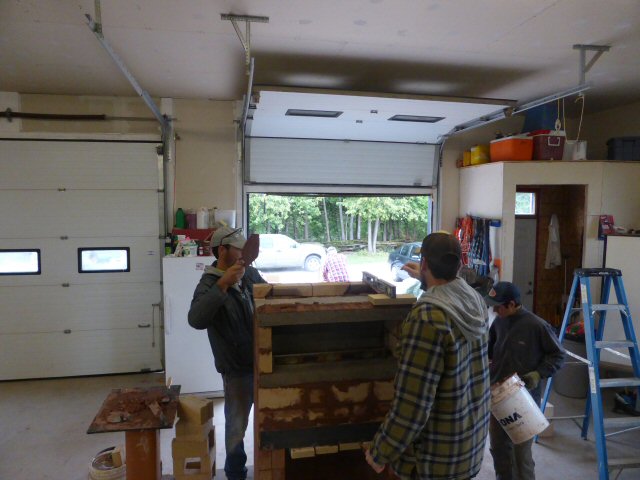
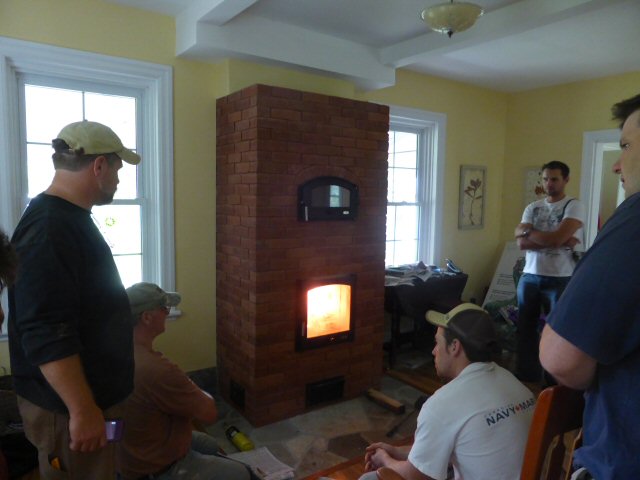
MHA
HMED Class
Sep 12-15, 2013 -- Perth, Ontario
Photo story by Norbert Senf
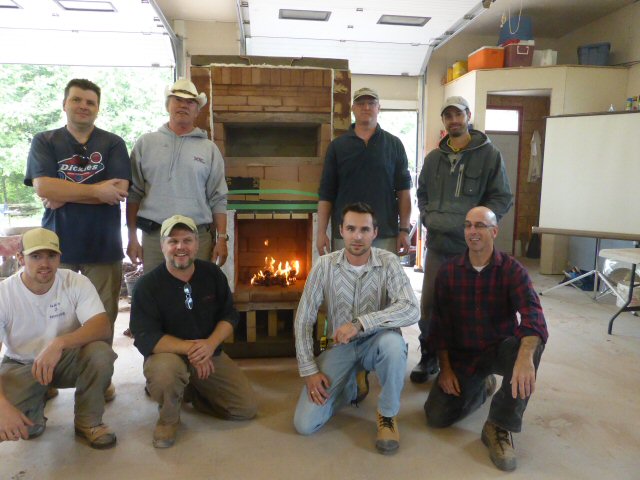
Standing, left to right: Stan Grabowski, a mason from Mississauga ON, instructor Norbert Senf,
instructor John McDougall, who hosted the workshop, Nathan Lamberts, a mason from Guelph ON.
Front row: Alexandre Paquin, an apprentice mason from Gatineau QC, John
Scott, an instructor
in the Algonquin College Heritage Masonry program,
Adam Janowski, a mason from Mississauga ON,
and Scott Horrocks from
Rupert QC, who is planning to build a house with a masonry heater in
Nova Scotia.
Not shown: Mathew McCartney, a mason from Kingston, ON.
HMED is MHA's Heater Mason Education Development program.
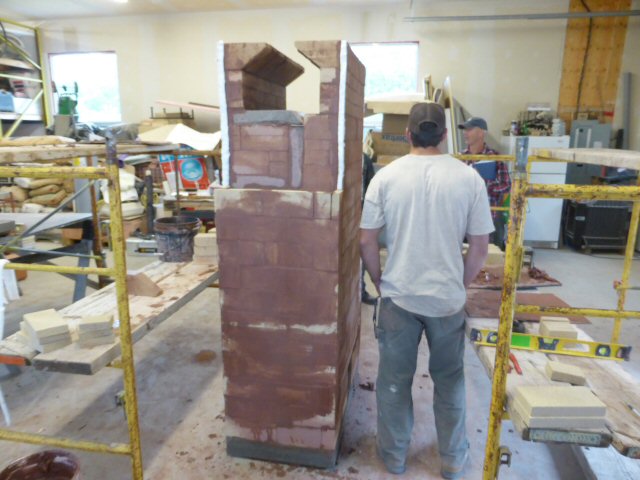
We guide the class through the build of the 22" Contraflow heater from the MHA Heater Plans Portfolio
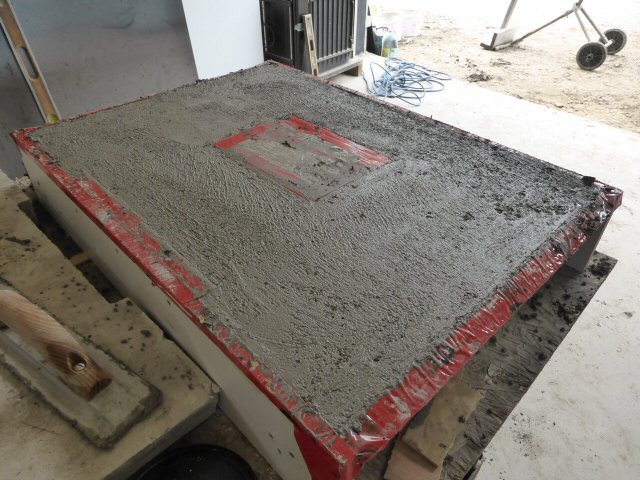
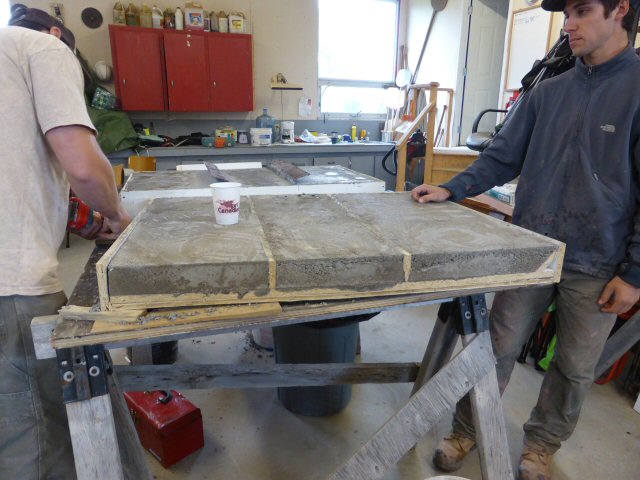
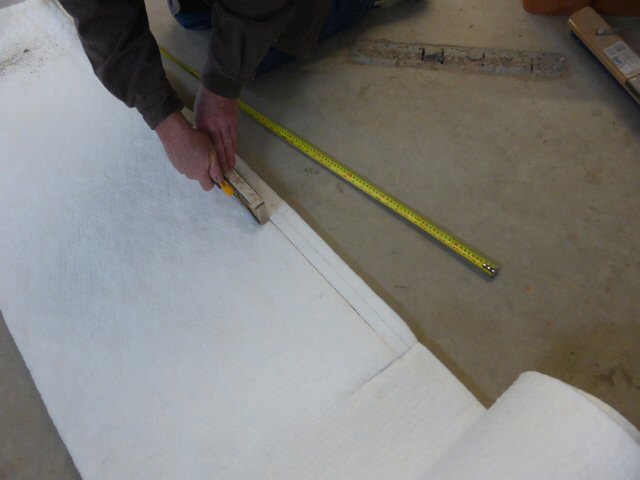
John had precast a firebox floor (shown) and insulating base slab. These
are the first two castings
used, and allowed us to start the build
right away. As an exercise, we formed and cast all the castings
for this
heater during the workshop.
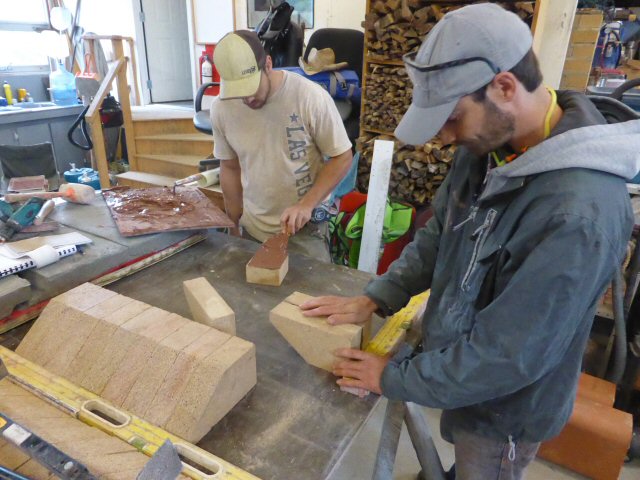
Firebox floor with the air plug removed

Setting the insulating base slab into a bed of mortar.
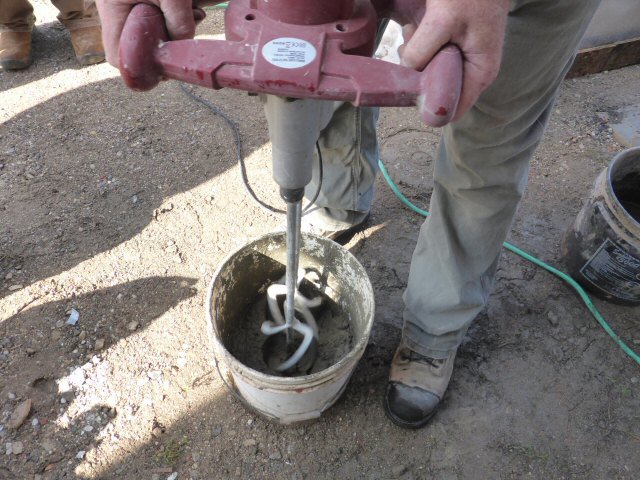
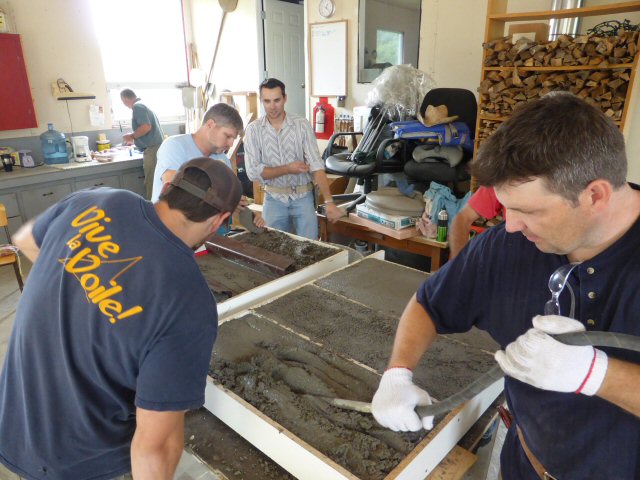
Alex brought a two paddle mixer,
which we checked out. Here we are mixing a very dry batch of
castable,
which would be impossible with a drill mixer. Because the two paddles
rotate in opposite
directions, the bucket does not spin.

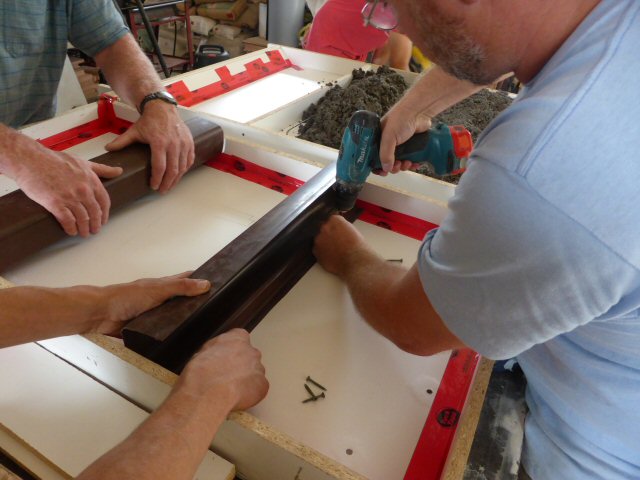
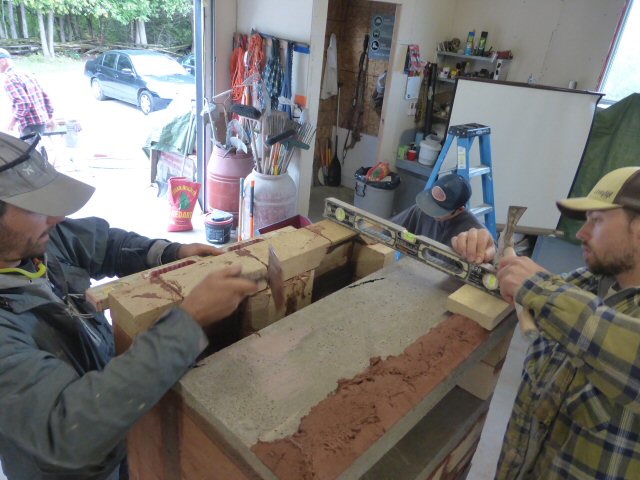
John Scott re-assembles the firebox floor mold to do another casting.
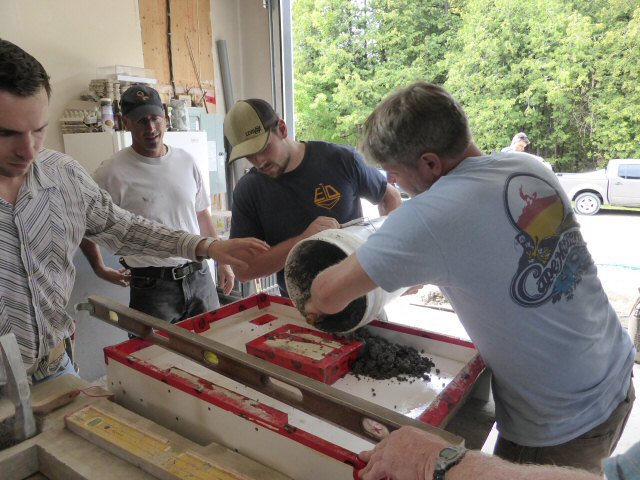
Regular castable refractory concrete has to be mixed very dry. There was
no mix ratio printed
on the bag, so getting the water right was an
important part of this demonstration.
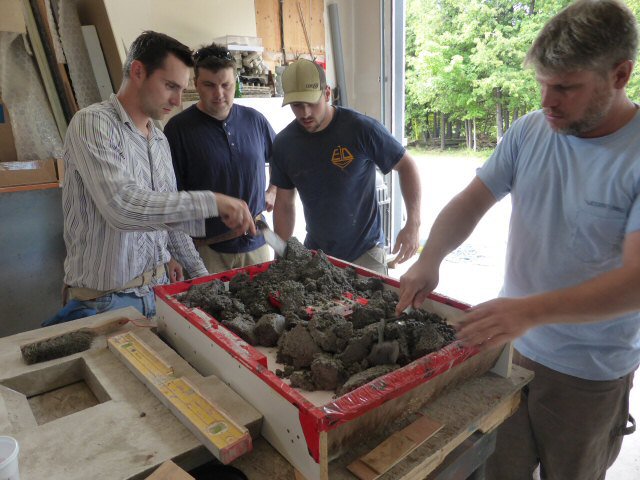
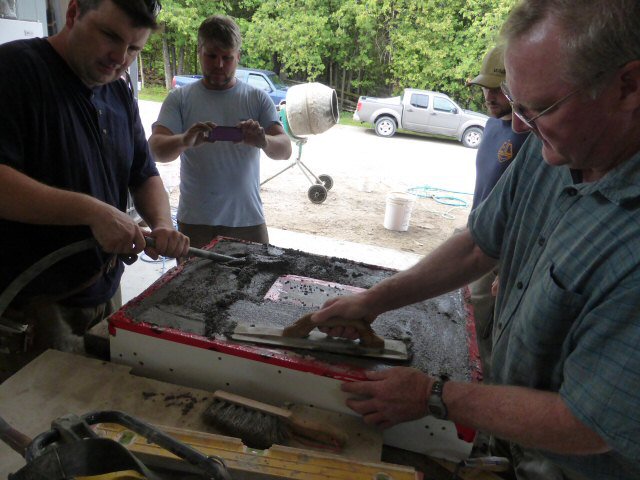
Vibrating the concrete with a stinger.
Click for video
The top is floated with a magnesium or preferably wood float. A steel trowel is not used, to
leave the surface open for drying.
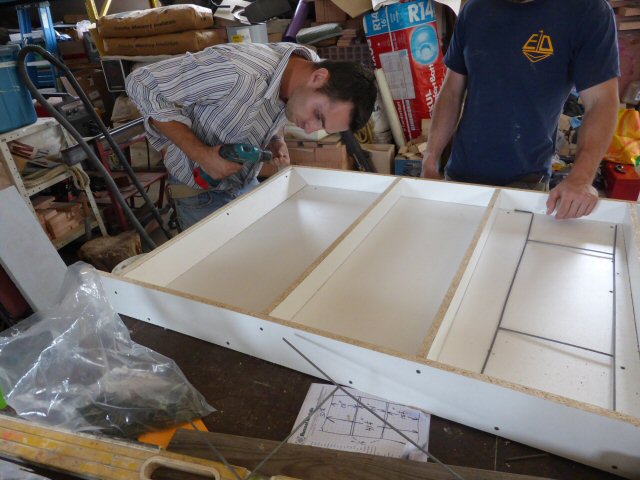
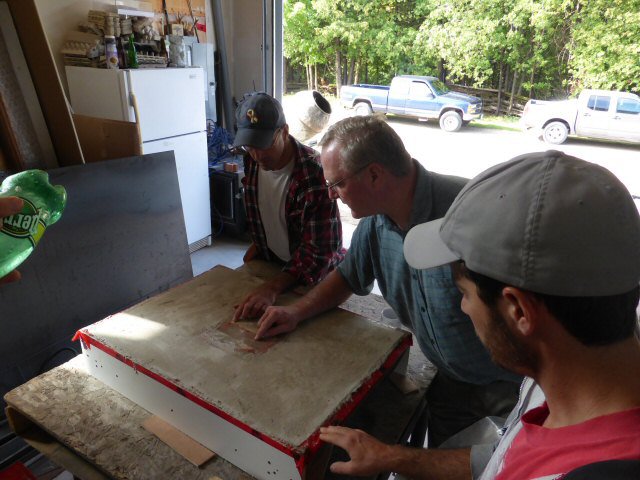
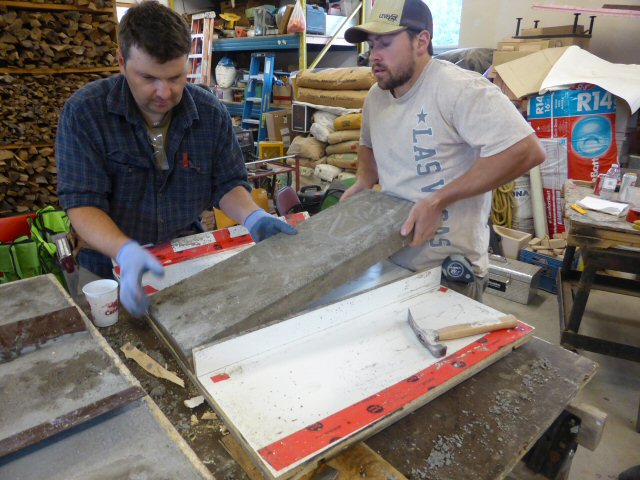
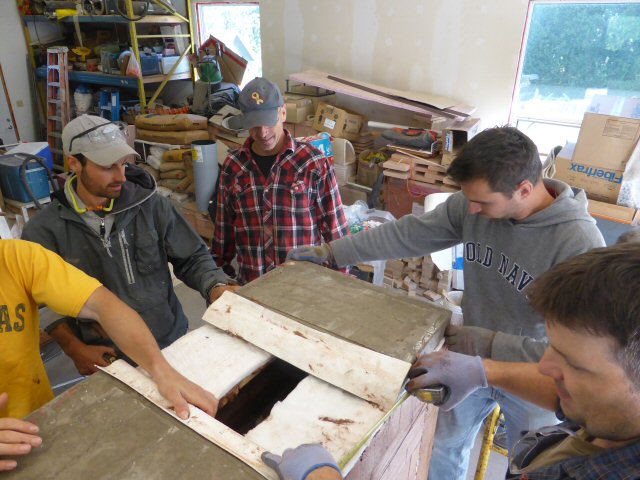
Building the mold for the 3 oven pieces. Note that these slabs are steel reinforced.
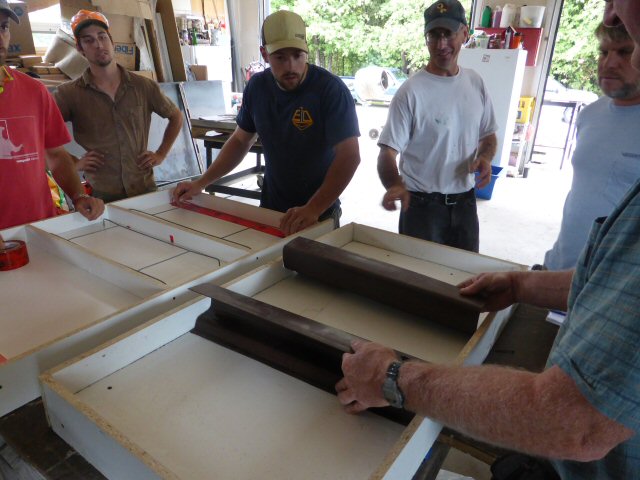
Building the mold for the 3 ceiling slabs. Plastic eavestrough has been modified to make
improvised separators that will create lapjoints between the slabs.
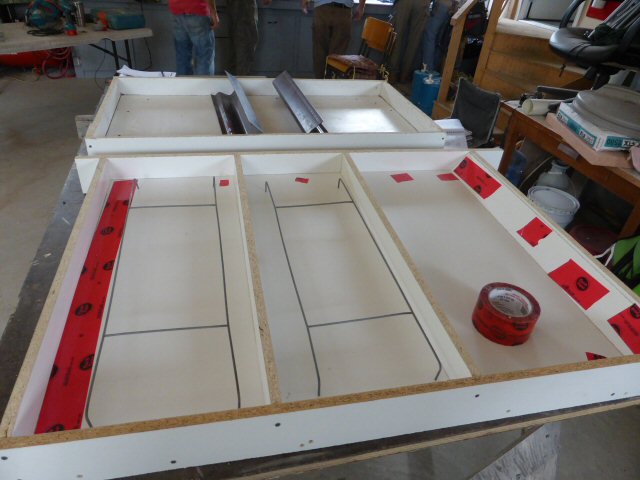
The screws and seams are taped to prevent water getting into the MDF formica board and
swelling it.
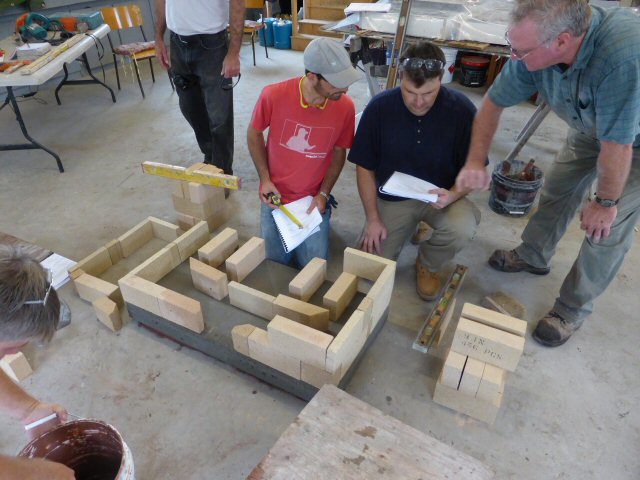
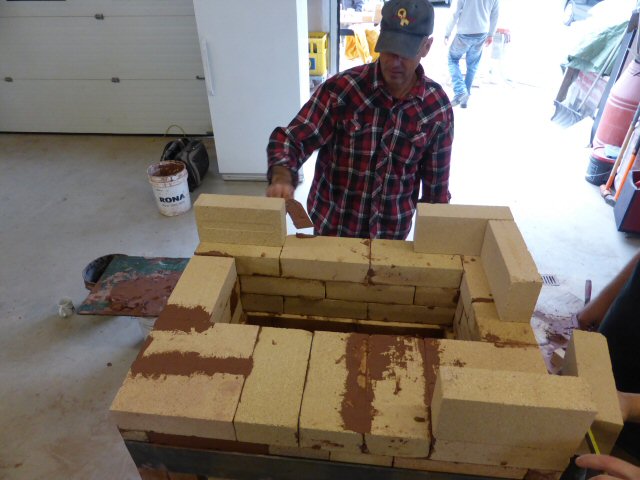
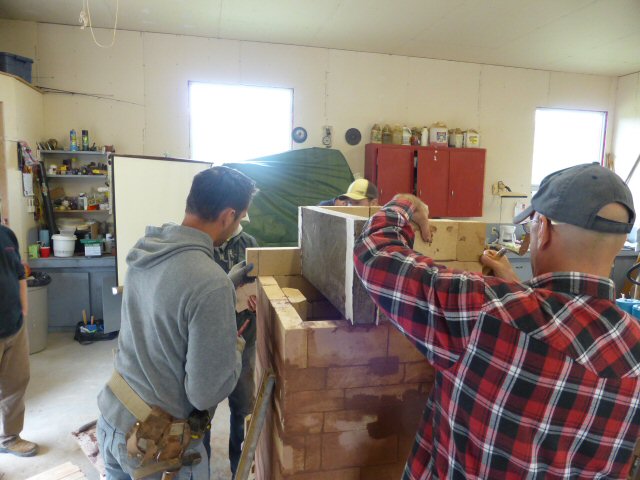
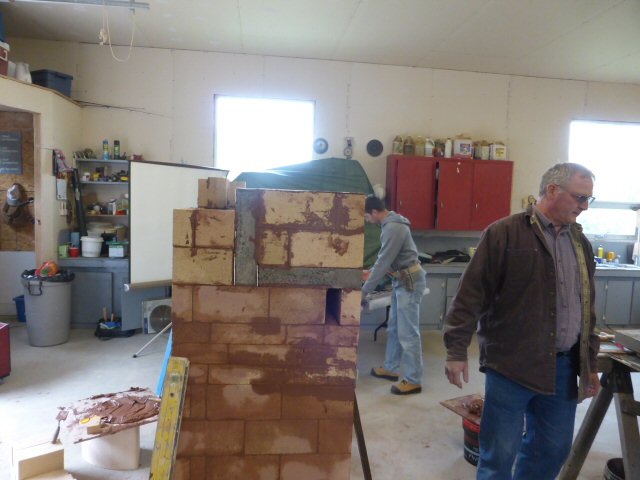
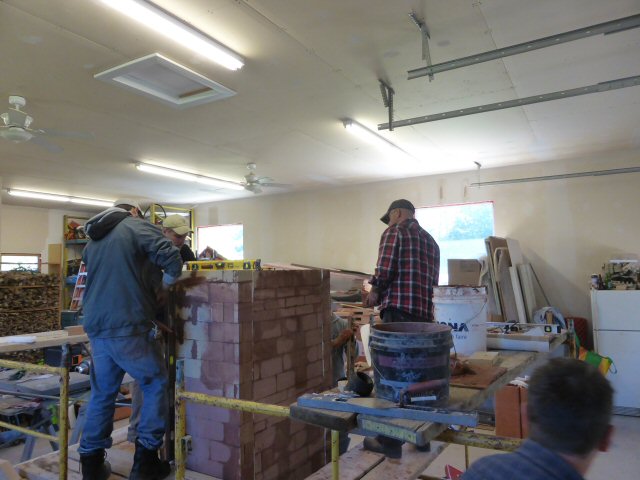
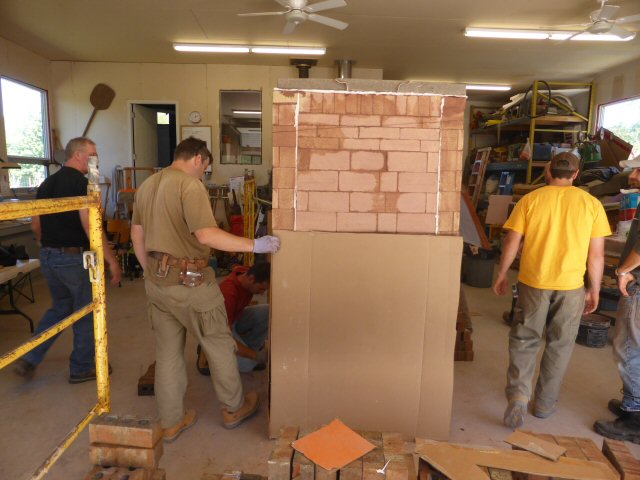
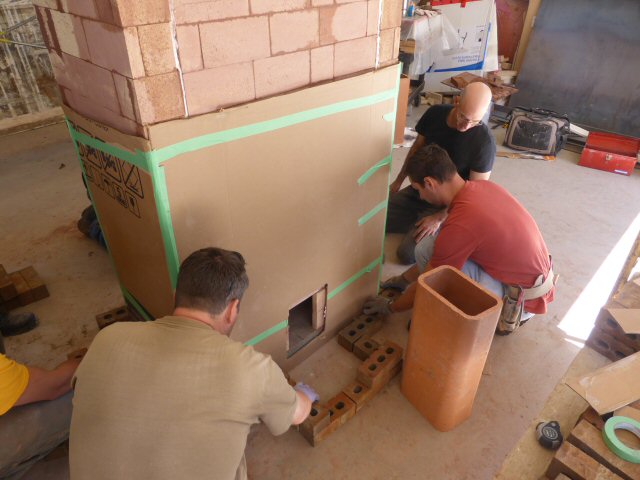
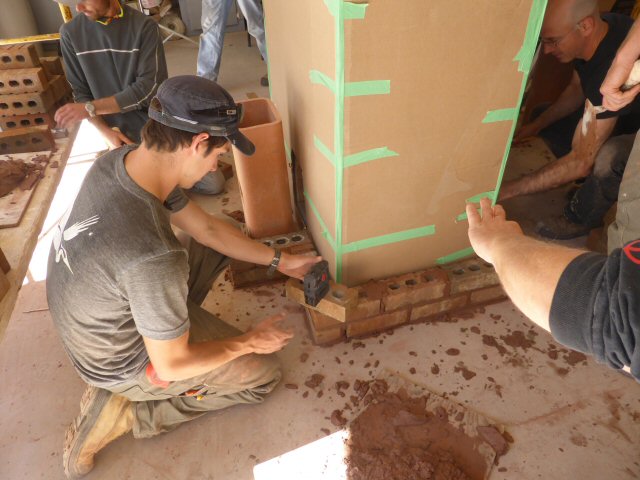
Meanwhile, at the heater build, laying out the first course.
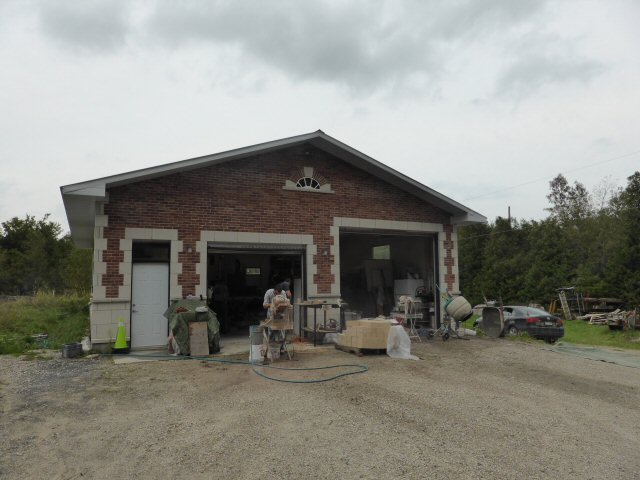
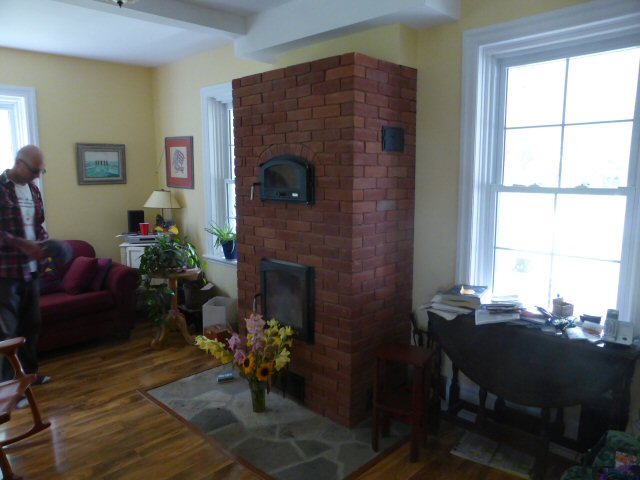
A view of John's beautiful new shop. Check out his masonry boiler fired hydronic slab.
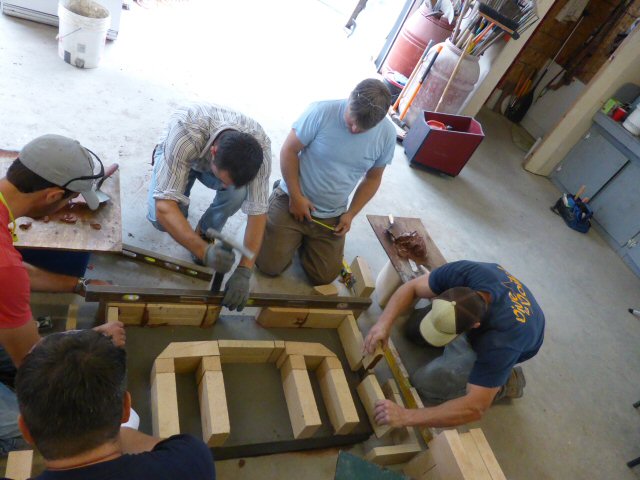

Setting the firebox subfloor.
Firebrick firebox floor.
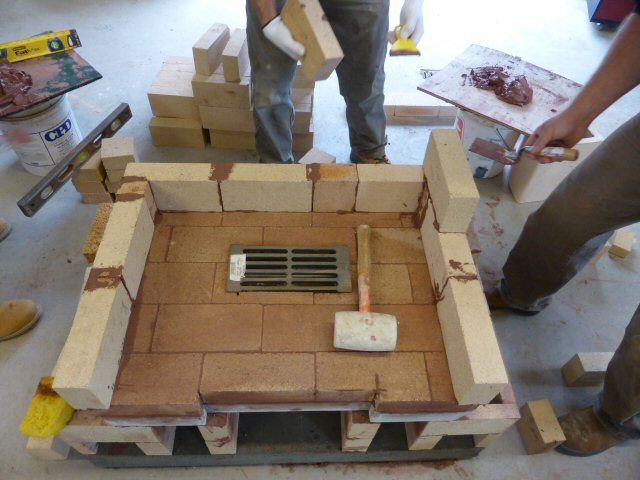
Outer wall of the two shell firebox, which has a replaceable inner liner.

Washing up the inner shell, which will be visible.
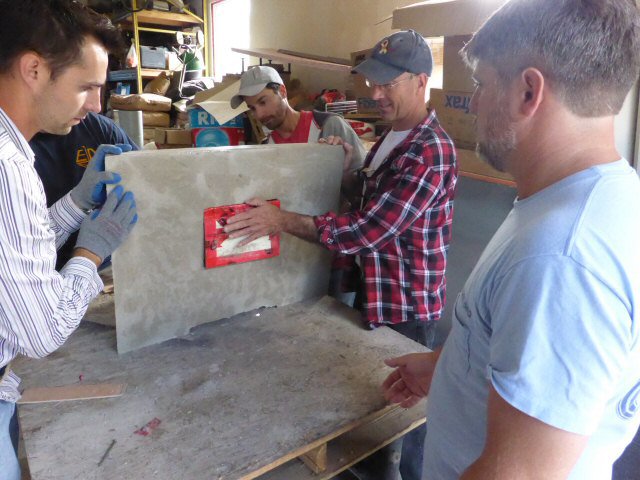
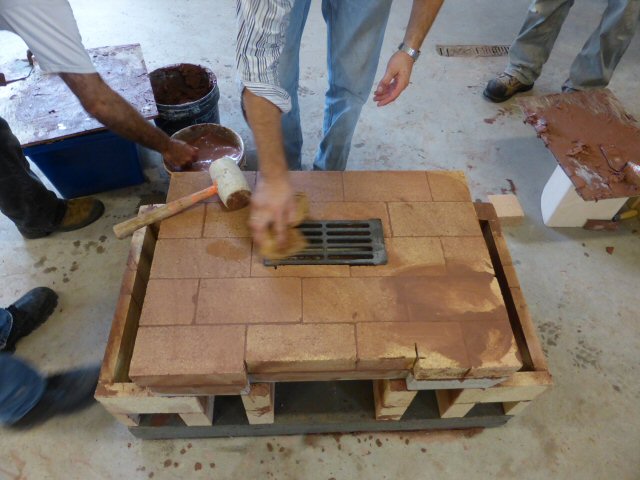
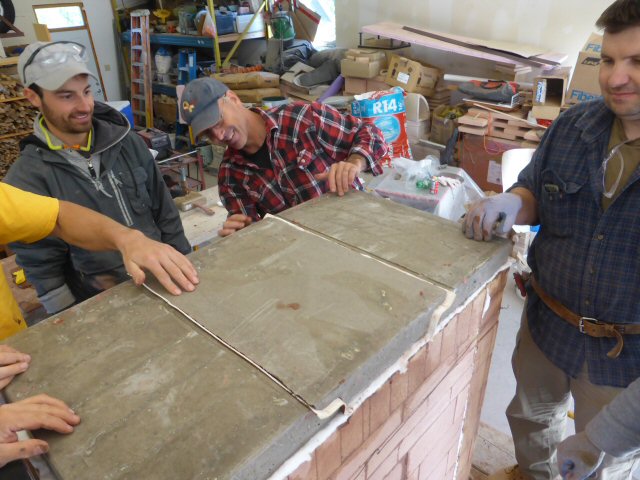
Demolding the bake oven slabs. Note there is some honeycombing - the mix could have been
slightly wetter. A vibrating table would handle a stiff mix like this, but would need beefier molds.
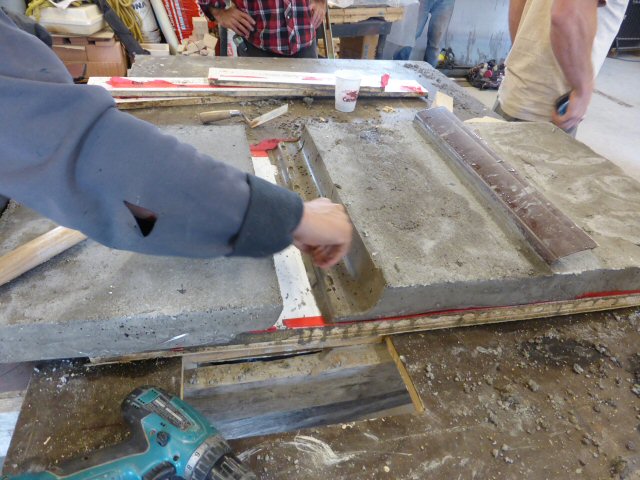

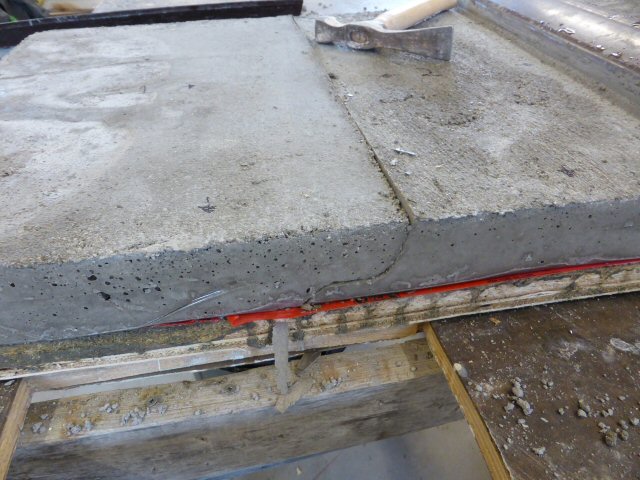
Detail of the lap joint in the ceiling slabs.
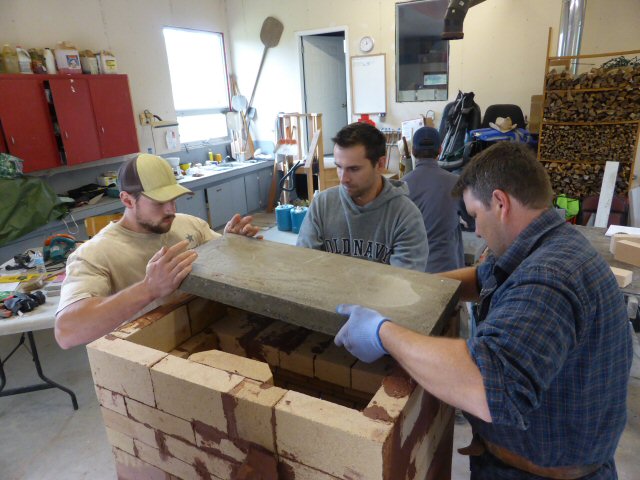
Intstalling the bake oven floor.
Installing the bake oven back.
Gasketing the rear of the bake oven rear slab.
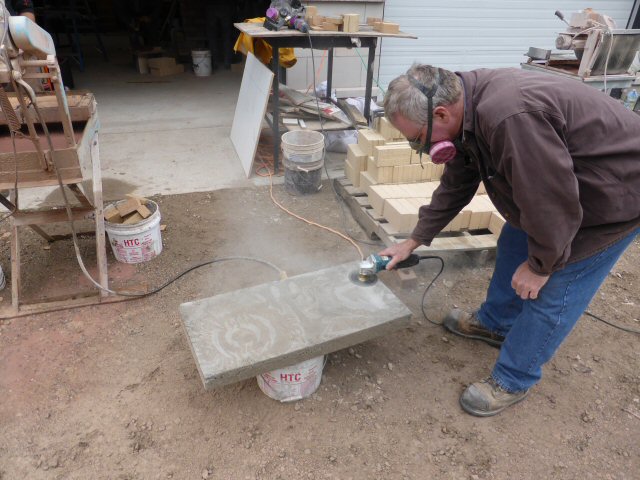
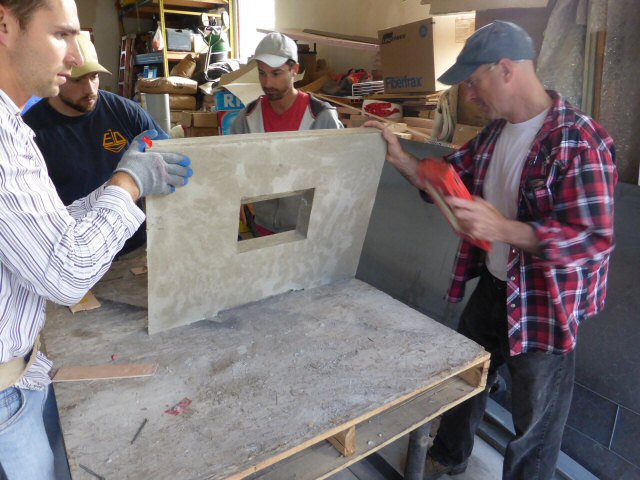
The bake oven ceiling casting should have been cast upside down to get a better surface finish
on the visible side. Here John is resurfacing the slab with his favorite tool, a flush mount diamond
blade.
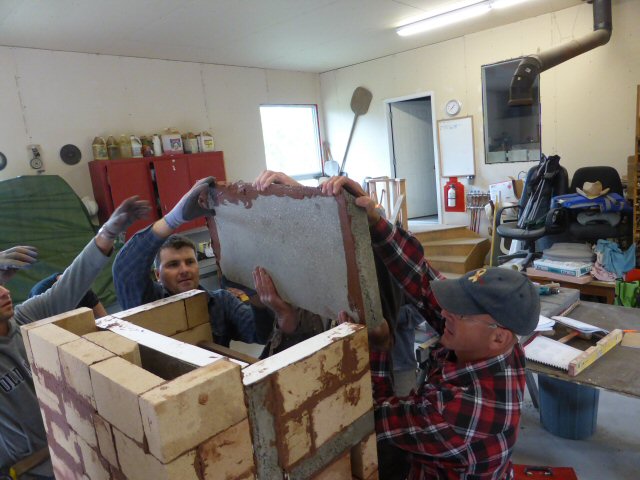
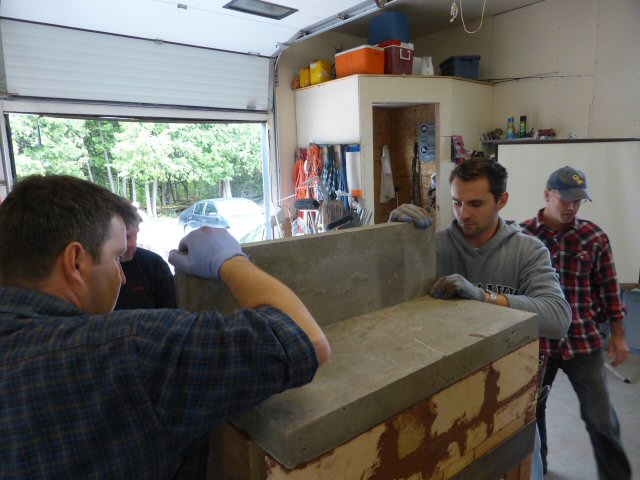
Installing the bake oven ceiling. This is a white oven, which means that the flames go around the
oven instead of through it. It is the 4th generation of the original Heat-Kit design, with excellent
performance.
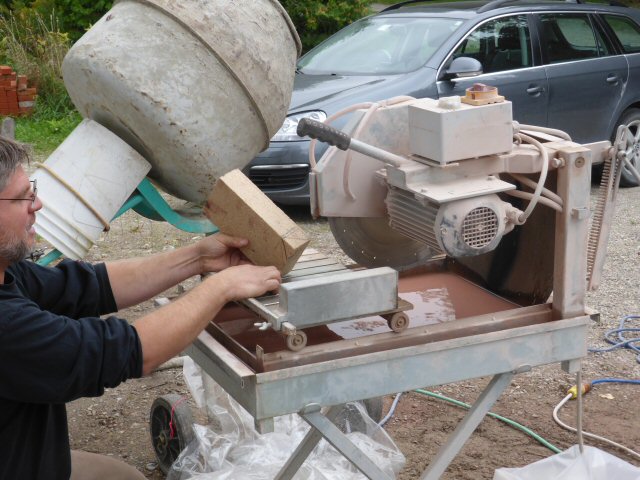
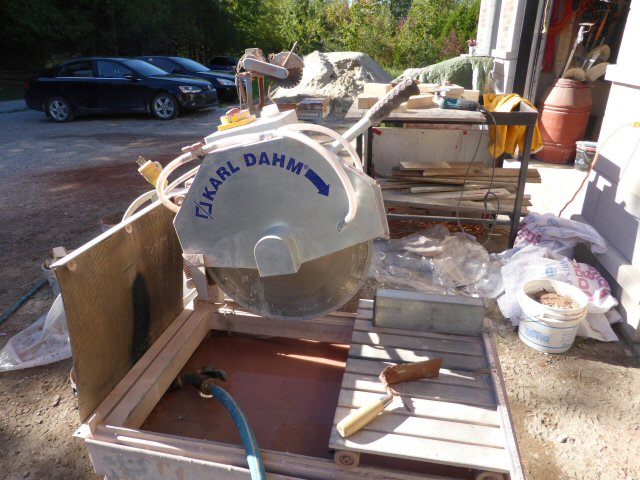
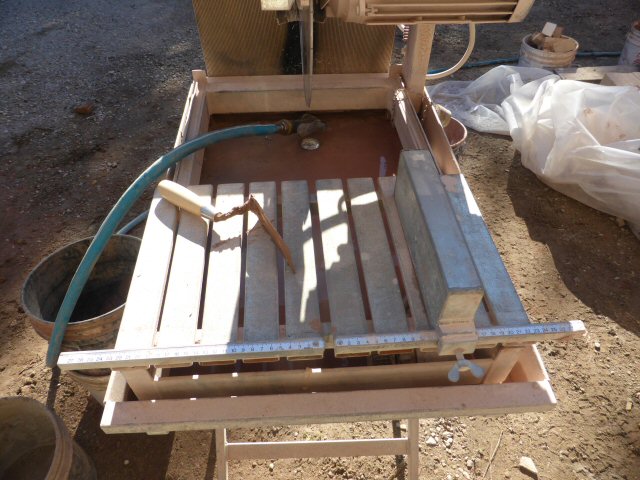
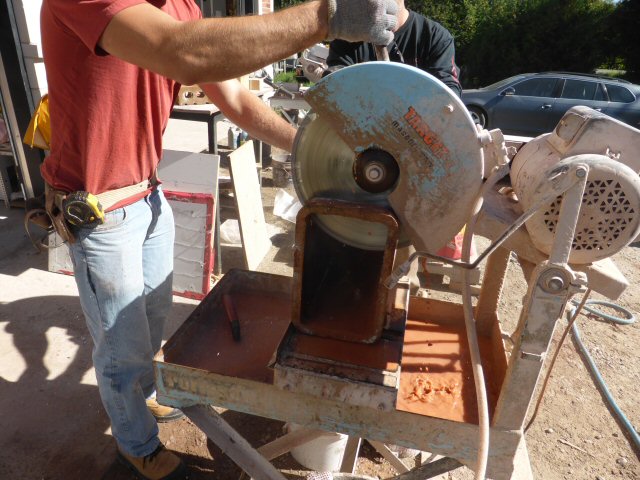
John Scott eyeballs a compound cut on the Karl Dahm
saw. This saw is very quiet and smooth.
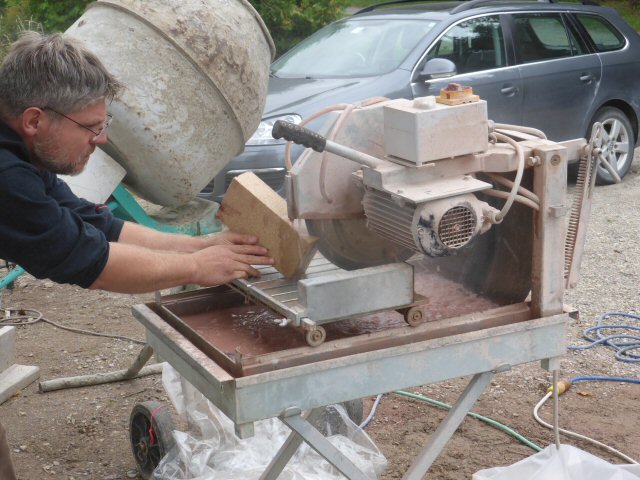
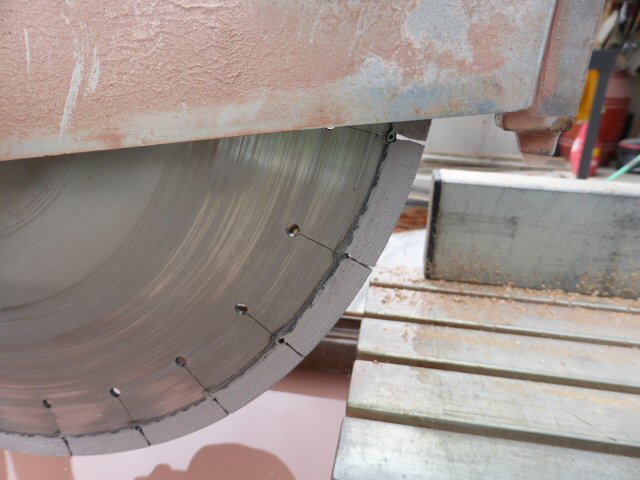
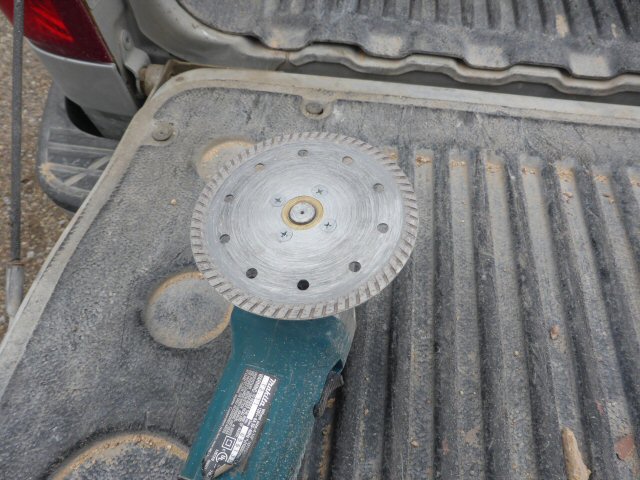
Special German refractory blade. The blade is extremely well balanced and is the quietest
blade, by a long shot, that I have ever heard.
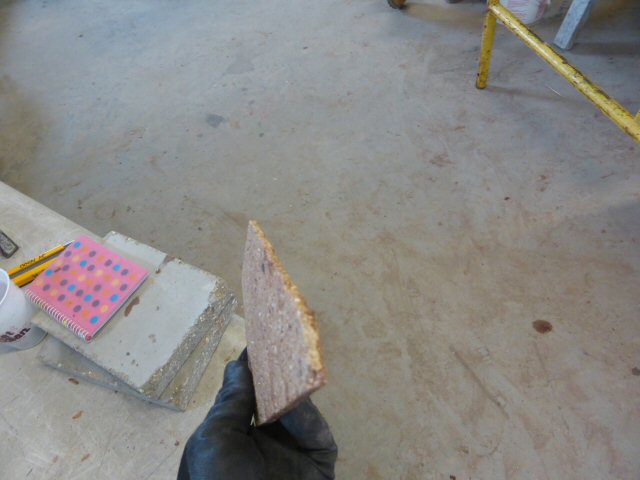
This 9" slice of firebrick is about 1/4" thick. On most saws, the vibration of the blade would have
broken it.

Check it out.
In the video, when the cut starts, there is not much extra noise above just the sound of the motor.
The sound was recorded by the camera standing right next to the saw. Compare with the
Target saw and regular blade starting up about 25 ft. away from the camera.
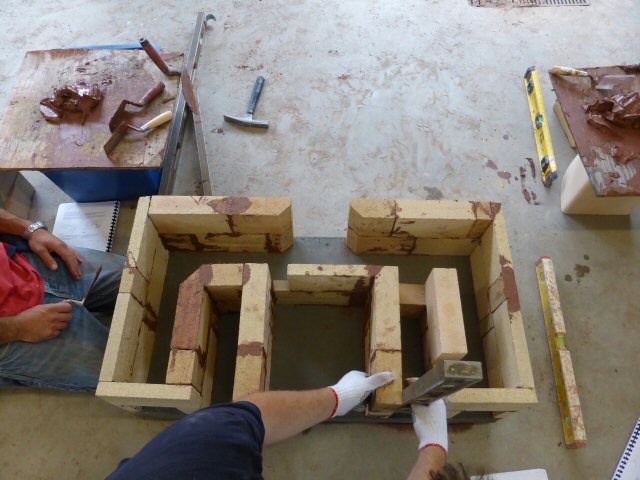
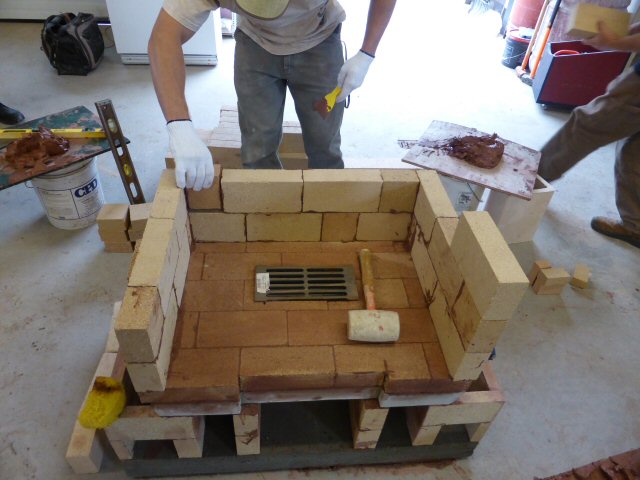
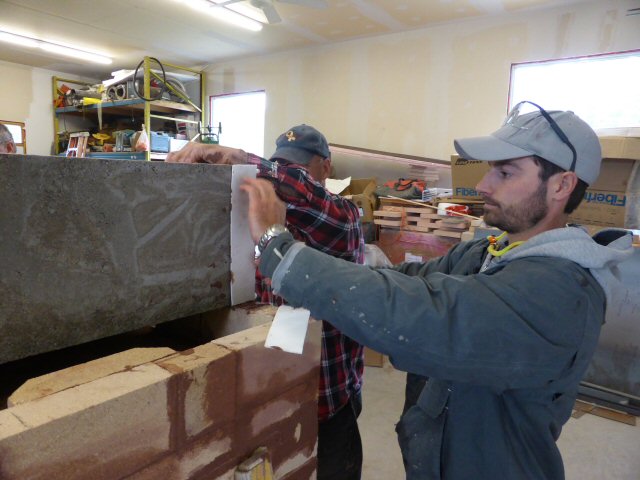
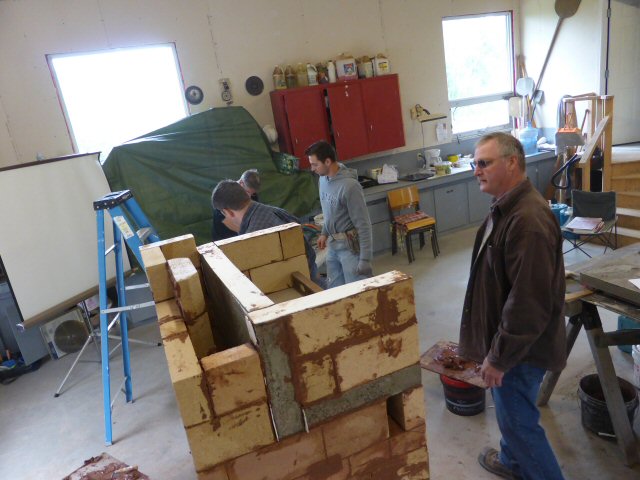
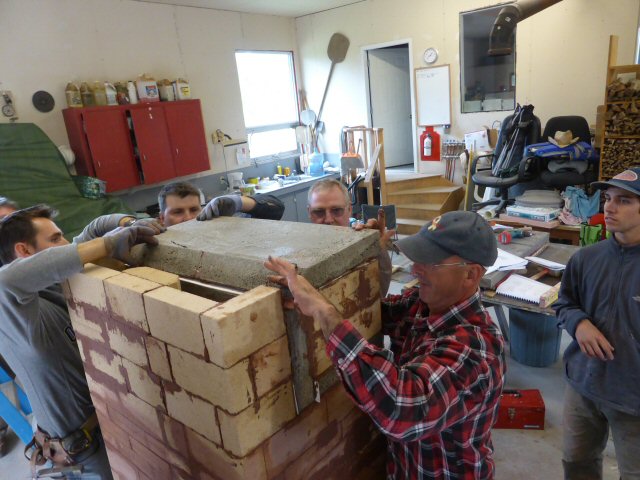
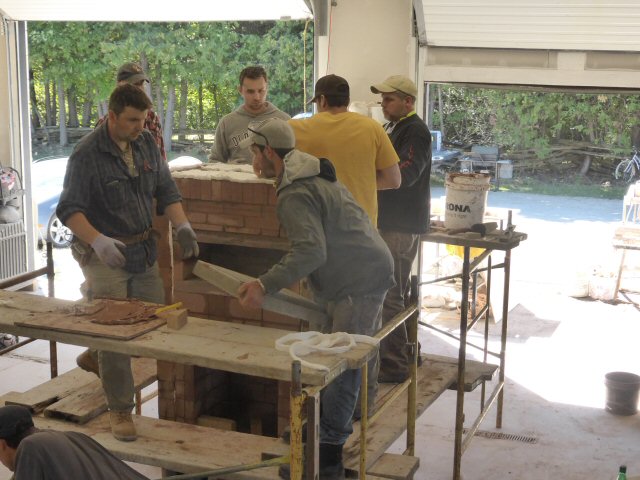
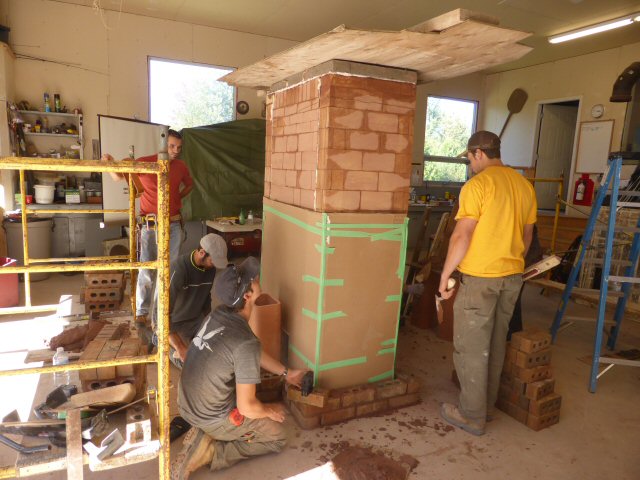
Height adjustment course above the bake oven to bring both sides level.
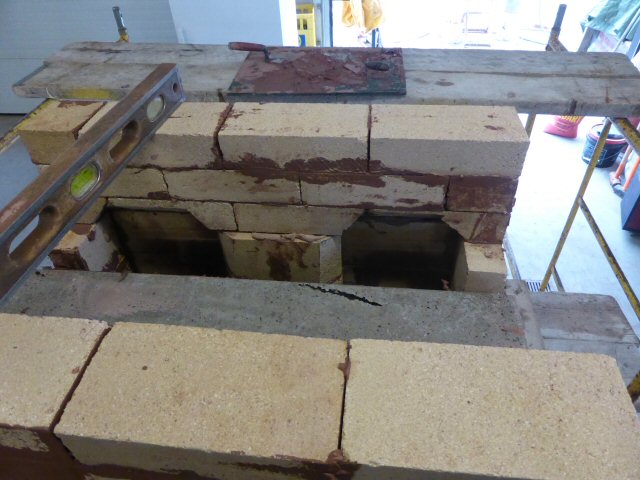

Ceiling transition. Rather than mortaring in the individual bricks in place on the core, we tried
mortaring them together on the bench, and installing them in bulk.

Result: much faster.
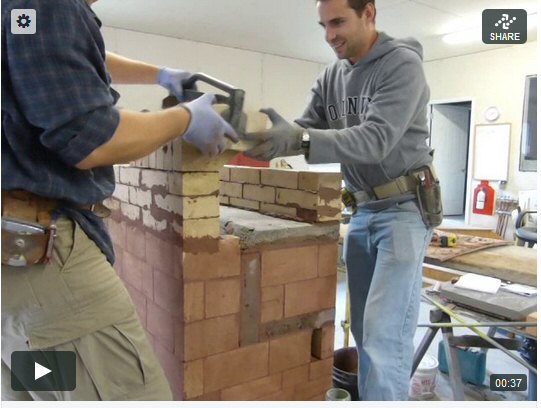
Check it out

Cutting ceramic blanket into strips for use as expansion joints on the two downdrafting
side channels.

Stan starts the side channels.
Side channel half completed.
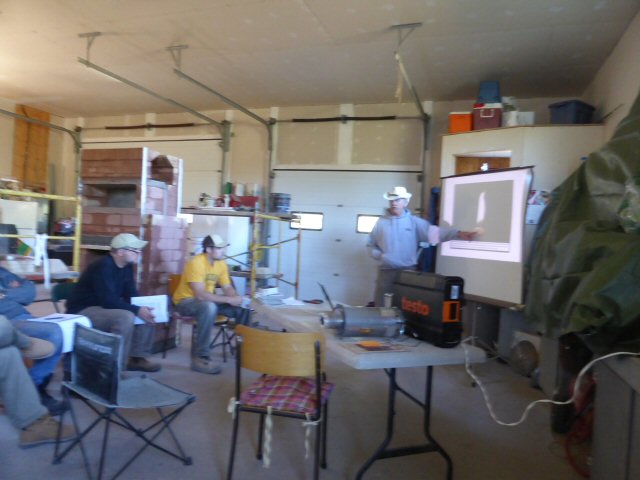
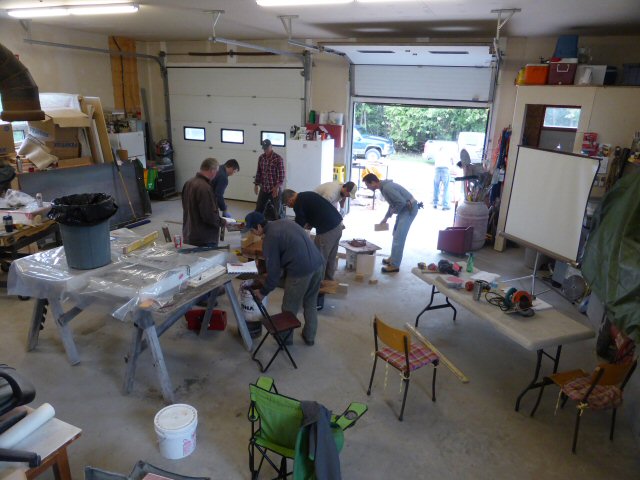
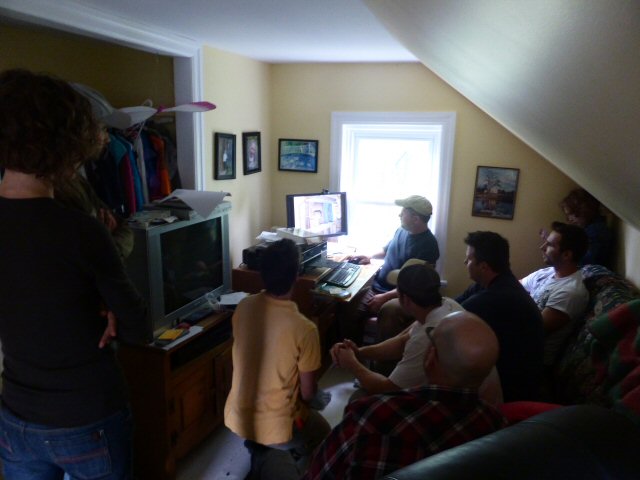
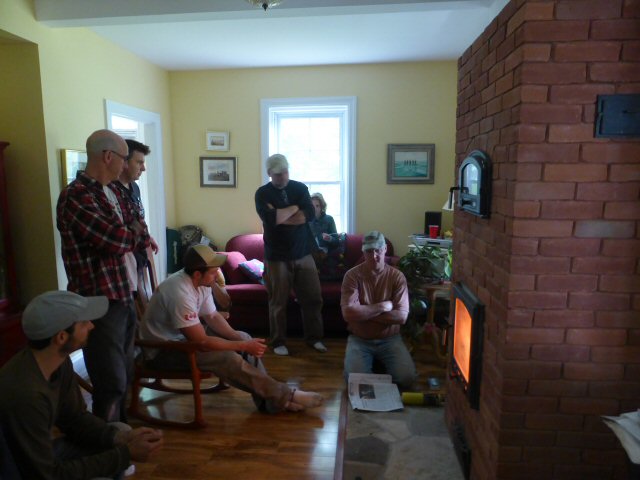
Each day there is a classroom component to HMED.
For this course, we also added the combustion seminar that I have done a couple of times at Wildacres.
Visible on the table is a Testo 330-2 gas analyzer (black case).
In front of it is a Condar portable dilution tunnel, used to sample PM-2.5 particulates (smoke).
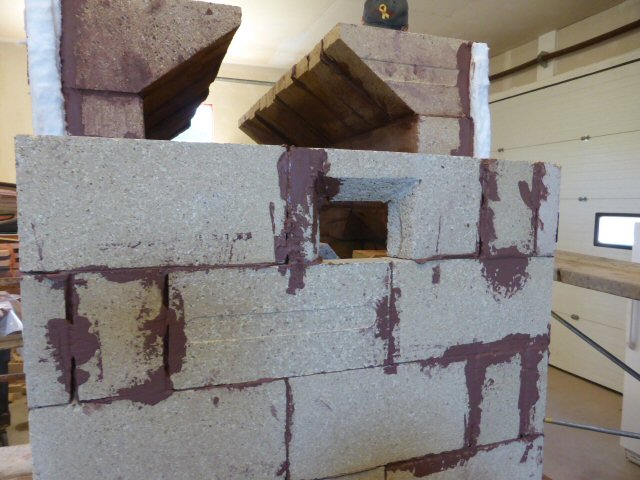
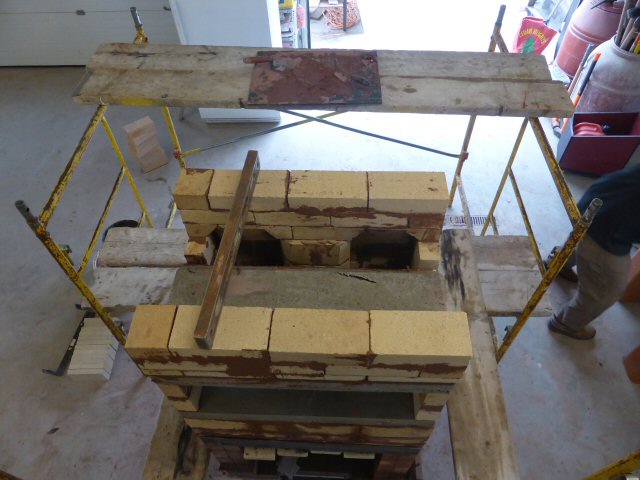
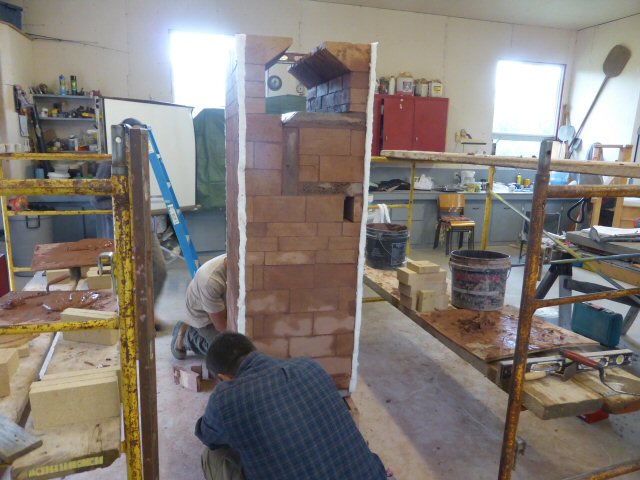
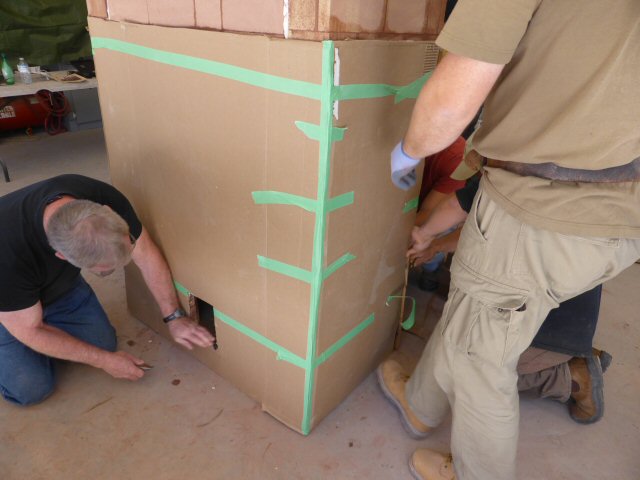
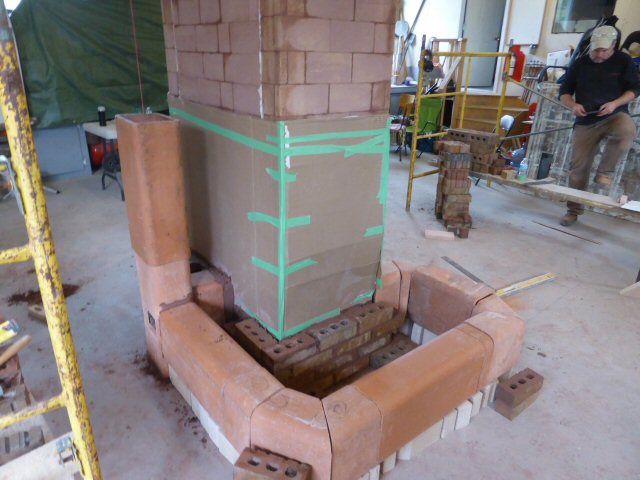
Adding a cleanout for above the bake oven.
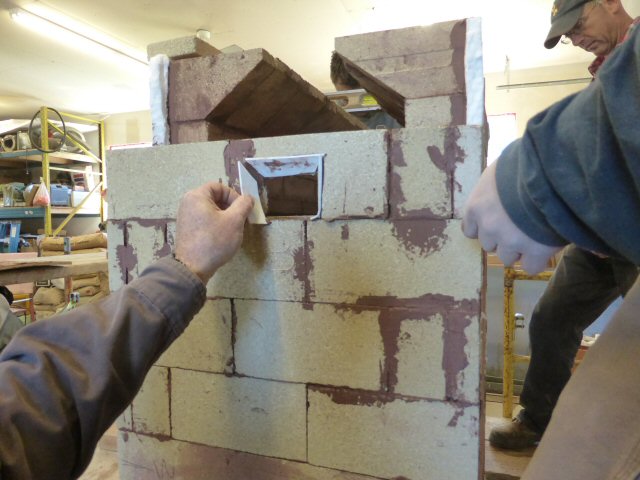

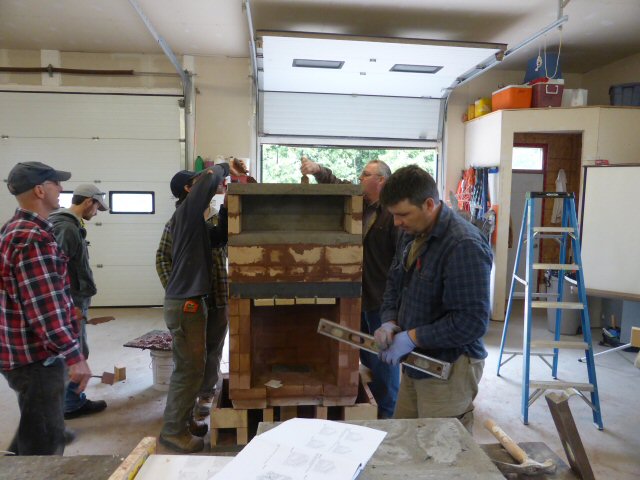
Ready to install the ceiling slabs.
Adding a cardboard slip joint to the core. Expansion in the major left to right direction is
handled by the 4 ceramic wool expansion joints, so expansion there is not an issue. However, the
core does need to be able to slide up and down inside the facing while maintaining good contact
with the facing for heat transfer.
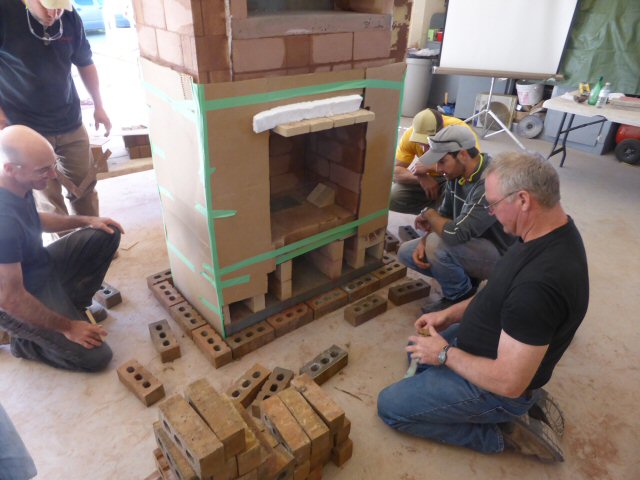
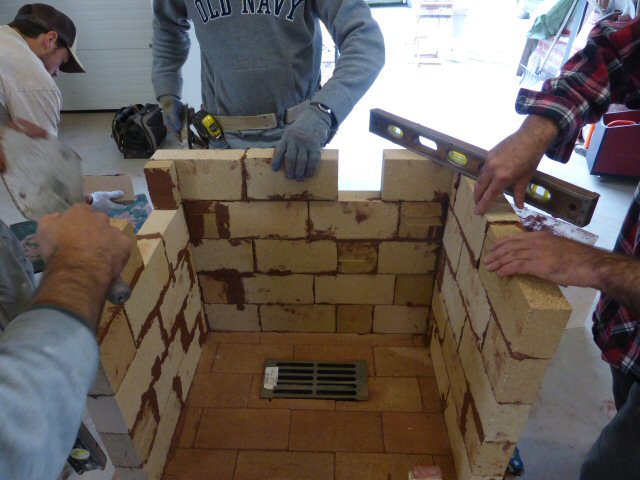
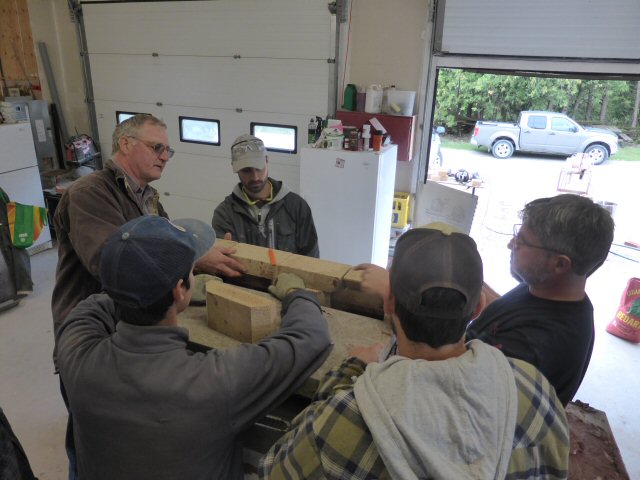
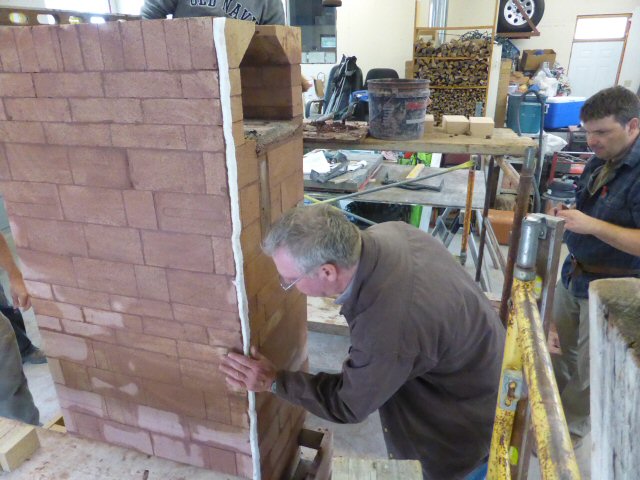
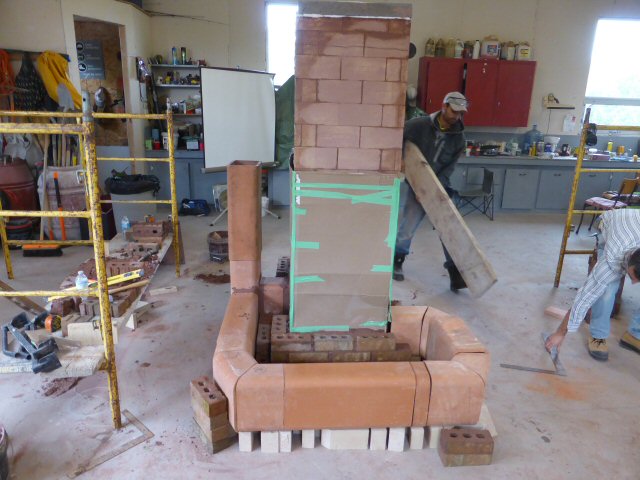
Bonding out the facing bricks, and discussing the various issues that may come up.
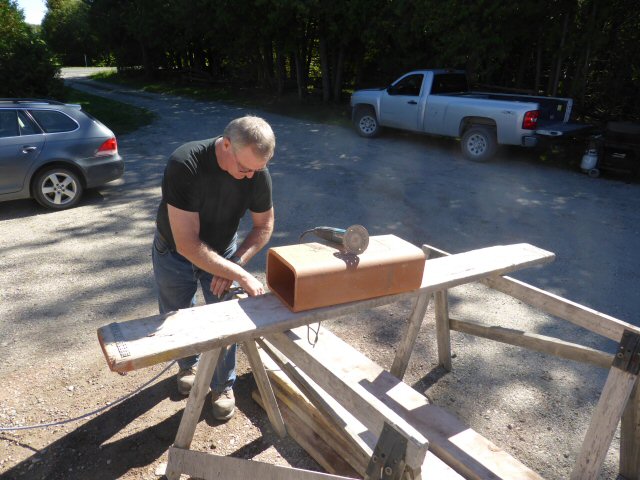
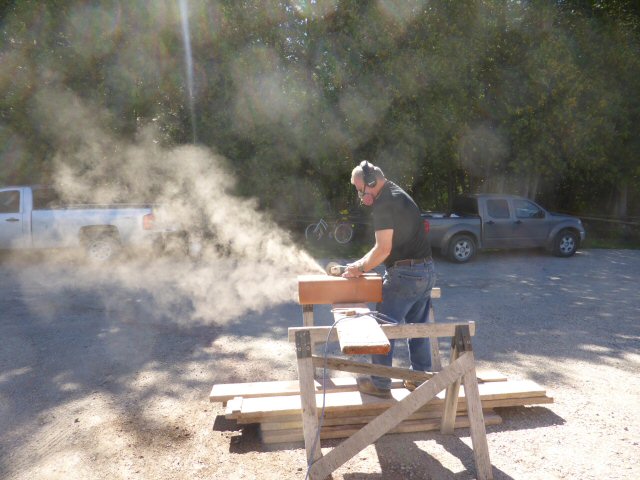
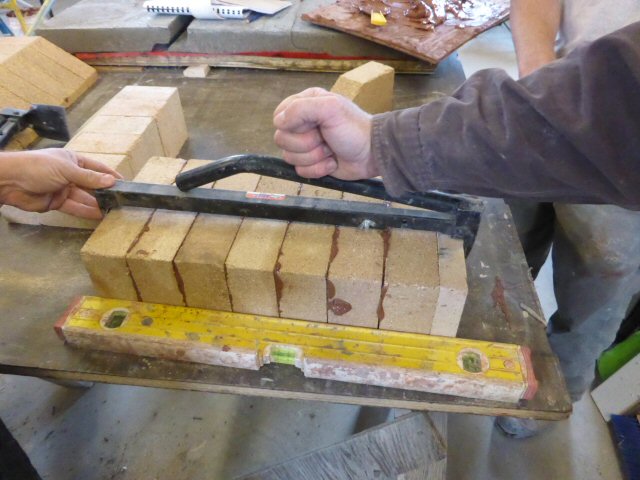
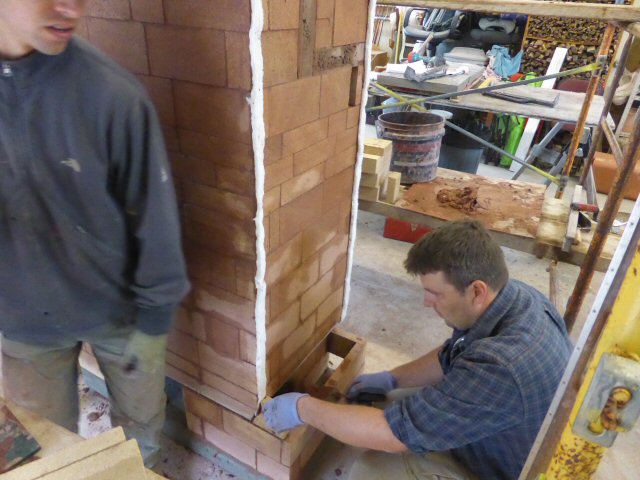
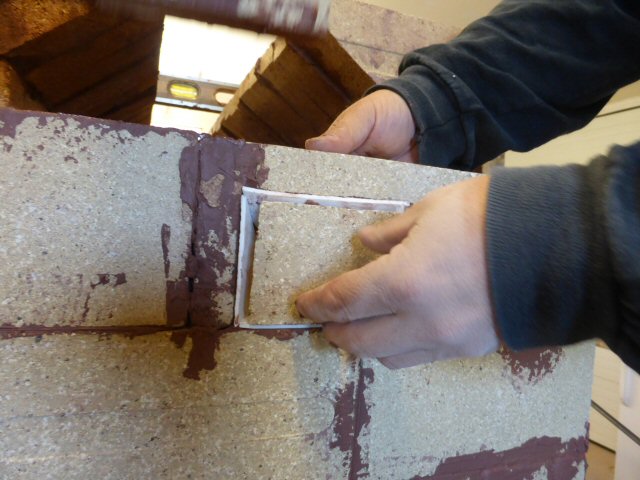
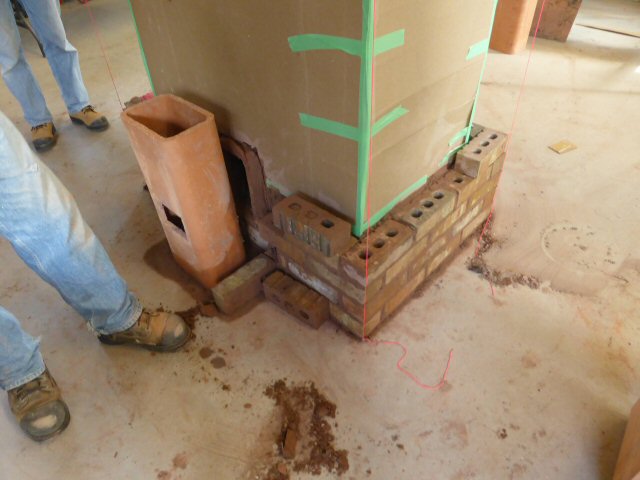
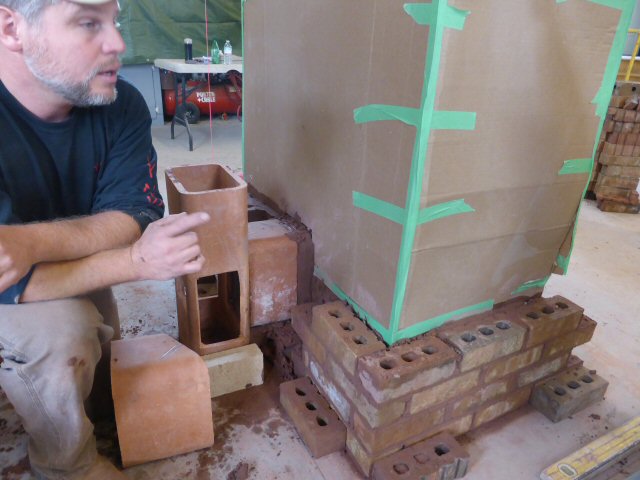
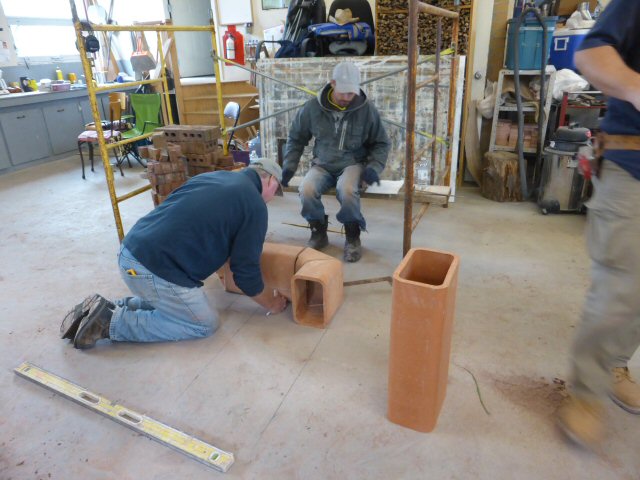
Cutting a connection opening and a cleanout into an 8x12 clay flue liner.
Cutting an 8x12 flue liner to length on a 14" wet saw. The Target has more clearance and a
greater depth of cut than the Karl Dahm saw does.
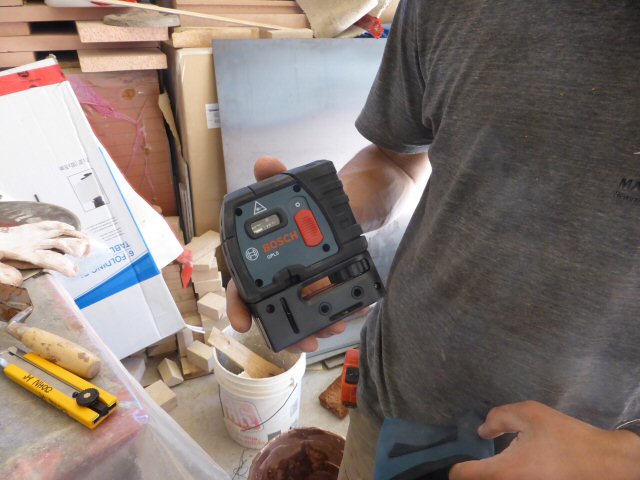
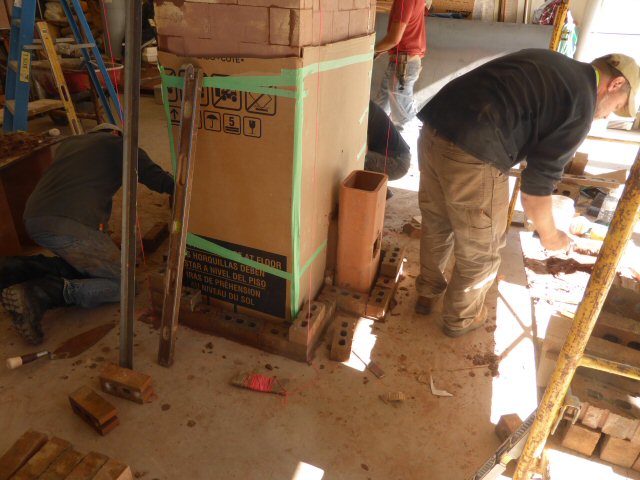
Laser plumb bob.
Setting jack lines with the laser.
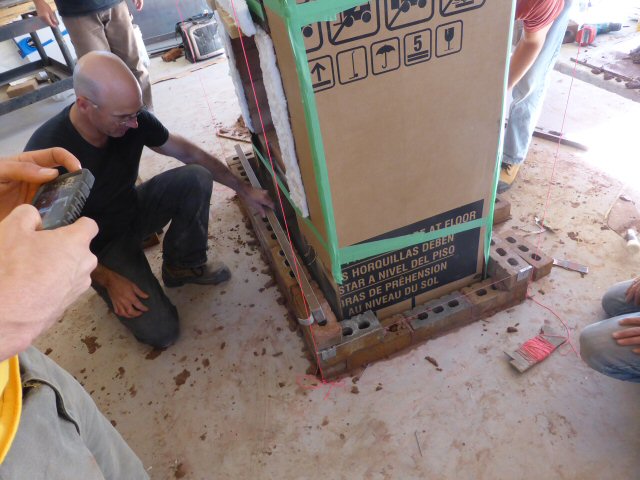
Jack lines are fastened to the temporary plywood, after marking the laser locations. Note the
long screws against the ceiling slabs, to prevent the plywood from moving.

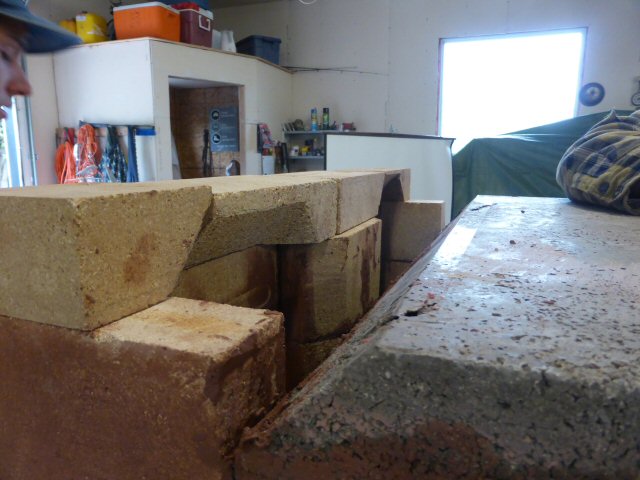
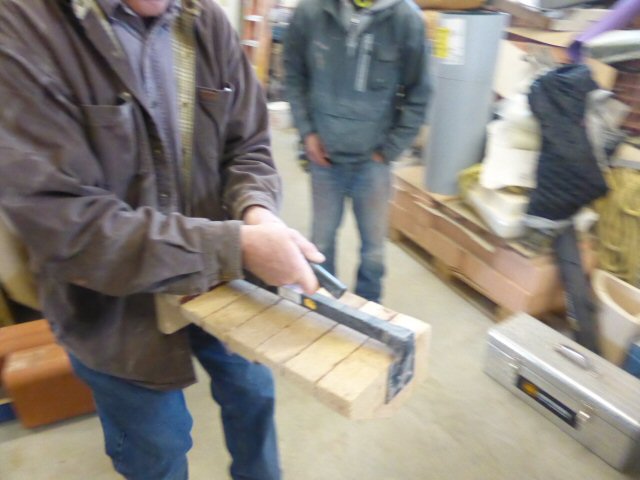
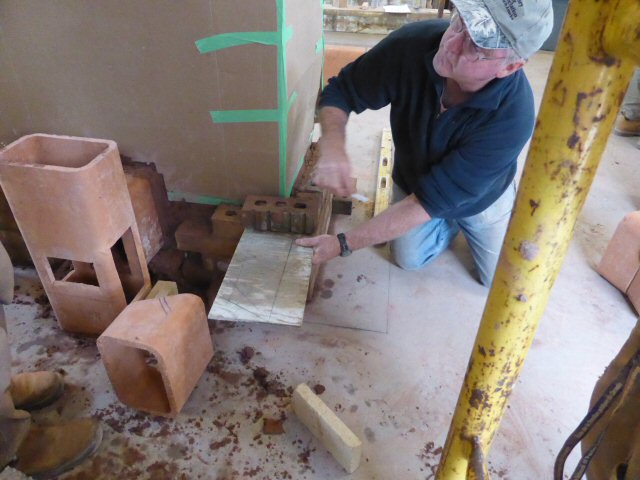
Laying out a heated bench. Here, John demonstrates a great technique for laying out a
non-45 degree bevelled corner.

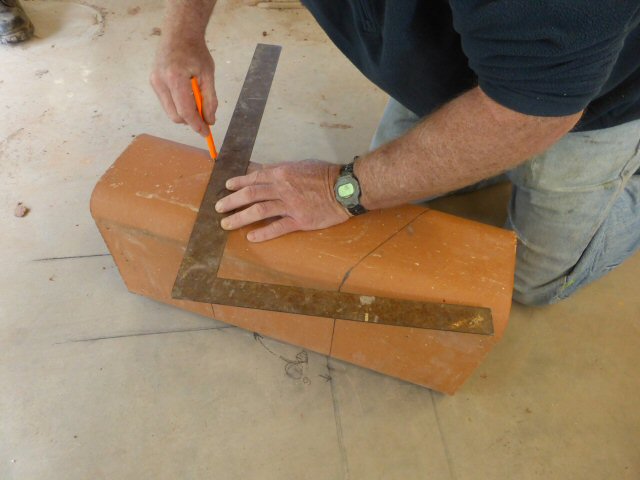
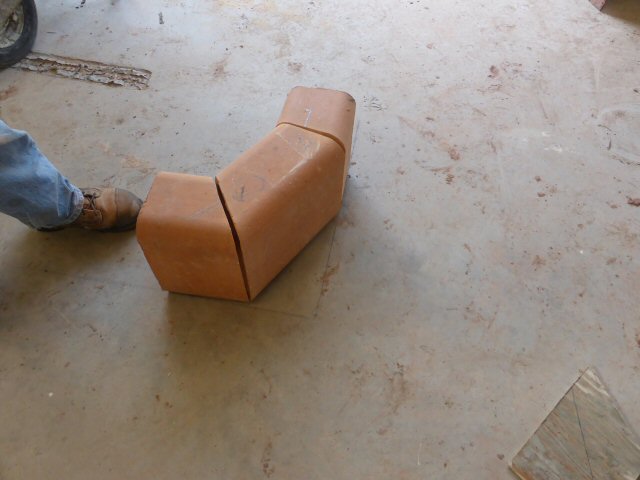
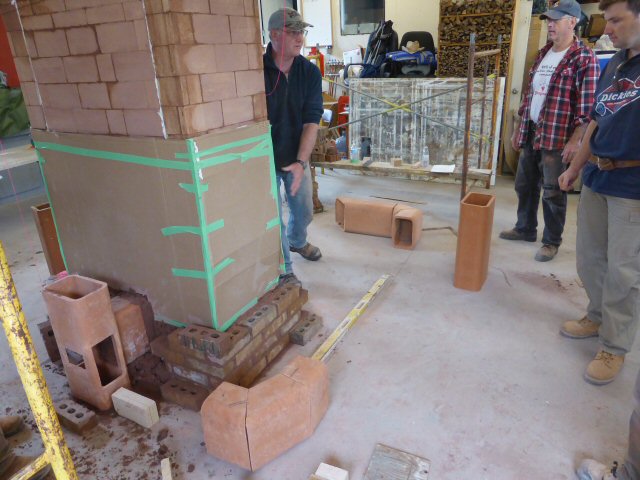
Finished result. Three pieces are cut from one flue liner.
The chimney connection is dismantled and modified to accomodate a heated bench layout.
John demonstrates a technique for adding a ledge to the facing, to hide the joint at the back of
the bench top.
Half of a wraparound bench. There are two loops, and the bench is left empty underneath the
firebox door, to allow access to the ashbox where the heater is slab-on-grade such as this.
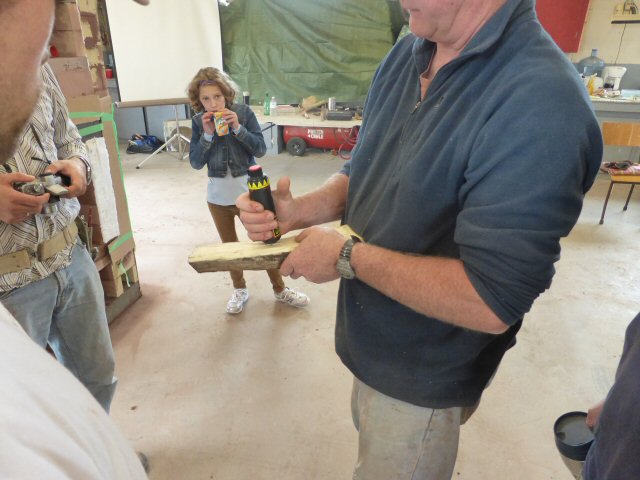
A very important discussion about firewood. John is demonstrating the use of a moisture meter.
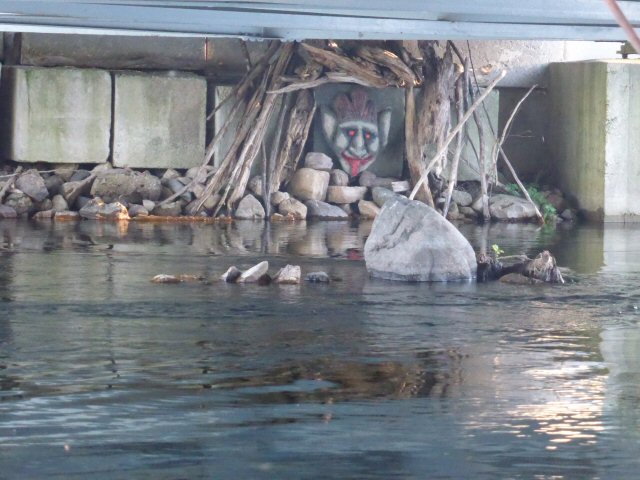
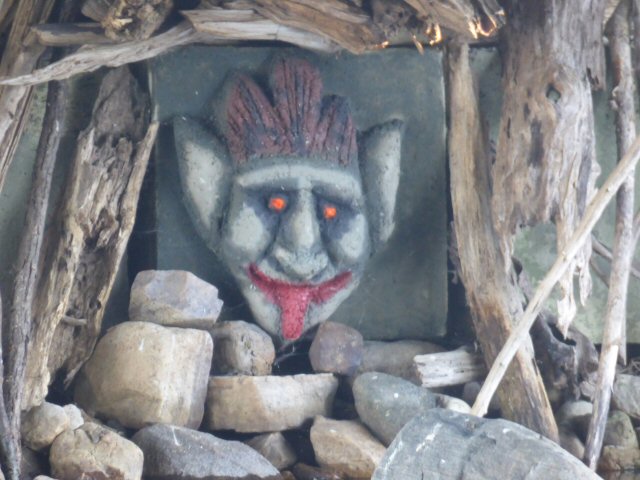
We took a walk to John's house to have a look at his heater, and do a burn. John's driveway
crosses the Tay river. There is great bass fishing from John's bridge. This is the troll that lives
underneath the bridge.
John used a cardboard slip joint on the left side of the heater, and an aluminum foil slip joint
on the right side. Since the chimney exits rear center at the floor, the two sides are perfectly
balanced. He has not taken surface temperature readings of the outside to see if there is a
difference, but plans to do it this winter.
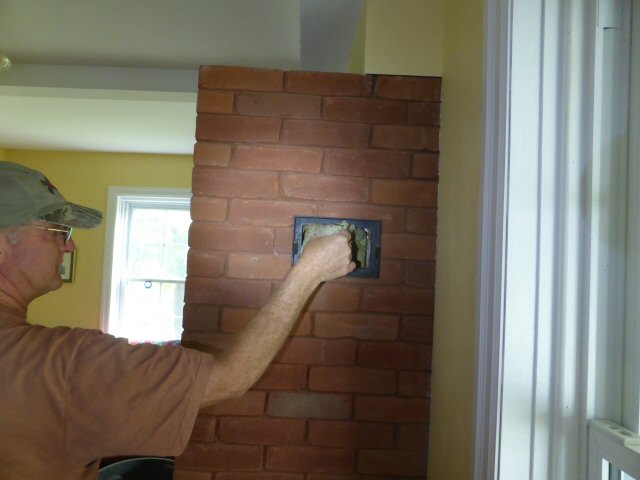
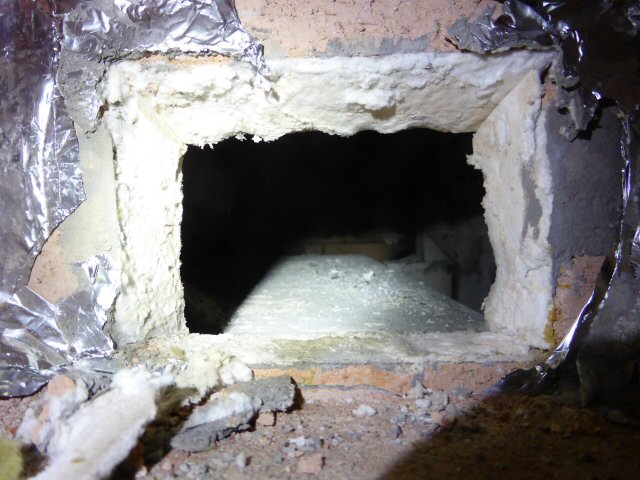
We had a look inside the oven cleanout.
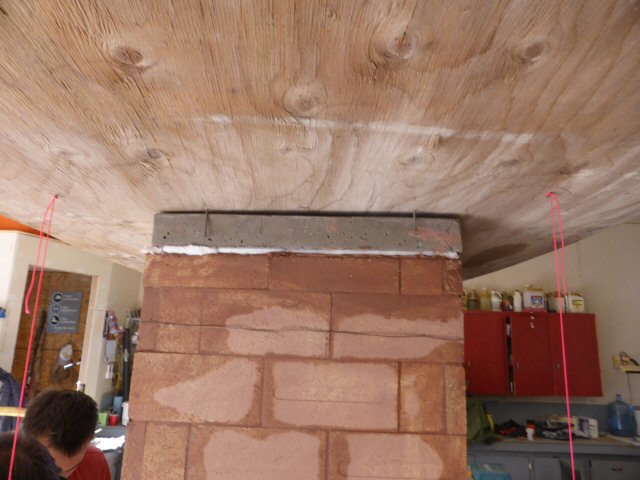
Photos of John's heater project. It involved removing an existing Rumford fireplace, as well
as several interesting structural and envelope thermal issues.
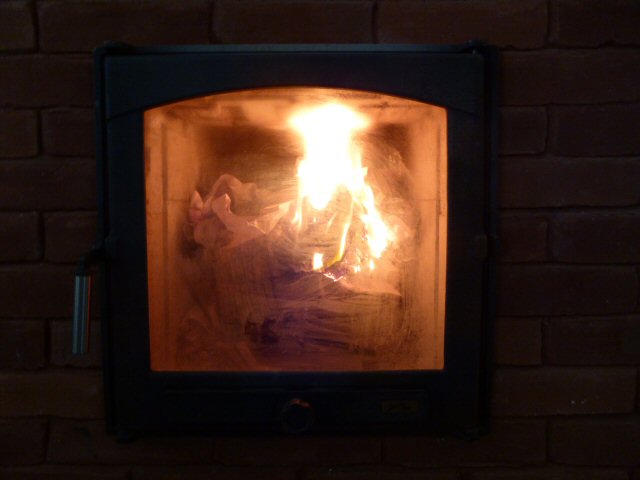
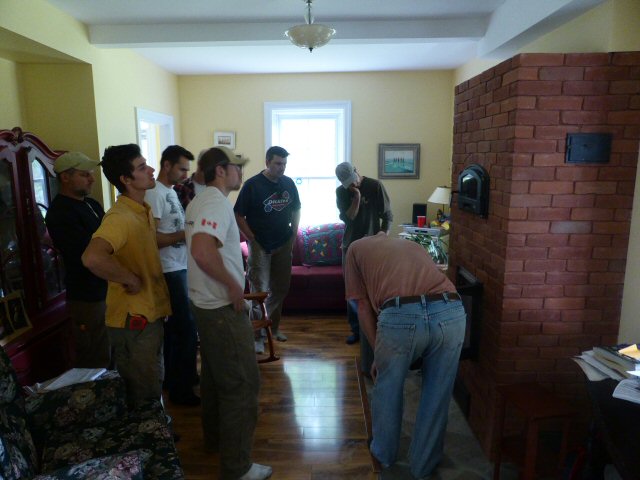
The heater was cold, and it is on an outside chimney. We had a torch ready in case it needed
a boost for startup. However, careful stacking of a top-down burn with 14% dry wood and small
kindling did the job.
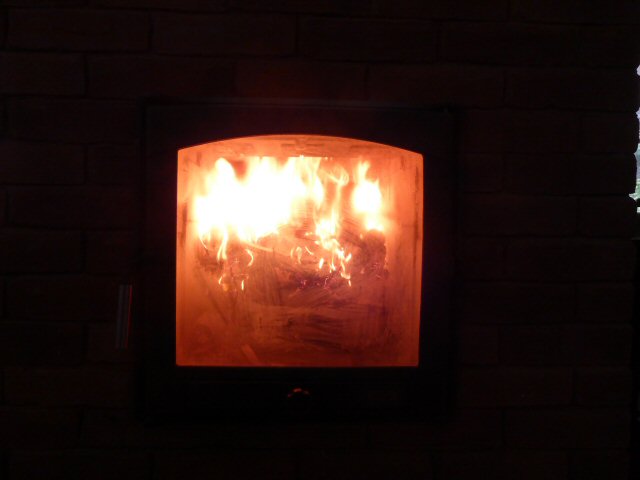

A small amount of black smoke (soot) is visible from the heater flue at the start. If the firebox were
warm, ie., a fire 24 hours previously, there would be no smoke, based on MHA's extensive
testing.
This
page was last updated on August 21, 2014
This page was created on September 17, 2013
Back
to: